|
MBARI Remote Access
 PPP Configuration for PPP Configuration for
Microsoft Windows
95/98
Last Updated: August 11,
1999
Table of Contents
Introduction
MBARI's Information Services (IS) group provides
two ways to dial into the Institute. The first provides a character
oriented interface into the system. This could be compared to
sitting down at an old VT-100 terminal connected into the network.
You're able to telnet into any system on the network but once
connected you can only interact with that one system. If that is the
interface which you want to use, then this document is unnecessary.
All you need to do is use your favorite terminal emulation package
(like Windows95 HyperTerminal) on your home PC to dial into the
network. Take this link if you need some instructions on dialing into
the system using character mode.
The second dialin option provides you the
ability to make your home computer system look and act just like it
was connected onto MBARI's network. This uses the Point-to-Point
Protocol (PPP) and is highly recommended over the character method.
This document describes how to configure your Windows95/98 computer
system to use the Microsoft supplied PPP software to connect into
MBARI's network.
Configuring your home PC to dial into MBARI's
PPP network isn't really all that difficult. This document will use
screen dumps from a Windows 98 system to illustrate how the
various options should be set. (The screens for Windows 95 may be
slightly different but the concepts are the same.) This
document will not go into all the various configuration options.
Rather it will attempt to illustrate the configuration keeping it as
simple as possible while still giving you all the information you
need to establish a good PPP session.
Network
Control Panel - Configuration
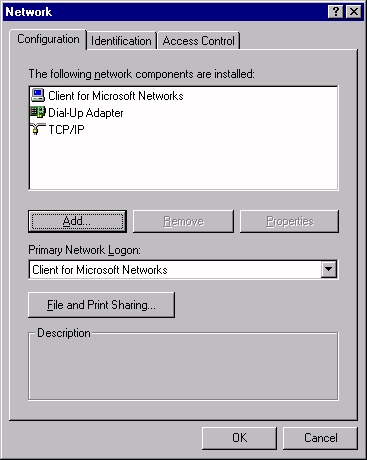
First, we need to make sure
that we have all the pieces installed on the system. Go to the the
network control panel by right-clicking on the Network
Neighborhood and selecting Properties. Alternatively
you can go to the control panel and open the Network
applet. Either way you will see a screen similar to the one at the
right. Make sure that you have the Client for Microsoft
Networks, Dial-Up Adapter, and TCP/IP installed on
your system.
You might also see entries listed here for
NetBEUI and IPX. These protocols are not needed at
MBARI. You can safely delete them from your system unless you need
them for another connection.
Client for
Microsoft Networks Property Panel
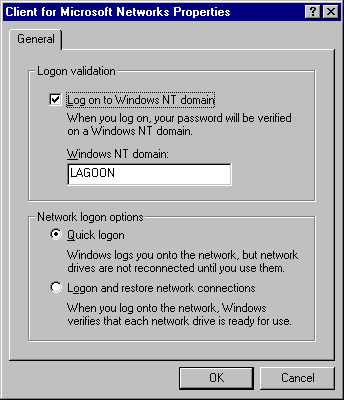
Double-click the entry for the
Client for Microsoft Networks in the Network Control Panel.
This will display the properties panel shown here. Enter LAGOON
as the name of the Windows NT domain.
The IS group recommends that you select the
Quick logon option. This will speed up your initial
connection by only connecting any network drives when you need them
rather than when you first connect. Setting this option to Logon
and restore network connections will not cause any problems; it
will just take longer at the beginning.
Close this window. You will again be looking at
the Network Control Panel.
-
-
Dial-Up
Adapter Property Panels
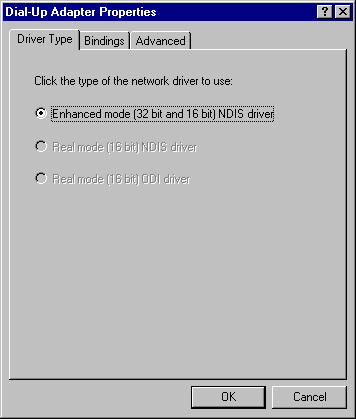
Double-click the entry for
the Dial-Up Adapter in the Network Control Panel. This will
display the properties panel shown here.
The properties panel for the dial-up adapter
has three separate tabs. The first tab is for the Driver
Type. This shouldn't offer you any options.
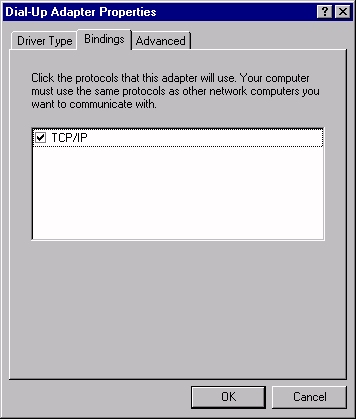
Make sure that the bindings
are set to include TCP/IP support.
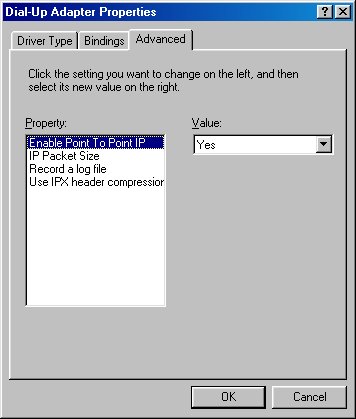
The last tab for the dial-up
adapter properties is Advanced Don't be surprised if
your list of options is different from the list shown here; it
will vary depending on the options you have installed.
Don't change anything on this screen unless
specifically told to do so by someone who knows what they are
doing.
Close this window. You will again be looking
at the Network Control Panel.
TCP/IP
Property Panels
Double-click the entry for the TCP/IP in
the Network Control Panel. If you are working with a Windows 98
system, you will see the following dialogue box warning you about
configuring TCP/IP parameters.
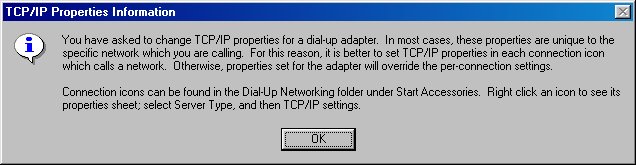
If this is the only connection on
your system (you don't use any other ISP), then you can safely click
OK and configure the global TCP/IP parameters. If you have other
connections then you should configure the TCP/IP parameters using
the individual panels for this connection but you have to configure
the connection first. You can get to those screens by looking at
the properties for this particular connection. Check out the
Server Types tab on Modifying
Your Connection Configuration for more information on
updating the TCP/IP parameters for a specific connection.
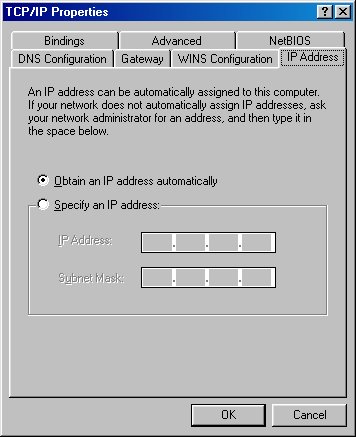
Double-clicking the TCP/IP entry
will display the properties panel shown here. This is the last set
of property panels in the network control panel. The TCP/IP
properties panel has a total of 6 separate tabs on a Windows 95
system and Windows 98 has 7 tabs. (Windows 98 includes a tab for
NetBIOS.)
The IP address tab must be configured as shown.
Each computer is automatically assigned an IP address by the
terminal server whenever it connects.
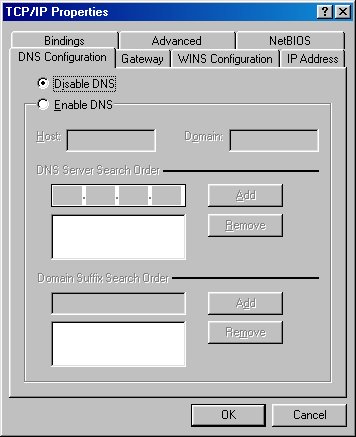
MBARI uses the Domain Name
Service (DNS) to resolve symbolic host names like wave to IP
addresses like 134.89.2.200. But the list of DNS servers and other
parameters are downloaded to your computer from the terminal server.
With this in mind, you should select the Disable DNS option
on this screen.
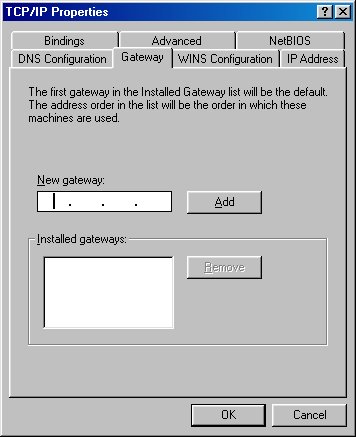
The next property panel for
TCP/IP tells your computer system where to send packets which are
destined for locations outside of MBARI. This is the
Gateway address. This should be left blank. The correct
gateway address will be automatically configured by the terminal
server.
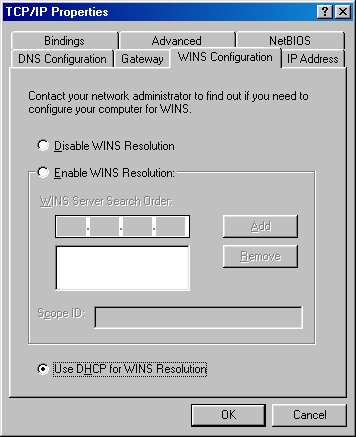
WINS stands for Windows
Internet Naming Service. It's a way for computers running Microsoft
operating systems to translate symbolic computer names into IP
addresses. In many ways it is similar to DNS but it works with
Microsoft's NetBIOS names rather than Internet domain
names.
Make sure that the Use DHCP for WINS
Resolution option is selected. DHCP stands for Dynamic Host
Configuration Protocol. It's the method by which configuration
information is downloaded to your computer.
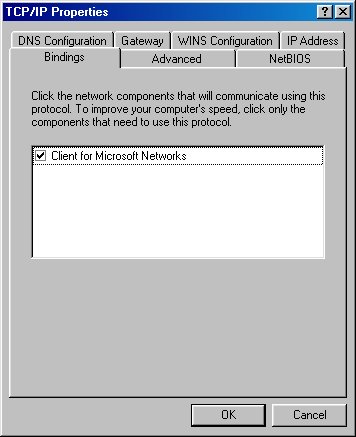
Make sure that you bind the
TCP/IP stack to the Client for Microsoft Networks.
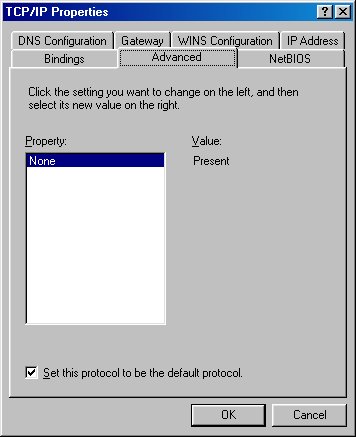
There's not much to do on this
property panel. Just make sure that TCP/IP is set to be the default
protocol.
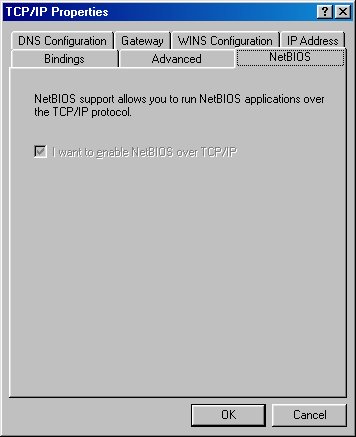
Last but not least we have the
new NetBIOS tab which is only available with Windows 98.
Again, there isn't much to do on this screen. The one option is
automatically selected and cannot be unselected.
We're done with TCP/IP!!!! That wasn't too hard,
was it?
Network Control
Panel - Identification
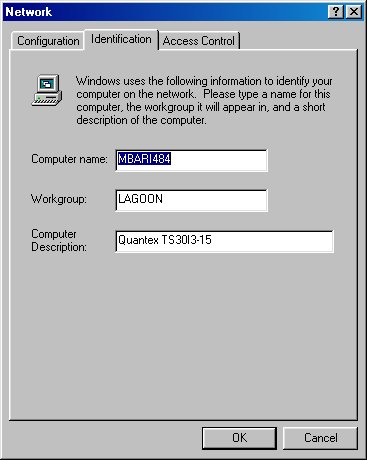
This information describes your computer system.
The value you enter here for the Computer Name and
Computer Description are not used in negotiating the PPP
session so they can be set to anything you want. However, you must
enter LAGOON in the Workgroup field. This is used in
the Microsoft browsing to allow you to see the various systems under
Network Neighborhood.
Network Control
Panel - Access Control
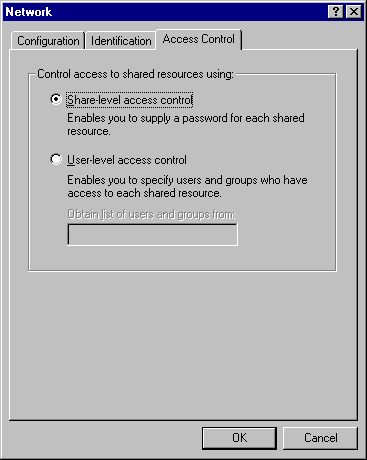
Don't change anything on this
panel. It is only used when setting up your system for file sharing
and is beyond the scope of this document.
Configuring a PPP
Connection
Now we have all the network parameters
configured for your system. The next step is to configure an actual
session for the MBARI link. Open up the My Computer icon and
select Dial-up Networking. If you don't see Dial-up
Networking on your screen then you need to install it from your
Windows CD. Refer to the documentation that came with the system for
more information.
Double-click the Make New Connection
icon. This will start a new connection wizard. The components of
each screen are the same but the exact screen will vary depending on
whether you're creating the connection on Windows 95 or Windows
98.
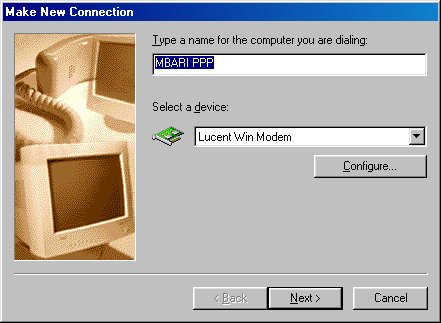
Enter the descriptive name for this connection.
Select the modem that you will be using. You won't have too many
options with the modem unless you have more than one modem
configured on your system.
NOTE: The configuration of your modem is
beyond this document. Please refer to the documentation which came
with your system.
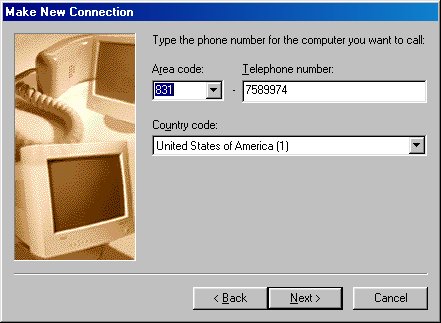
Enter the area code and phone number you will be
calling. If you live within the Moss Landing local dialing
area, you should use 7589974 as the phone number. If you live
outside of the Moss Landing local dialing area then use
800-7589798.
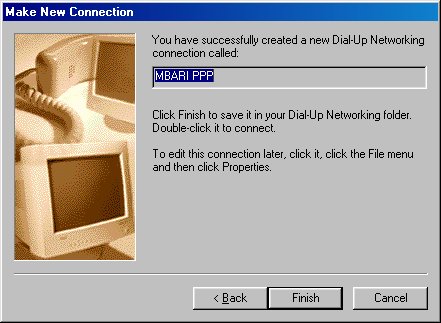
Modifying
Your Connection Configuration
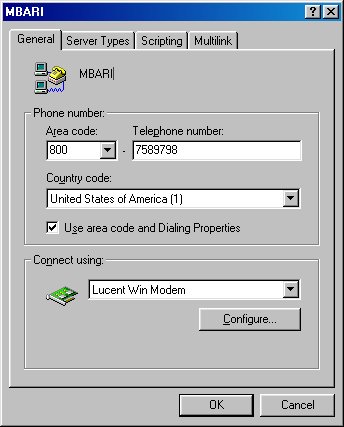
It may be necessary to update your connection
configuration after going through the wizard. A good example would
be to change the TCP/IP parameters for this particular
connection.
Open up My Computer and navigate down
to the Dial-Up Networking folder. Right-click on the icon
of the connection you need to update and select Properties.
You will get the screen shown at the right.
This is the general information tab. Use this
window to change the telephone number that you're dialing. You can
also change your modem configuration but please refer to your system
documentation for that.
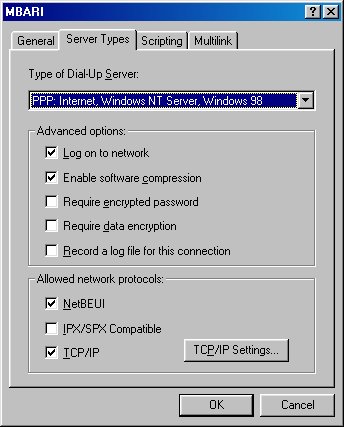
The Server Types contains basic
information about the server you're connecting to. The IS group
suggests that you configure your system to match the example at the
left.
This is the screen you would go to if you need
to change the TCP/IP settings for this configuration. Clicking on
the TCP/IP Settings button will bring up another dialogue
box with the TCP/IP properties. Make sure that the values on this
screen match the screen displayed here.
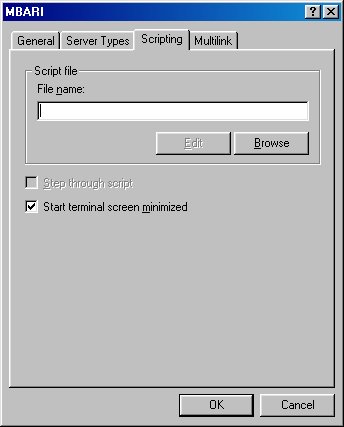
Make no changes to this screen.
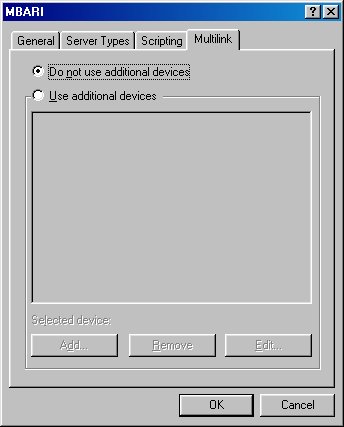
Make no changes to this screen.
TCP/IP
Settings
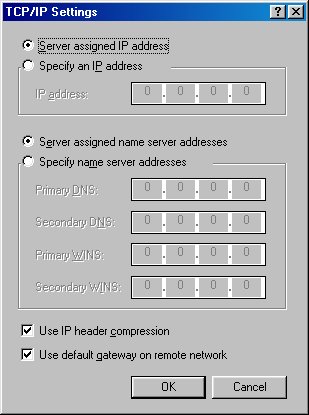
Again, make sure that you have not specified an
IP address. The connection will only succeed if you let the terminal
server assign you an IP address.
You don't need to specify any addresses for the
name server either. Those are programmed into the terminal
server.
Connecting
to MBARI
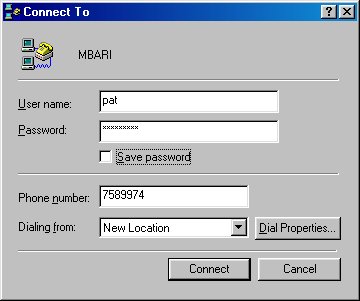
Clicking on the new icon will
display this next screen. Enter your password and press continue.
Click on the box labeled Save password if you want your
password automatically saved from session to session.
 Have any more questions? Send me
some email. Have any more questions? Send me
some email.
|