This example illustrates receiving asynchronous data from a VectorNav sensor and displaying the data in LabVIEW.
Steps
- Open LabVIEW and then open the VI located in
<root>/labview/examples/getting_started/getting_started.vi. You may get a warning message like the one below. You can safely click the Ignore button.
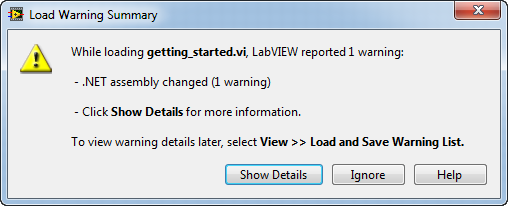
Load Warning Summary
- On the Front Panel, update the COM Port and Baudrate connection parameters for the port your VectorNav sensor is attached to.
- Press the Run button to start the VI. You should see data displayed in real-time. If you do not see any data, you may need to change the asynchronous data output type so that the sensor outputs YawPitchRoll and Acceleration data.
- Stop the VI by clicking the STOP button on the Front Panel.
- To see how the VI works and for an explanation of process, open the Block Diagram window by going to the menu
Window -> Show Block Diagram.
- More details about accessing the VectorNav sensor with a walk-through of the process may be found in the From Scratch example.

 1.8.10

