Telepresence User Guide
Introduction
This guide is a quick overview of MBARI's Telepresence web portal. You can access the portal at the link below
Logging In
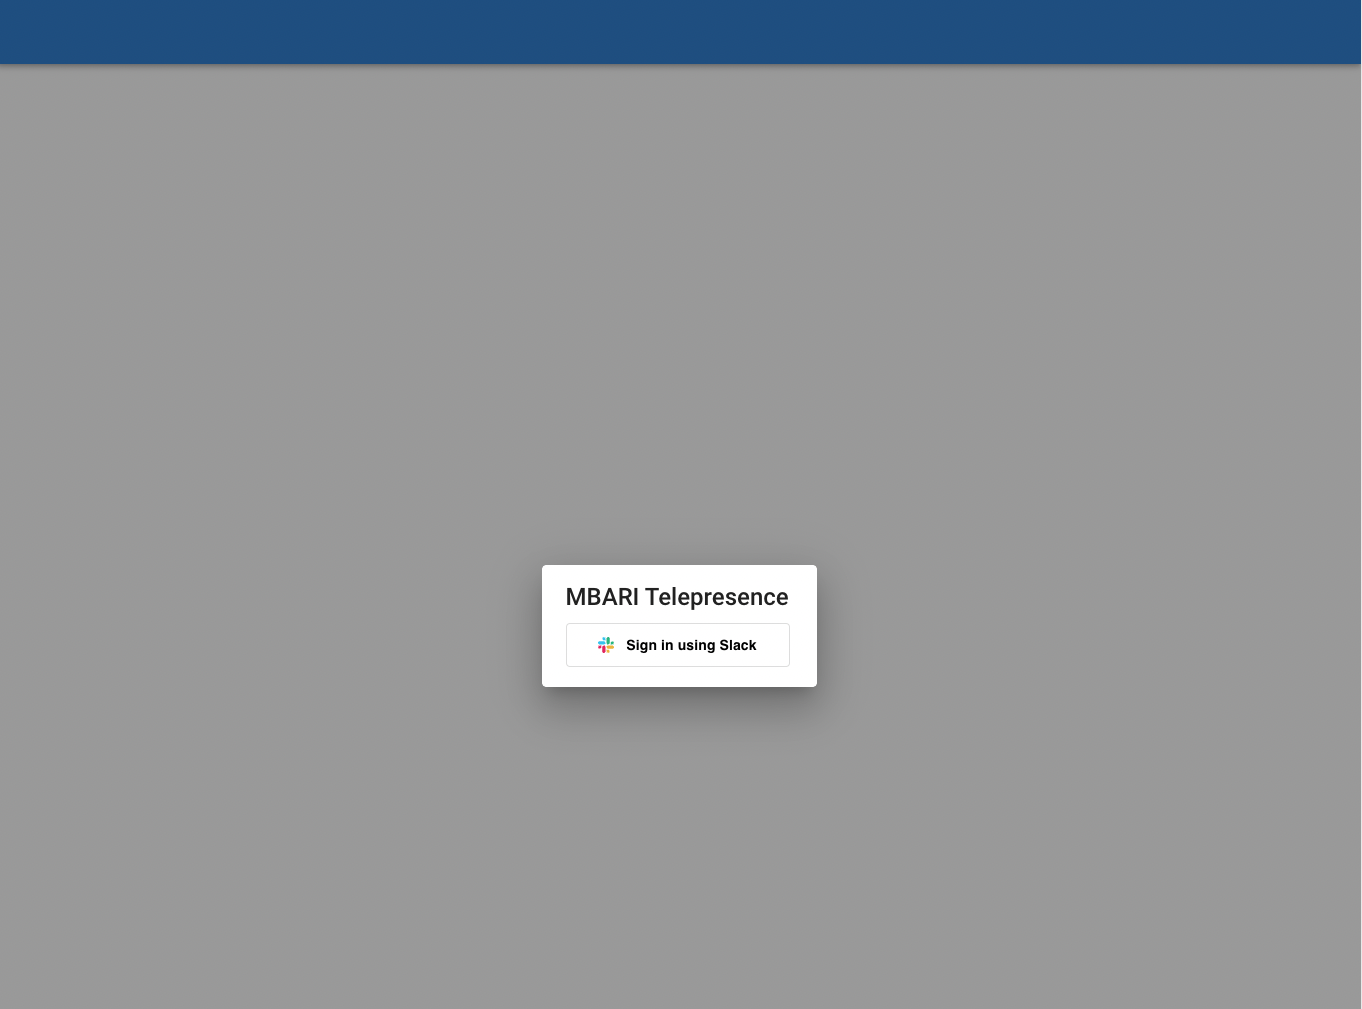
When you first open the portal (assuming you have not logged in before), you will be prompted with a button to log in to the portal using Slack.
What happens when you click on the login button will depend on if you are already signed into a Slack workspace or not. If you are not signed into Slack already, you should see a page prompting you for the workspace to log into

type in 'mbari' and then click 'Continue'. This should then ask you for your username and password for logging into the MBARI workspace.
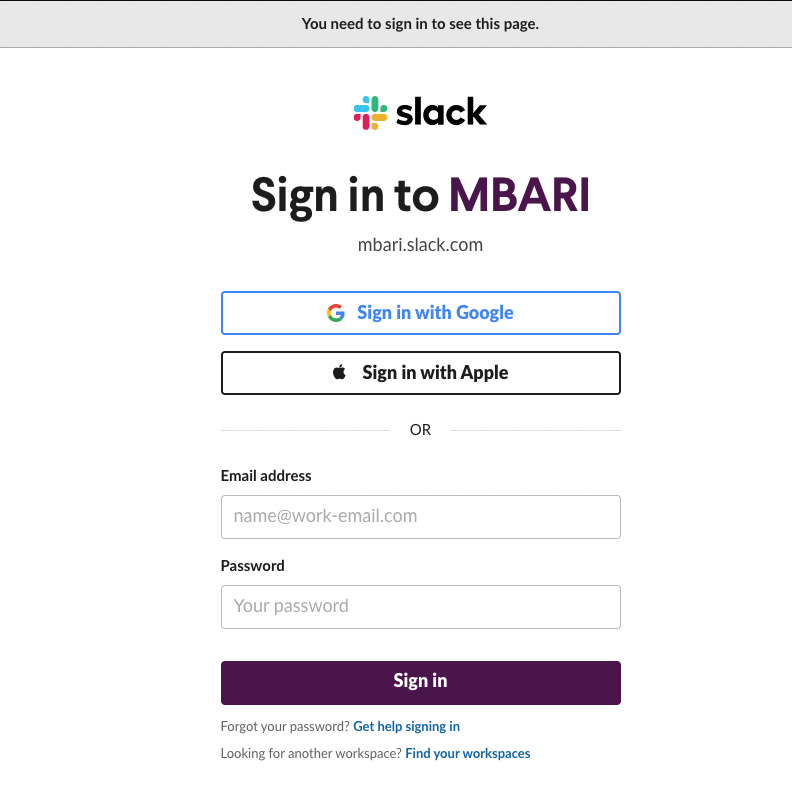
Enter your user email address and password and if successful, it should take you through 2 steps of asking you for permissions to use your Slack login for the Telepresence web portal.
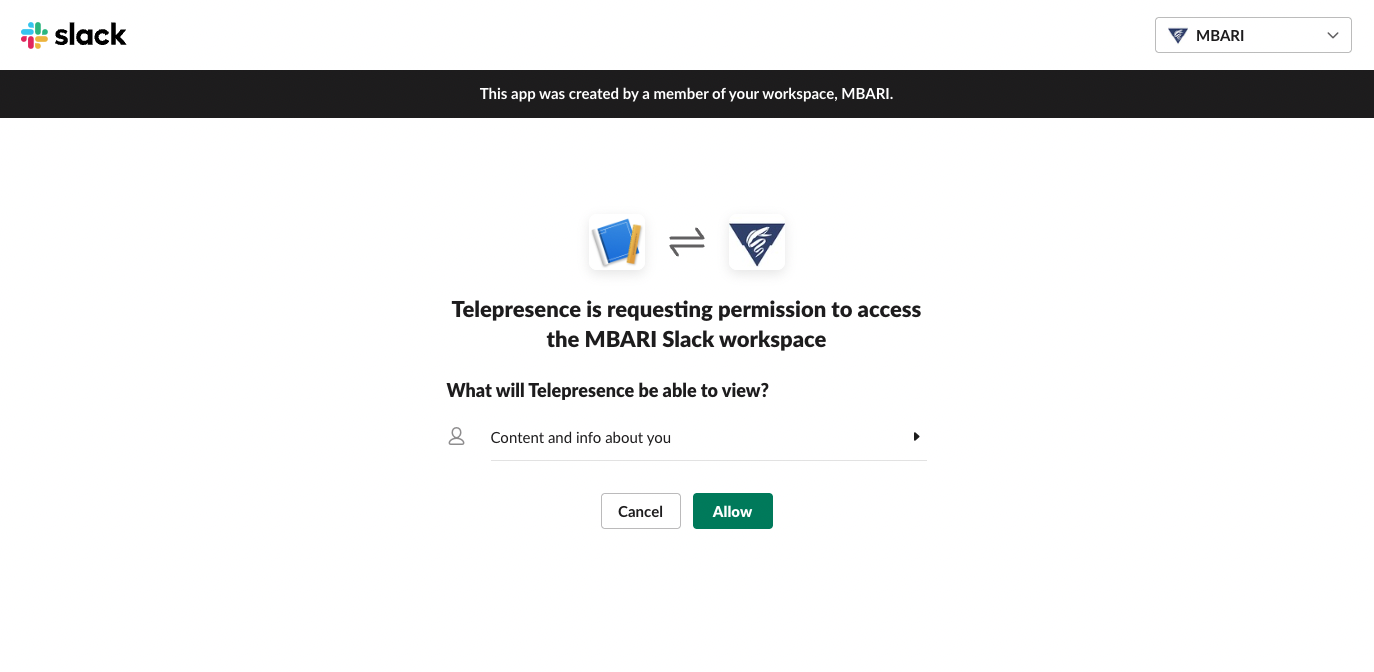
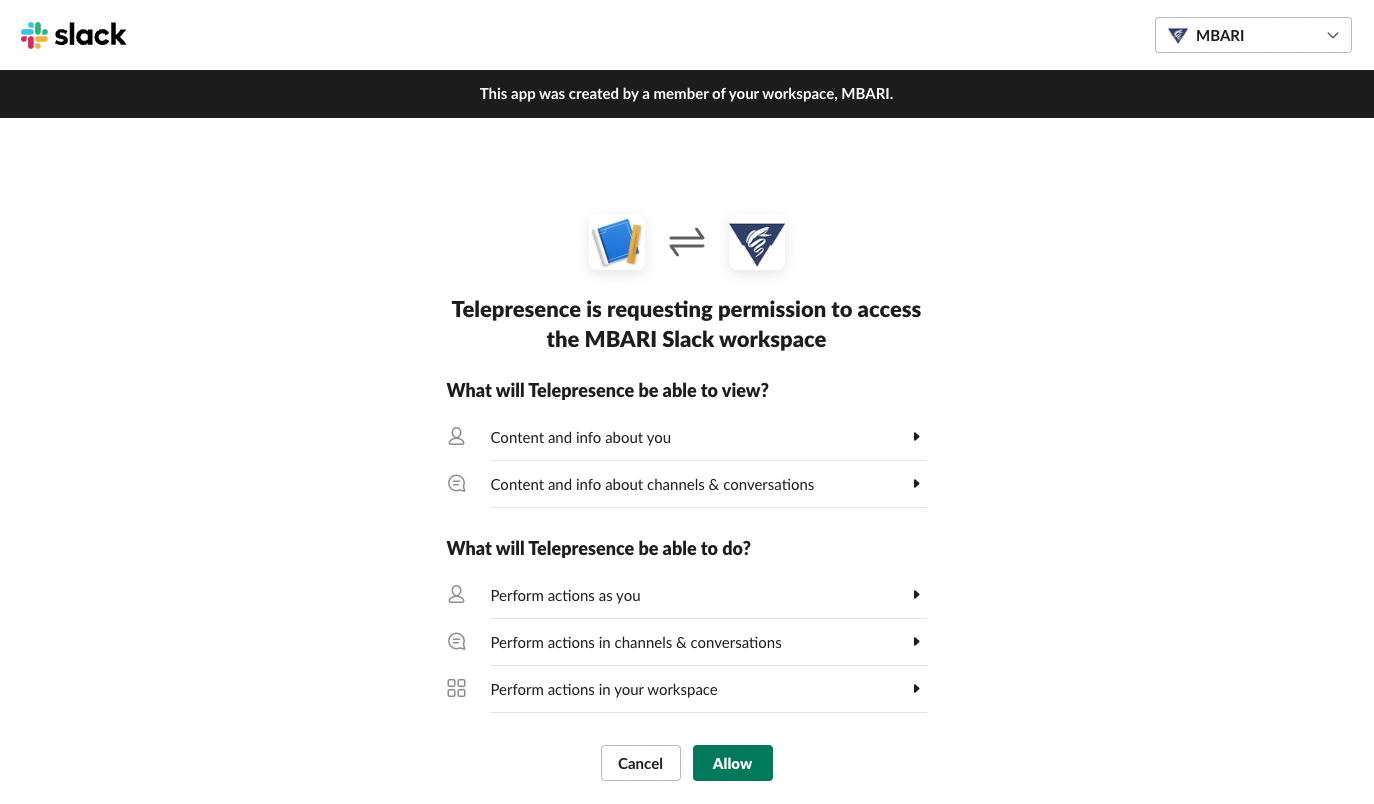
Click on 'Allow' in both steps and then you should be logged into the Telepresence Portal. Note that if you have already logged into Slack, your prompt will be a bit different and will look like the following.
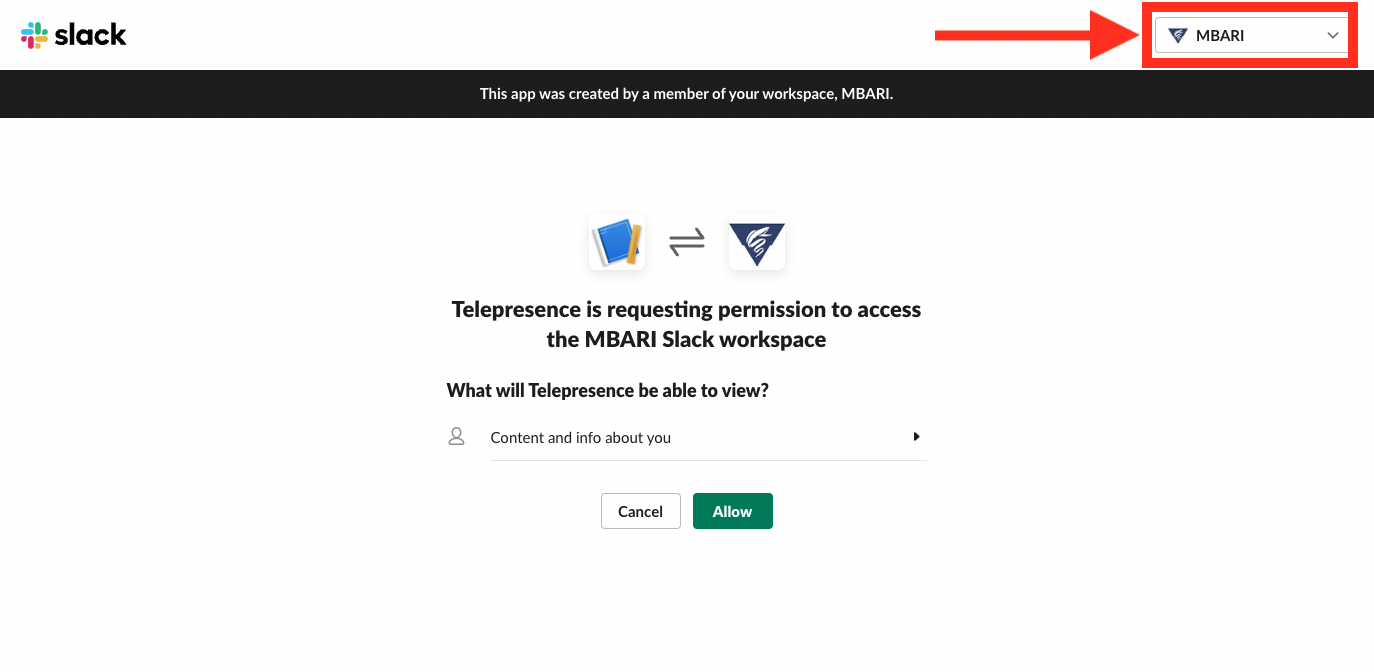
Just make sure 'MBARI' is selected in the Workspace dropdown, or you might have to add the MBARI workspace if you haven't logged into it before but are logged into another workspace already.
Choosing a Vessel
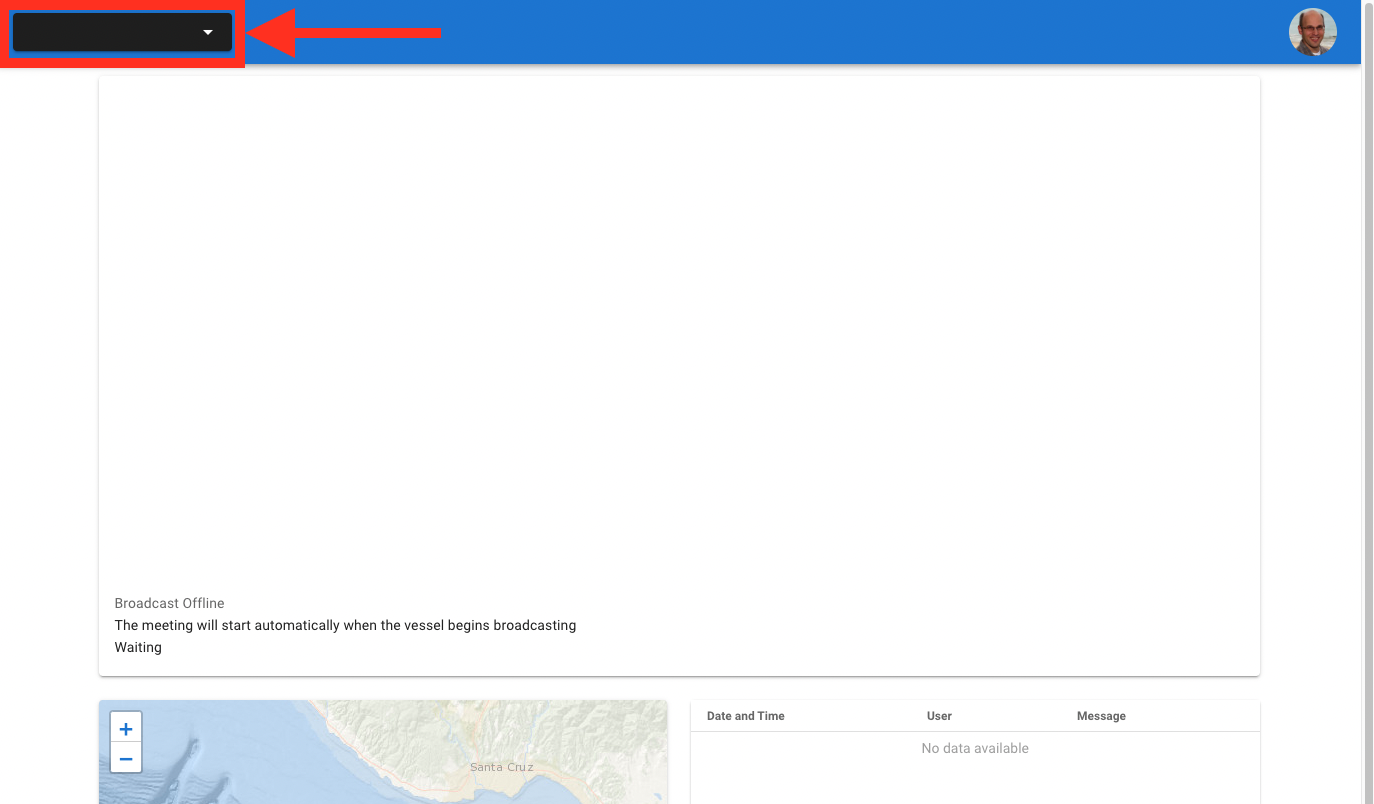
Once you are logged in you will be presented with a pretty ugly page (under construction) until you select a ship from the upper left corner drop-down.
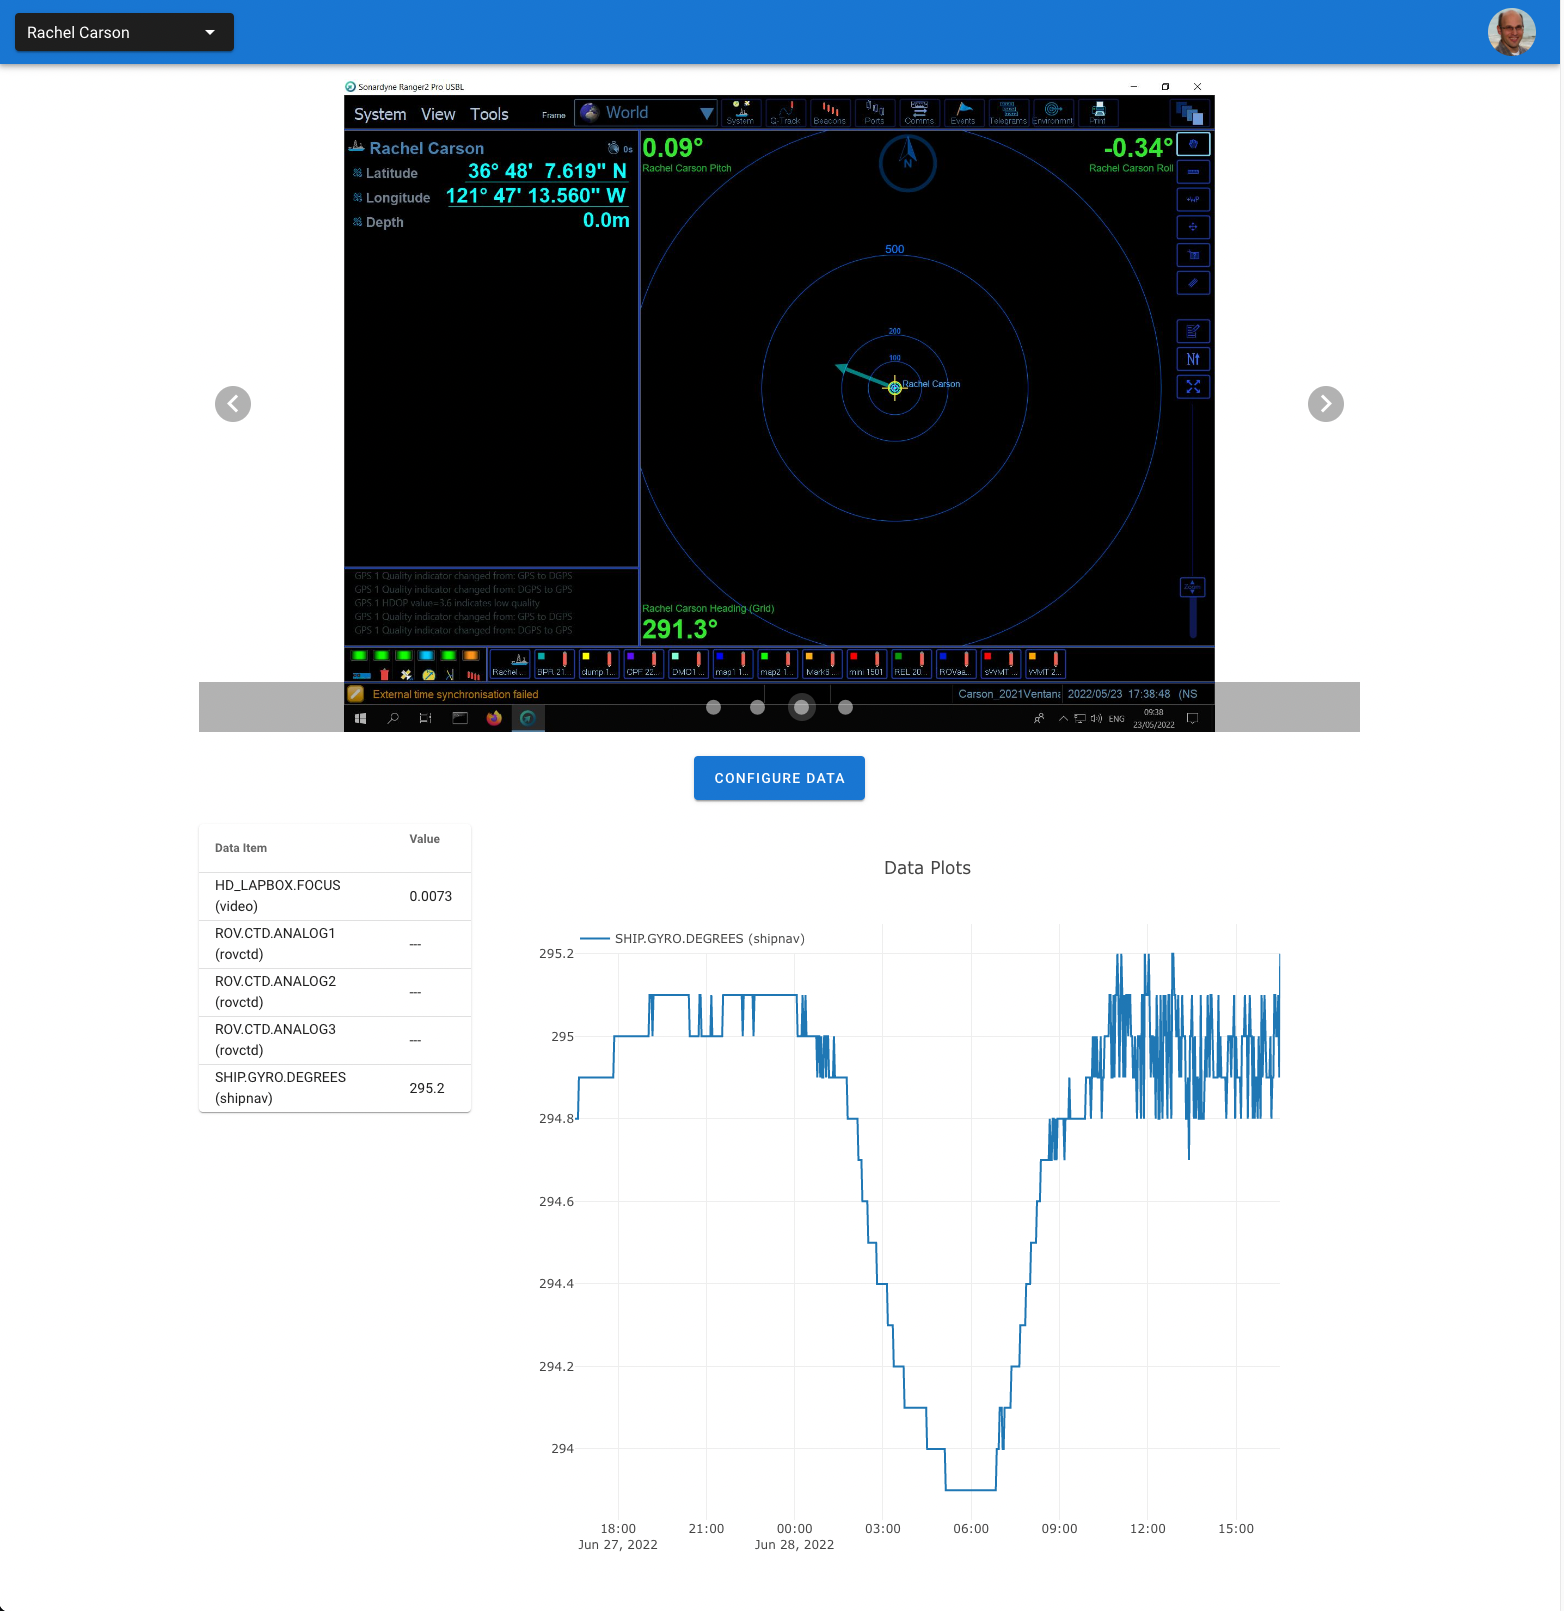
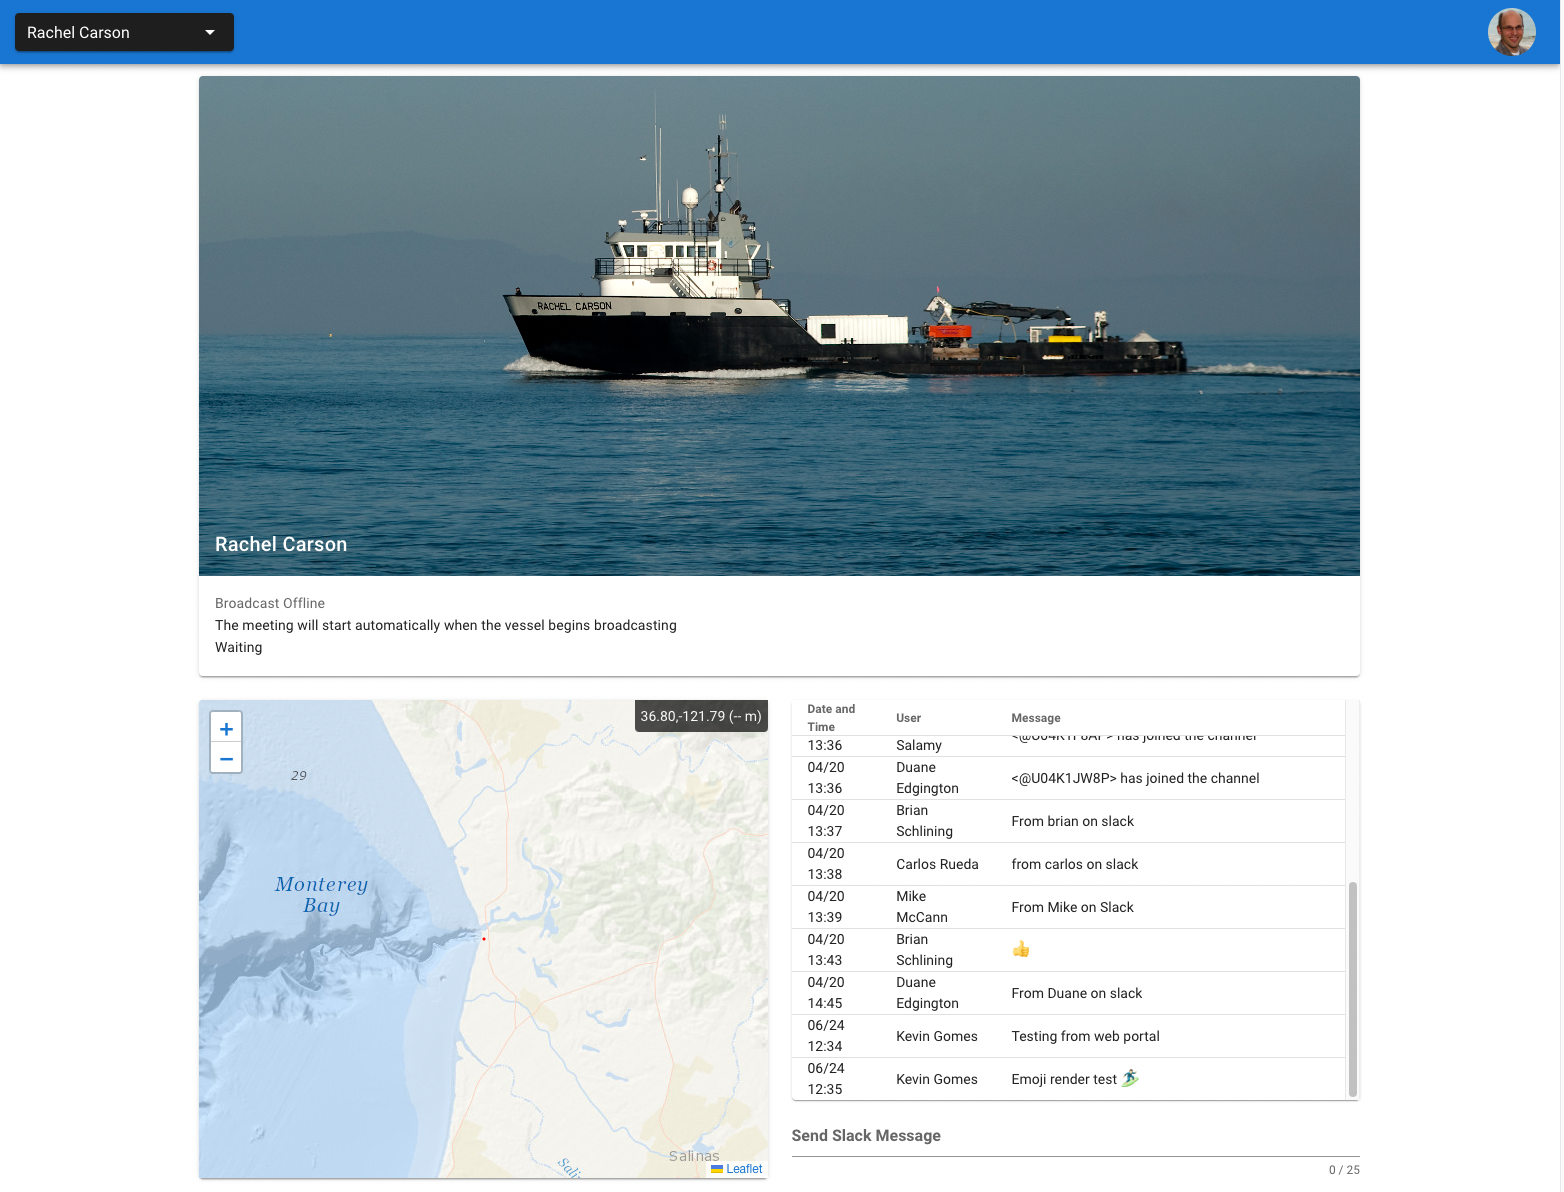
Once you choose a ship (Rachel Carson in the image below), the portal will update to show you the various aspects of the data coming from the ship you selected. At the top of the page is a placeholder where the zoom meeting broadcast will show up (unless it's already running in which case you will be joined to the broadcast) and below that is a map showing the location of the ship and ROV over the last 24 hours (left) and the active Slack conversation (right). You can post Slack messages by typing text in the box labeled 'Send Slack Message'.
Below is the portal without a zoom meeting running.
Below is the portal with an example meeting running
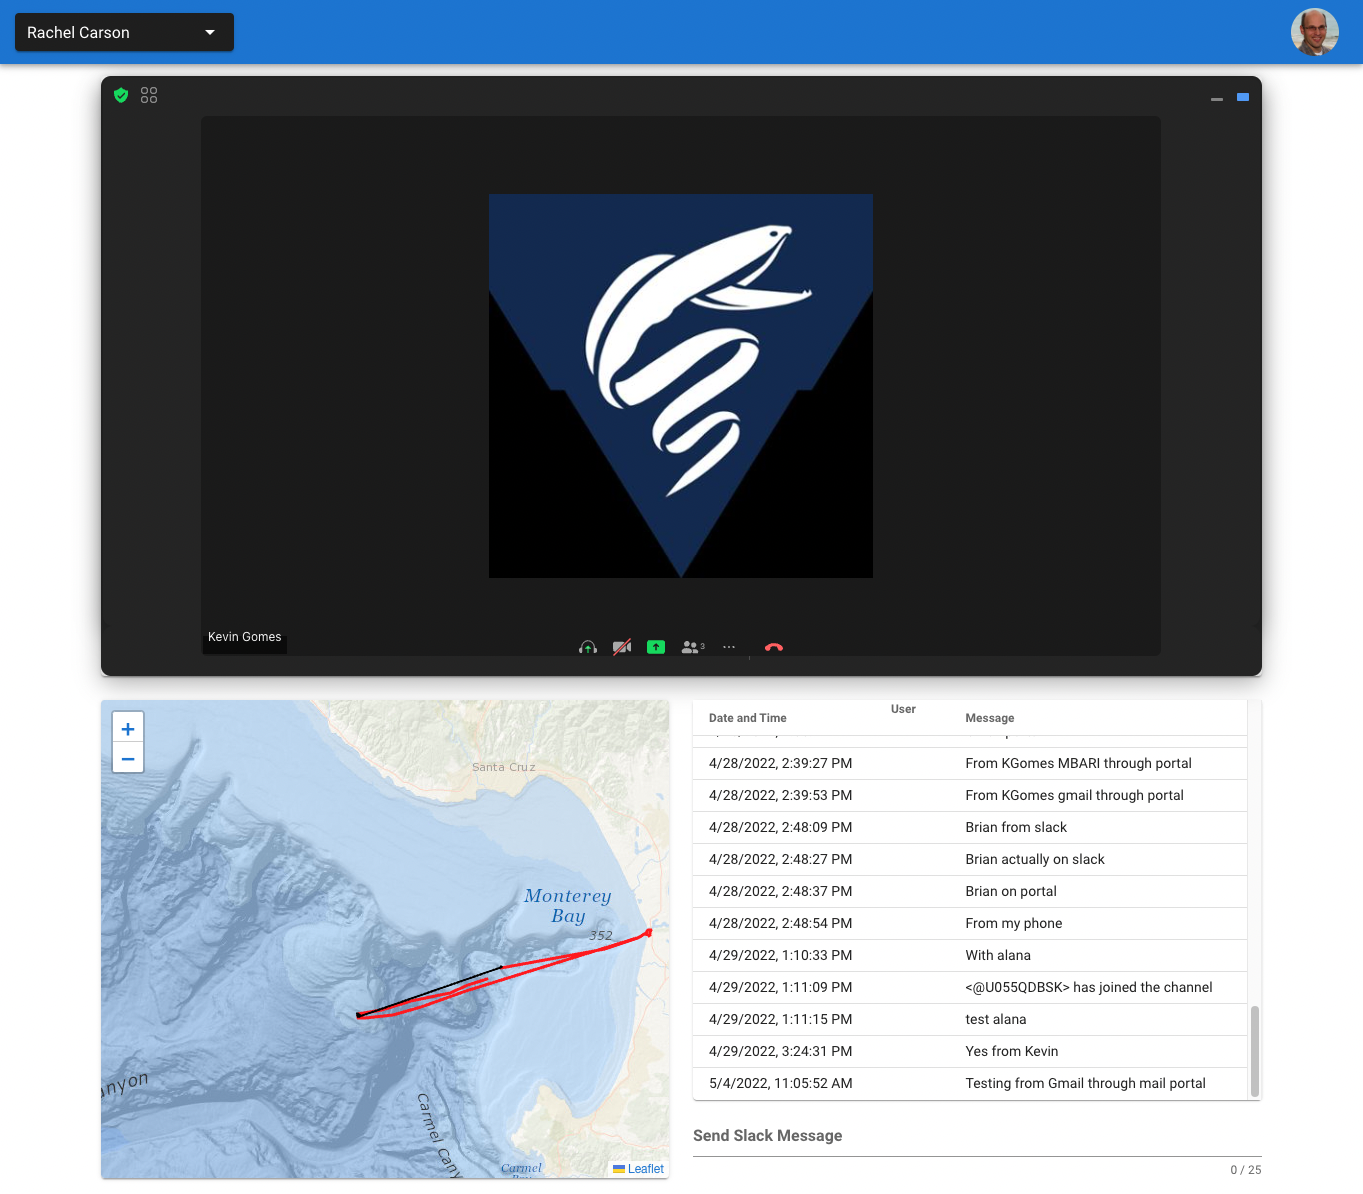
Note that when a meeting starts, you will need to click on the headphone icon to join the audio portion and then you should be able to hear any audio from the boat if they are unmuted. By default, your microphone will be muted. You can configure your audio settings and even disconnect from the audio by using the settings elipsis '...' on the small menu at the bottom of the zoom meeting.
Underneath the map and slack panel is a carousel of screen captures from different machines on the boat. You can scroll through the image by using the left and right buttons on the left and right edge of the carousel, respectively. The images are refreshed every 30 seconds automatically. You can click on the screen shot directly which will open the full res image in a new tab/window (this will not refresh automatically).
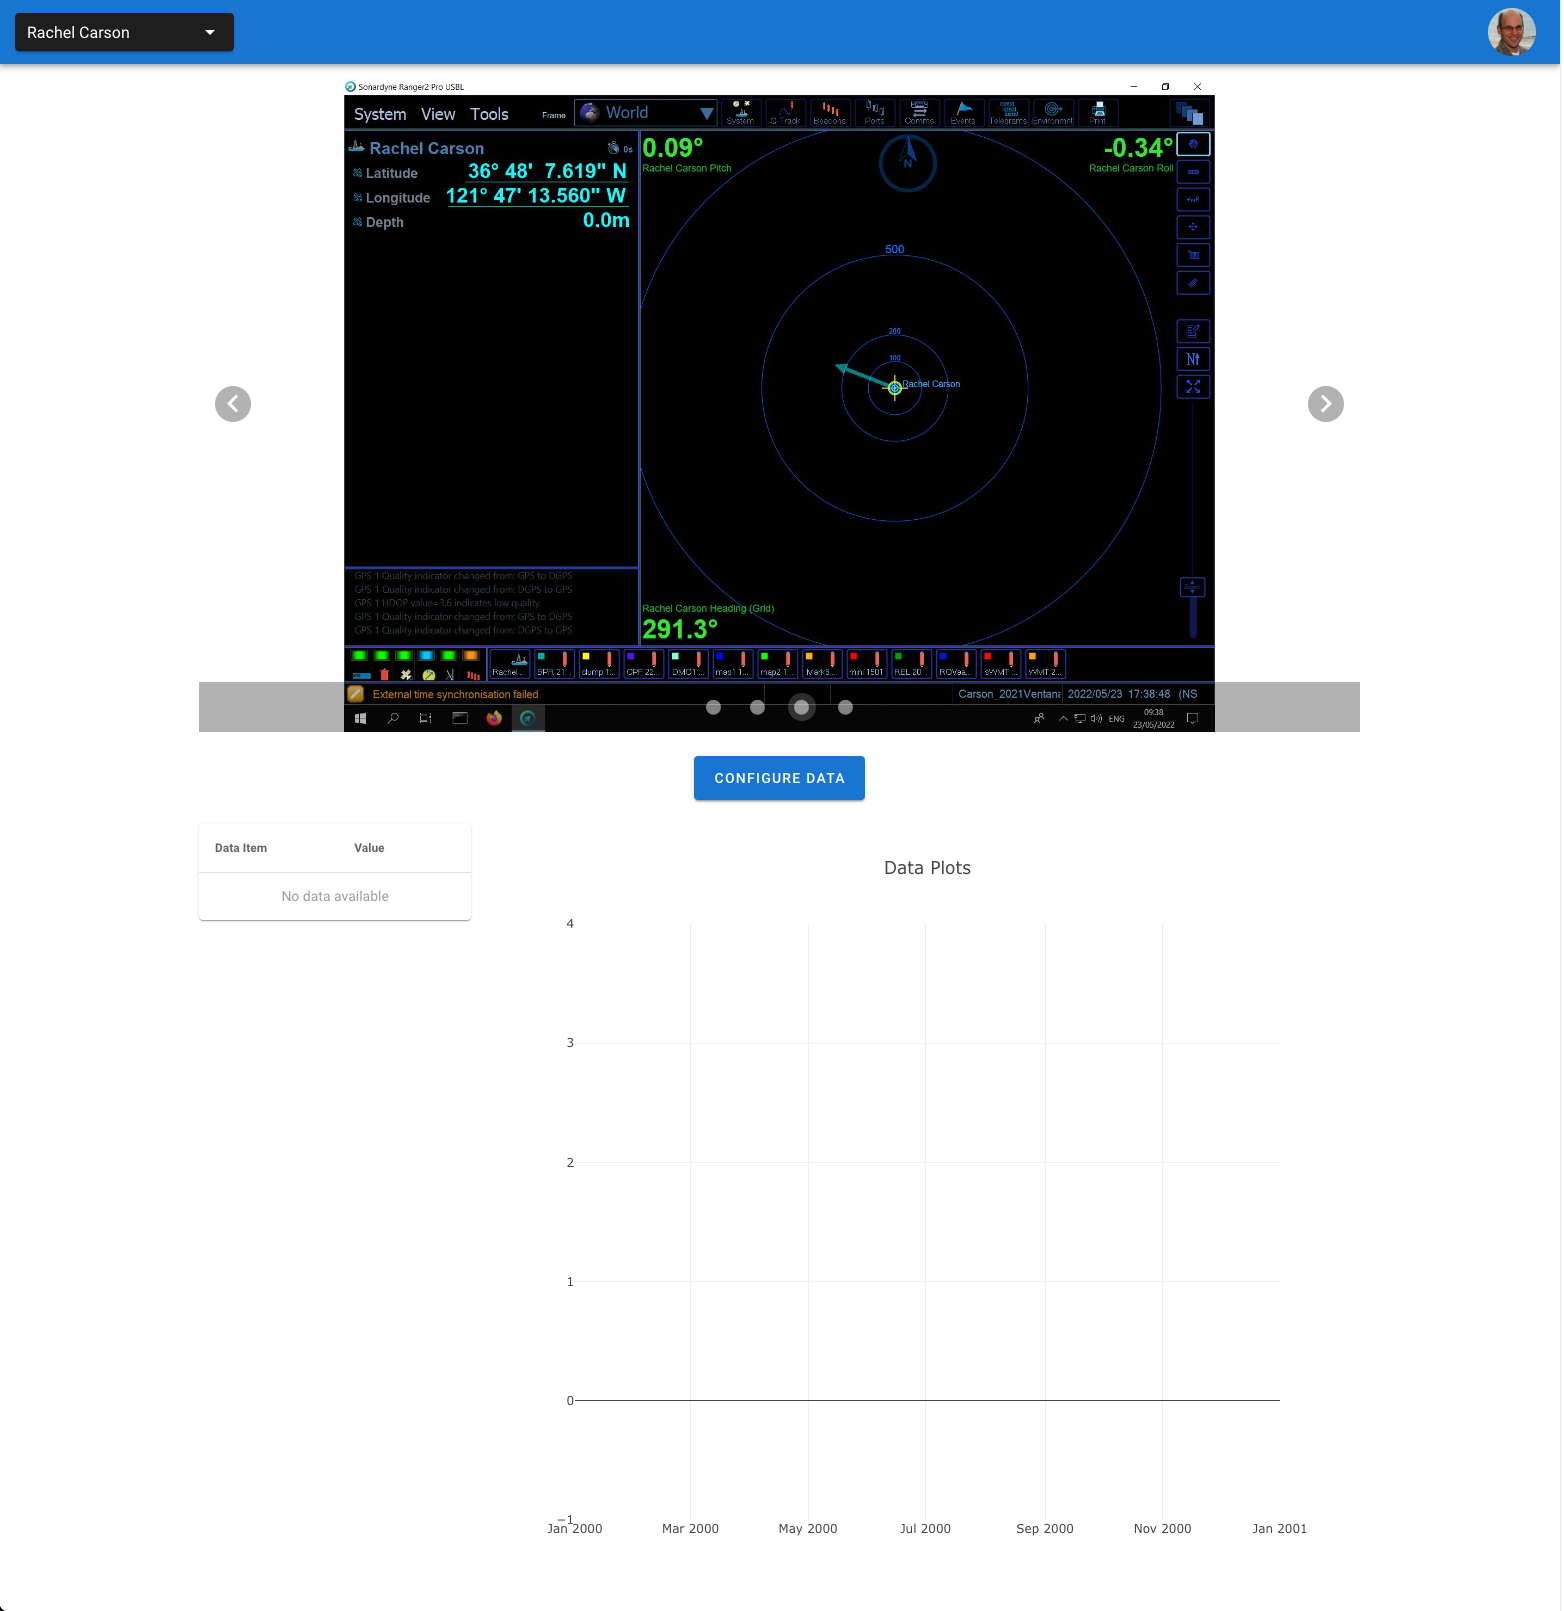
Choosing Data to Monitor
Below the screen grabs is a panel where you can choose what data you would like to view either in table form (showing most recent data point only) or on a chart. First, click on the 'Configure Data' button.
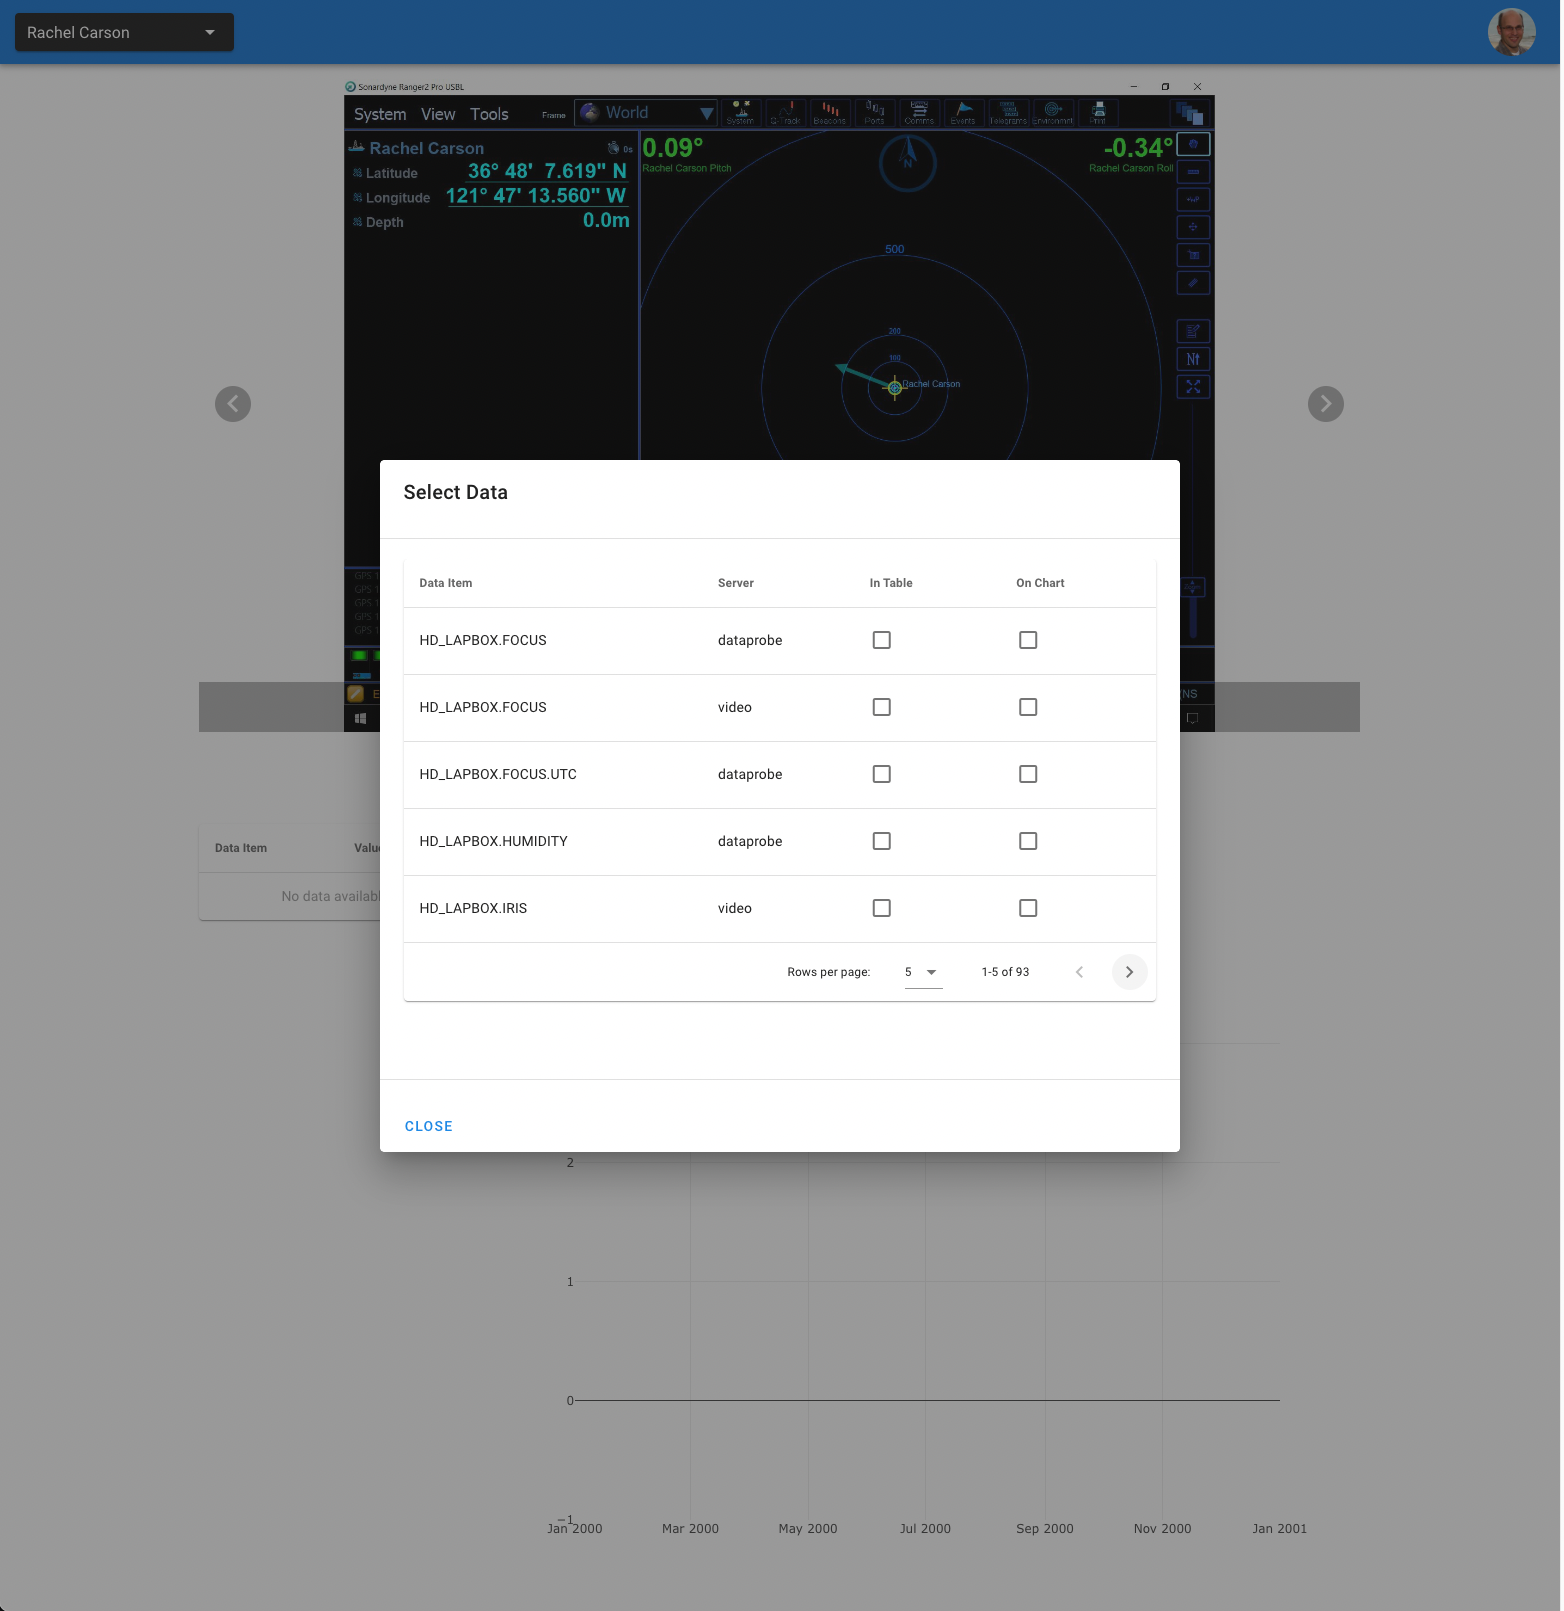
This will open a dialog which will allow you to page through the various data items available (using the arrows on the bottom right) and you can add them to either the table, the chart, or both by selecting their respective checkboxes.
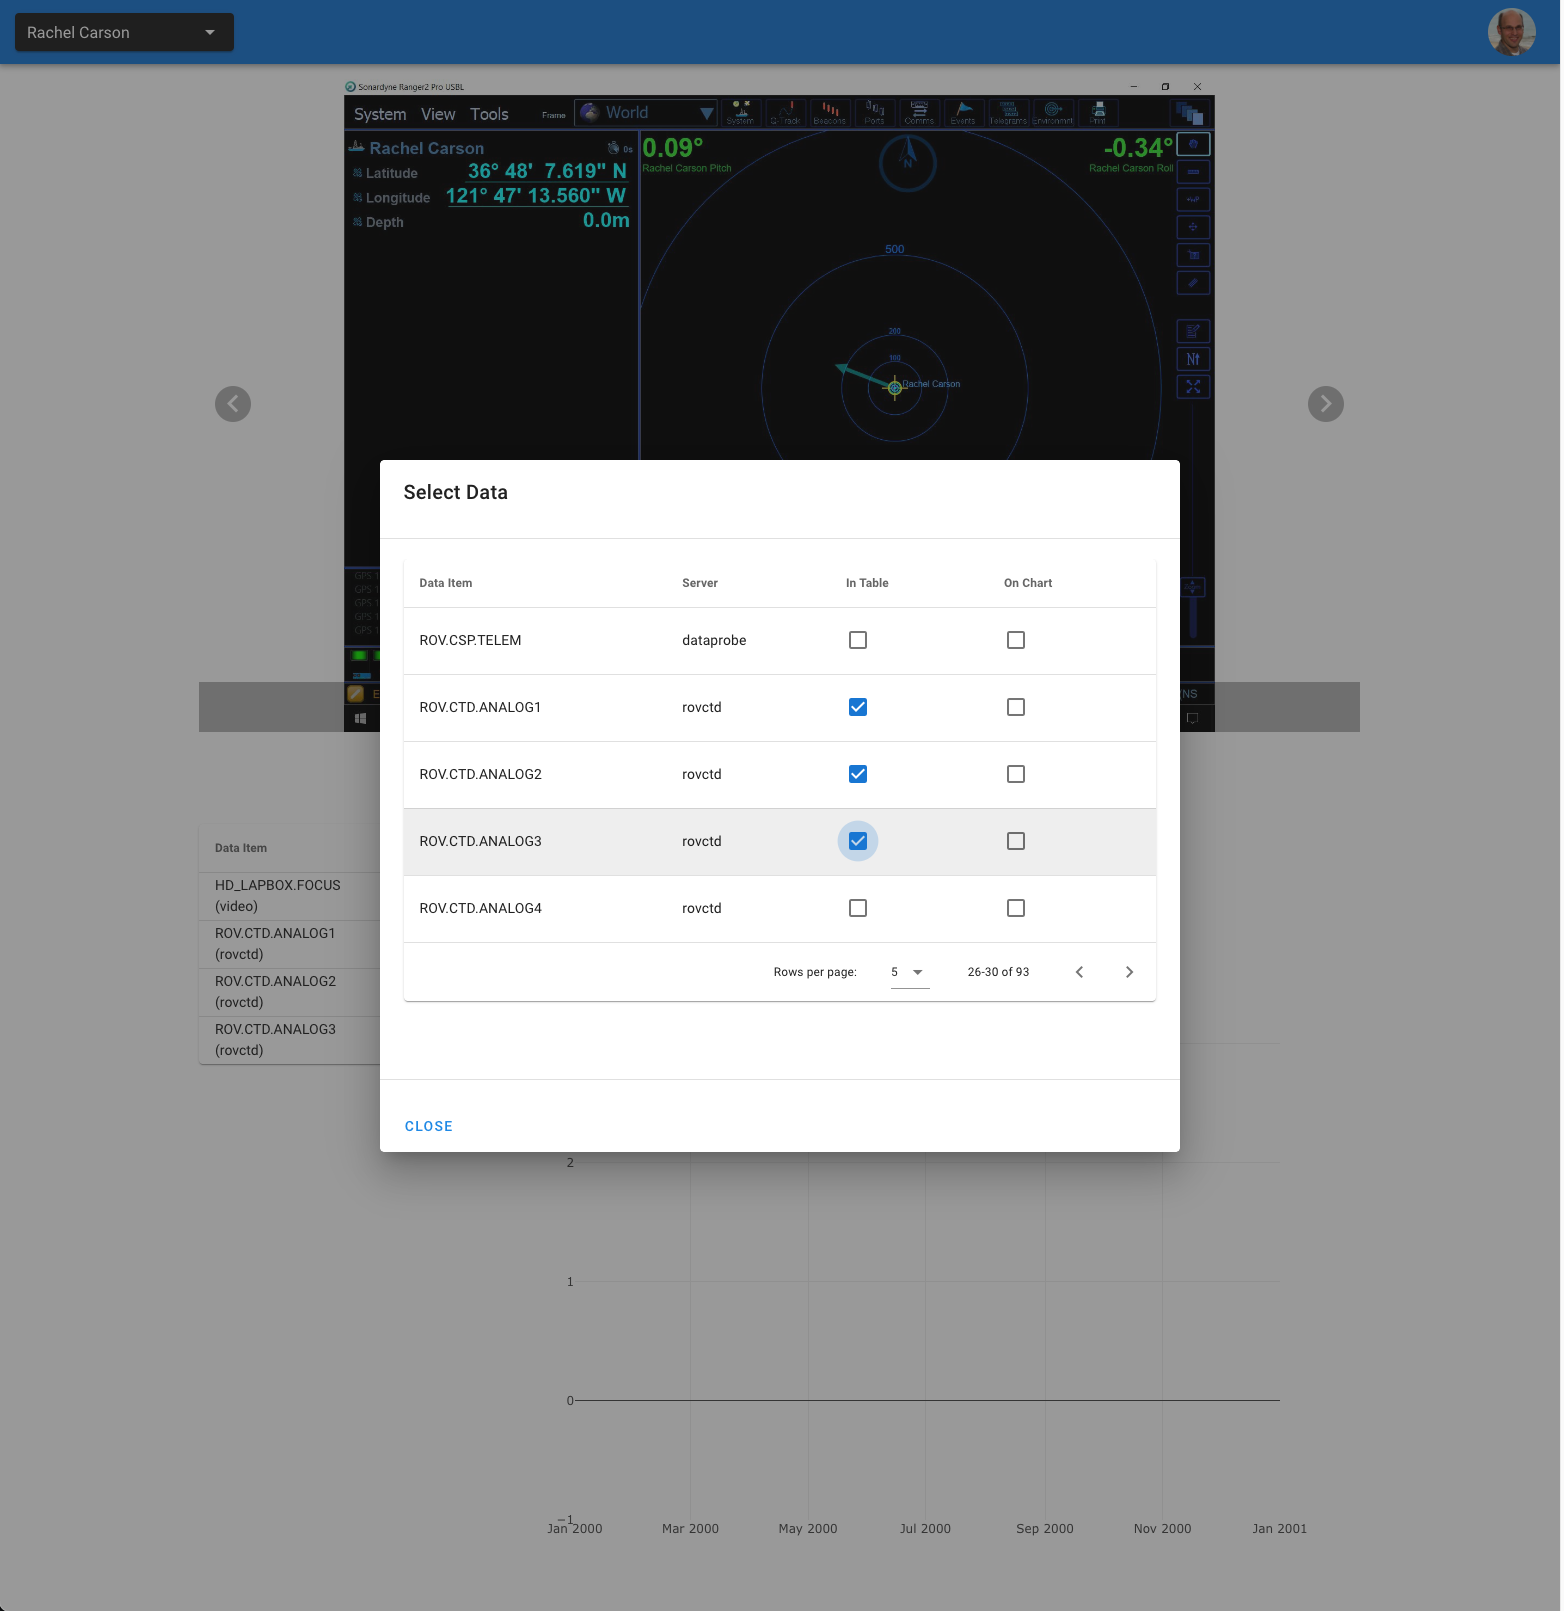
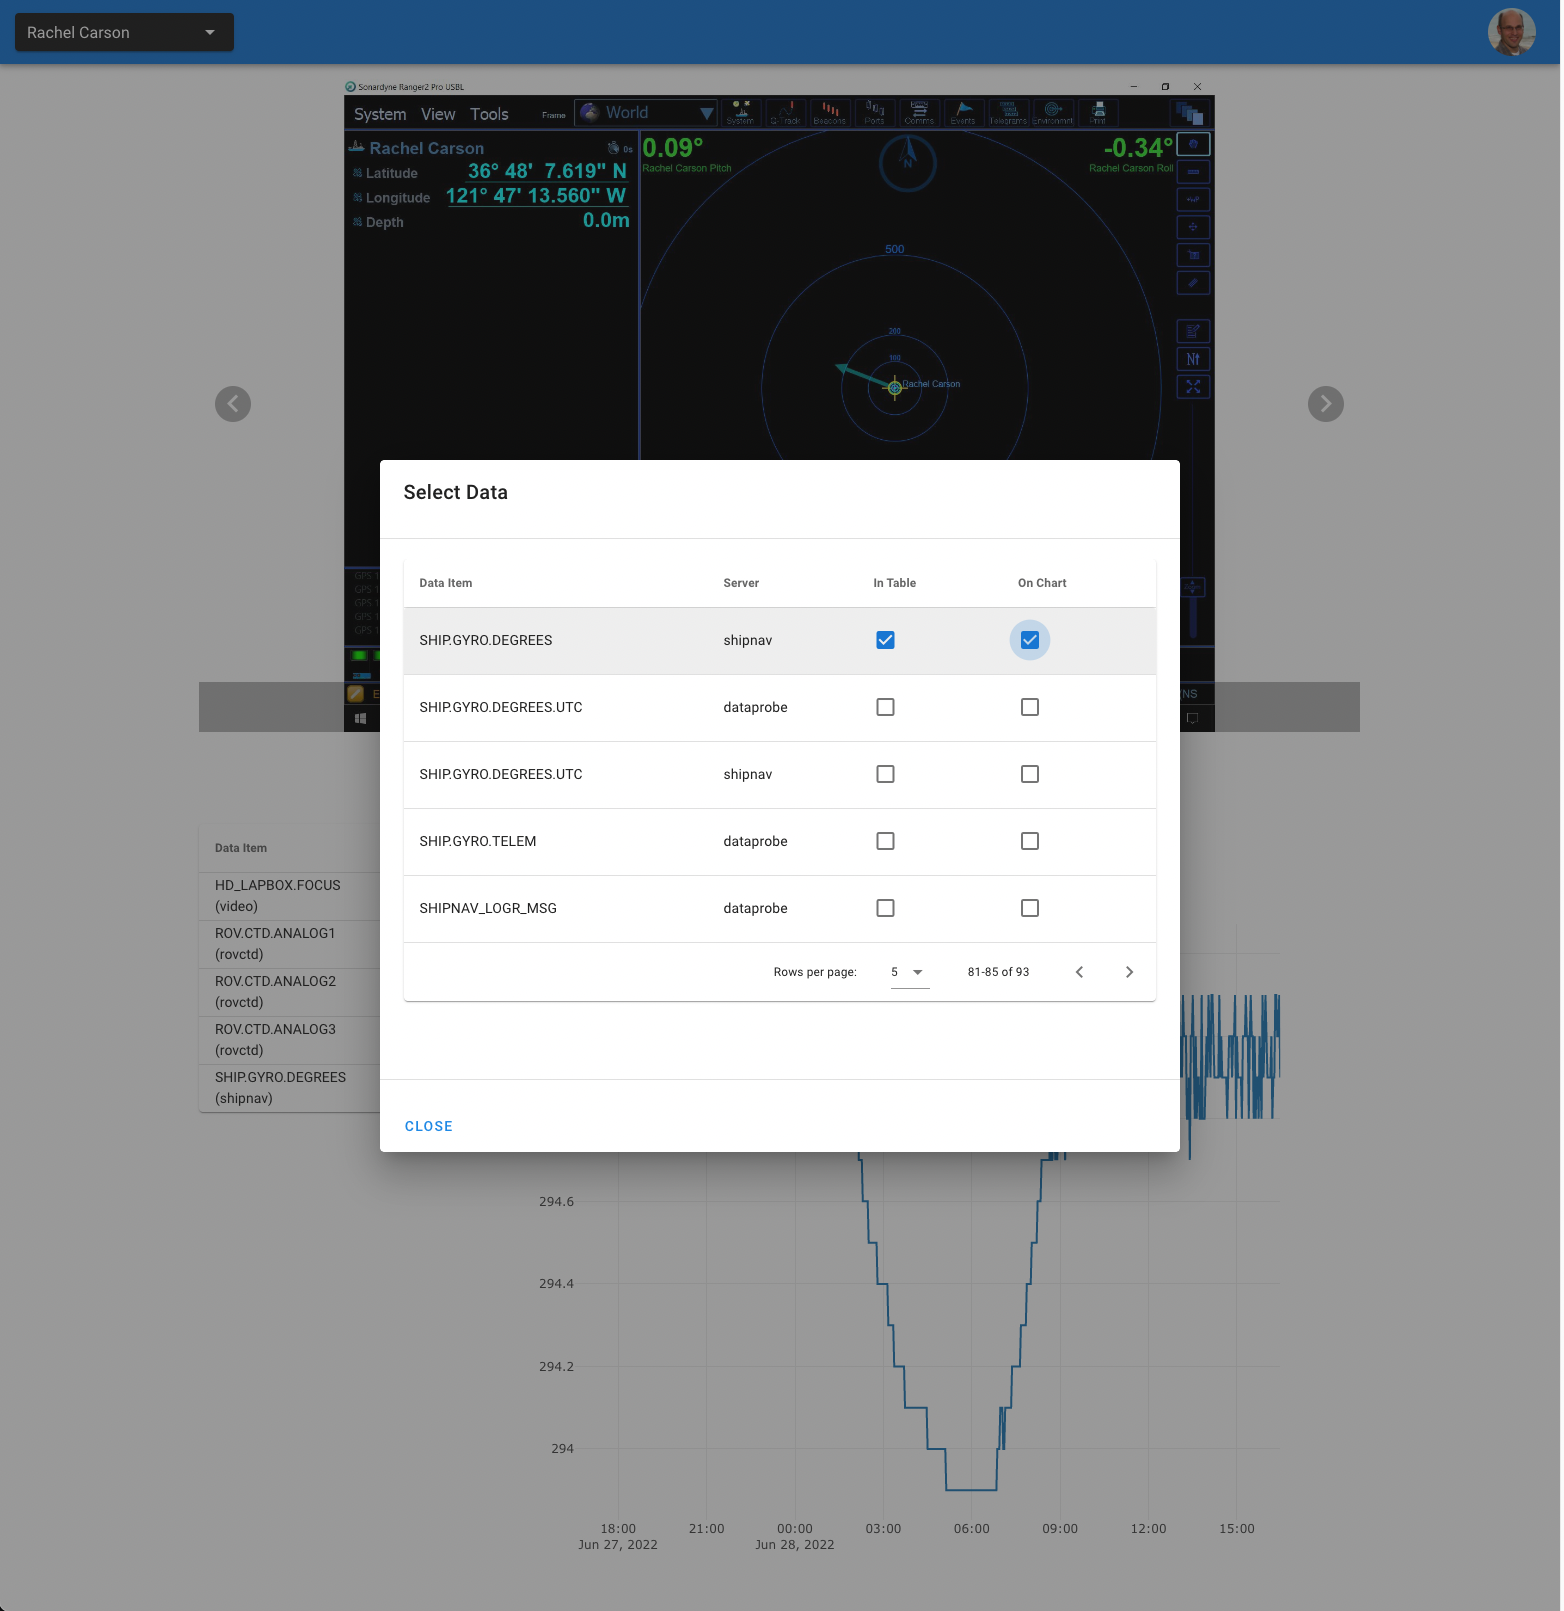
Once you have selected the items you are interested in, you can close the dialog and the table and chart will automatically stay up to date.