ArcMapNav Component
Installation
- This is a .NET assembly that works as a plugin for ESRI's ArcMap version 10. The plugin is designed to enable ROV users to record vehicle positions and comments (called Markpoints) during ROV operations.
It has the following prerequisites:
- Micorsoft.NET\framework v 3.5 - which should be in your C:\Windows\ directory. If not then download & install from the ArcGIS media's DotNet35 folder.
- ESRI's ArcGIS 10.x with updates, or greater. (Make sure that the .NET framework is installed before installing ArcGIS and do a "Complete" ArcGIS install.)
Previously installed versions of ArcMapNav should be removed via the 'Add or Remove Programs' control panel or the 'Uninstall ArcMapNav' item in ArcMapNav's Program folder before running this installer.
Detailed installation instructions
Before installing ArcGIS please install the .NET v3.5 framework. Note that modern (ca. 2013) Windows installations should have .NET already installed. If is is not installed, then you may run the .exe that is provided in the DotNet35 folder on the ArcGIS 10.x install folder/media.
Then install ArcGIS 10 or later (standalone), e.g. from MBARI's Intranet:
<\\atlas\Apps\ArcView\ArcGIS 10.1>
Run the setup program and do a complete install - a "Complete" installed is required to get .NET support.
The registration codes for ArcView and its extensions are at the bottom of:
https://mww.mbari.org/is/howto/software/arcgis
Then install any updates or service packs needed for ArcGIS. Finally, install ArcMapNav 2.0 or later from:
https://docs.mbari.org/internal/se-ie-doc/systems/navproc-datamanager/clients/arcmapnav/
Click on the Installer for ArcMapNav v2.x link, run the installer and follow its instructions.
Note:
If you do not see 'ArcMapNav" in ArcMap's Toolbars list then close ArcMap and register manually by executing this command in a cmd window with Administrator privileges (in Windows 7 start cmd while holding Ctl-Shift):
"C:\Program Files\Common Files\ArcGIS\bin\ESRIRegAsm" "C:\Program Files\ArcMapNav\ArcMapNav.dll"
If you are running Windows 7 64-bit the command to register ArcMapNav is:
"C:\Program Files (x86)\Common Files\ArcGIS\bin\ESRIRegAsm" "C:\Program Files (x86)\ArcMapNav\ArcMapNav.dll"
Operations
Should it be necessary to change a setting that ArcMapNav uses, you can do that by directly editing the user.config file which is located in a directory such as this:
C:\Users\kgomes\AppData\Local\ESRI\DefaultDomain_Path_xxxxxxxxx\10.y.zzzzzzz
(Replace 'kgomes' with the appropriate login, the DefaultDomain_Path_xxxxxx folder may be a different name, and the final subdirectory will depend on the version of ArcMap being used.)
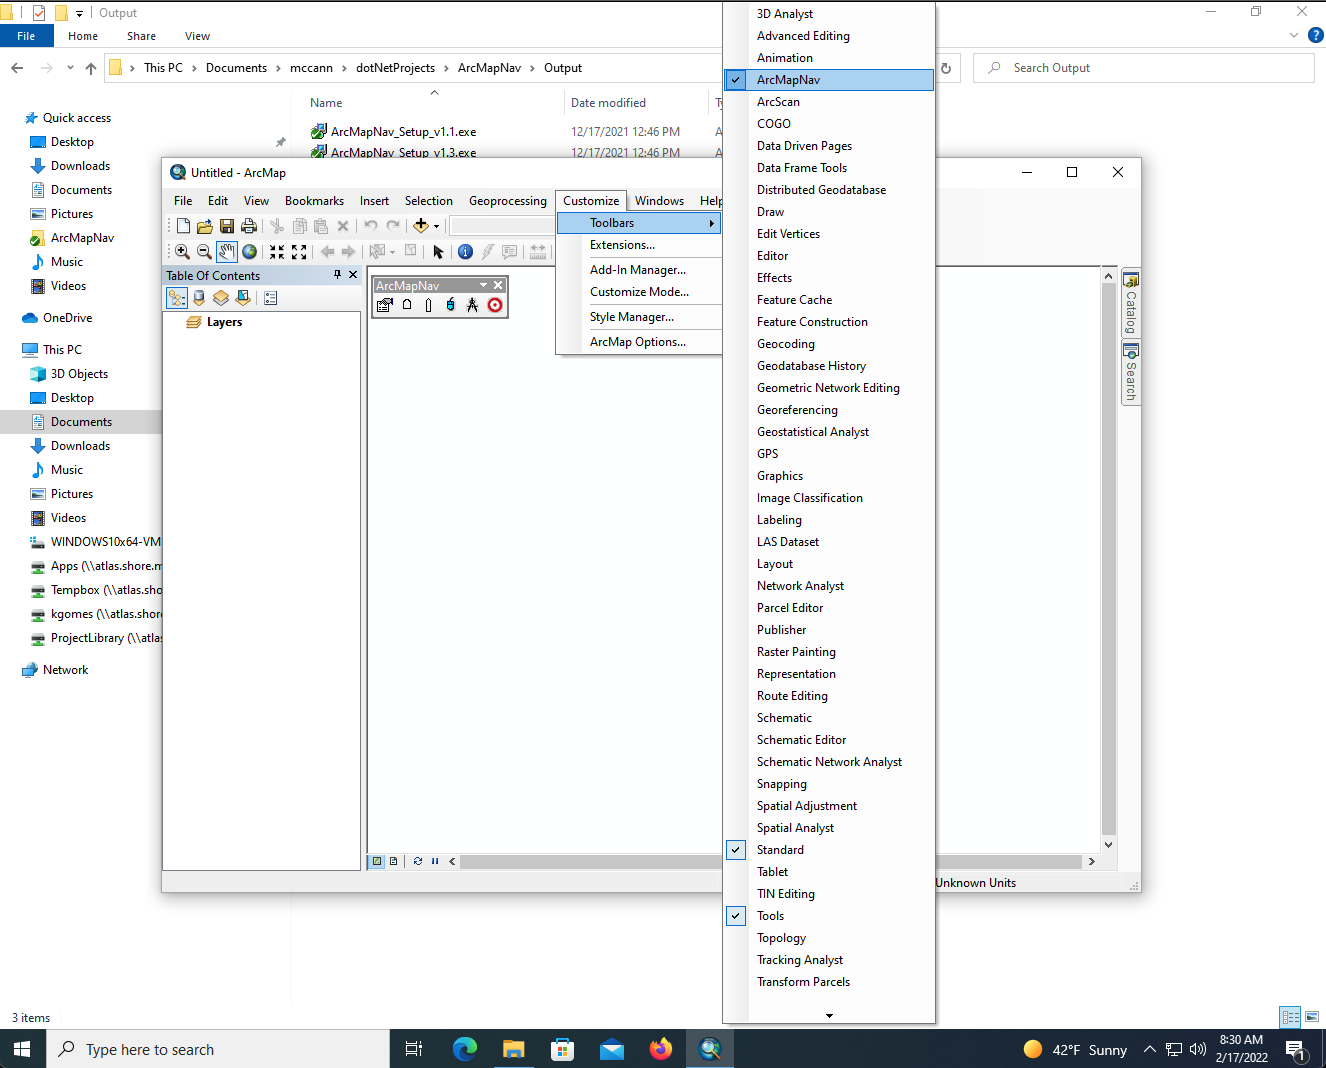
After installing the ArcMapNav extension add it to ArcMap through the Tools -> Customize... menu (check the ArcMapNav box):
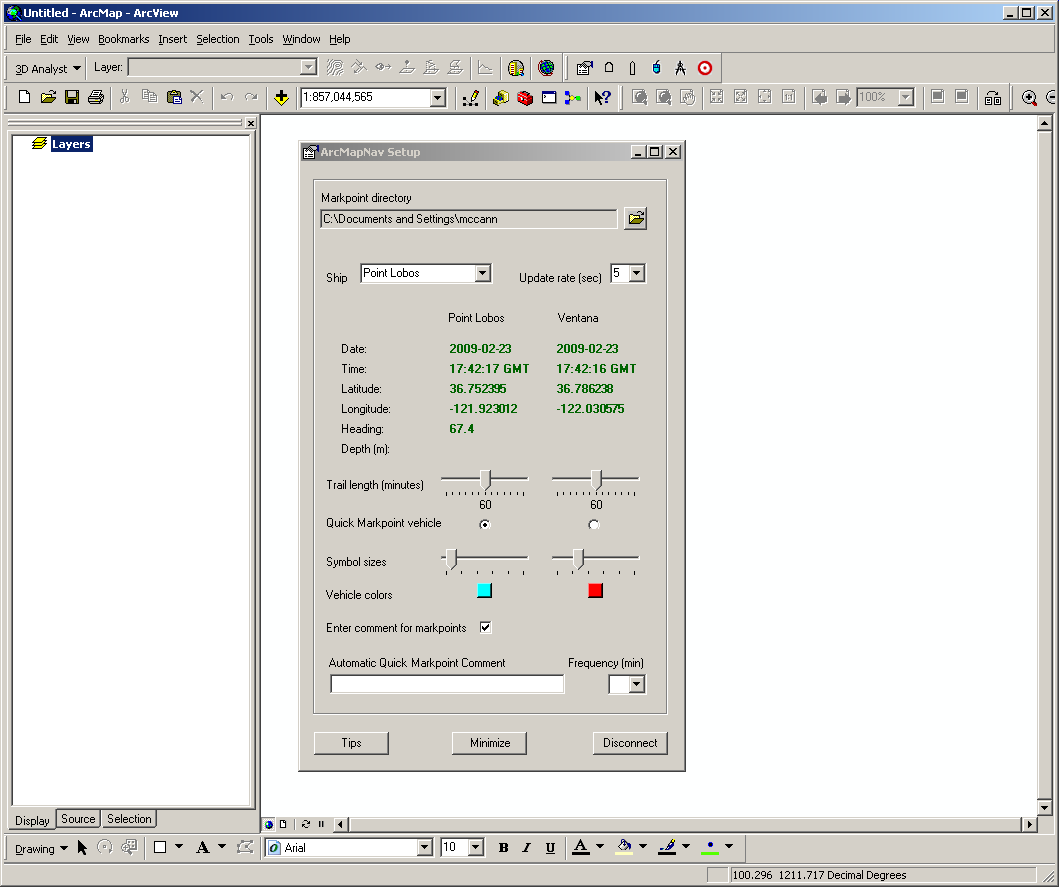
Click the ArcMapNav Setup button (select the Ship and see that positions are being updated)
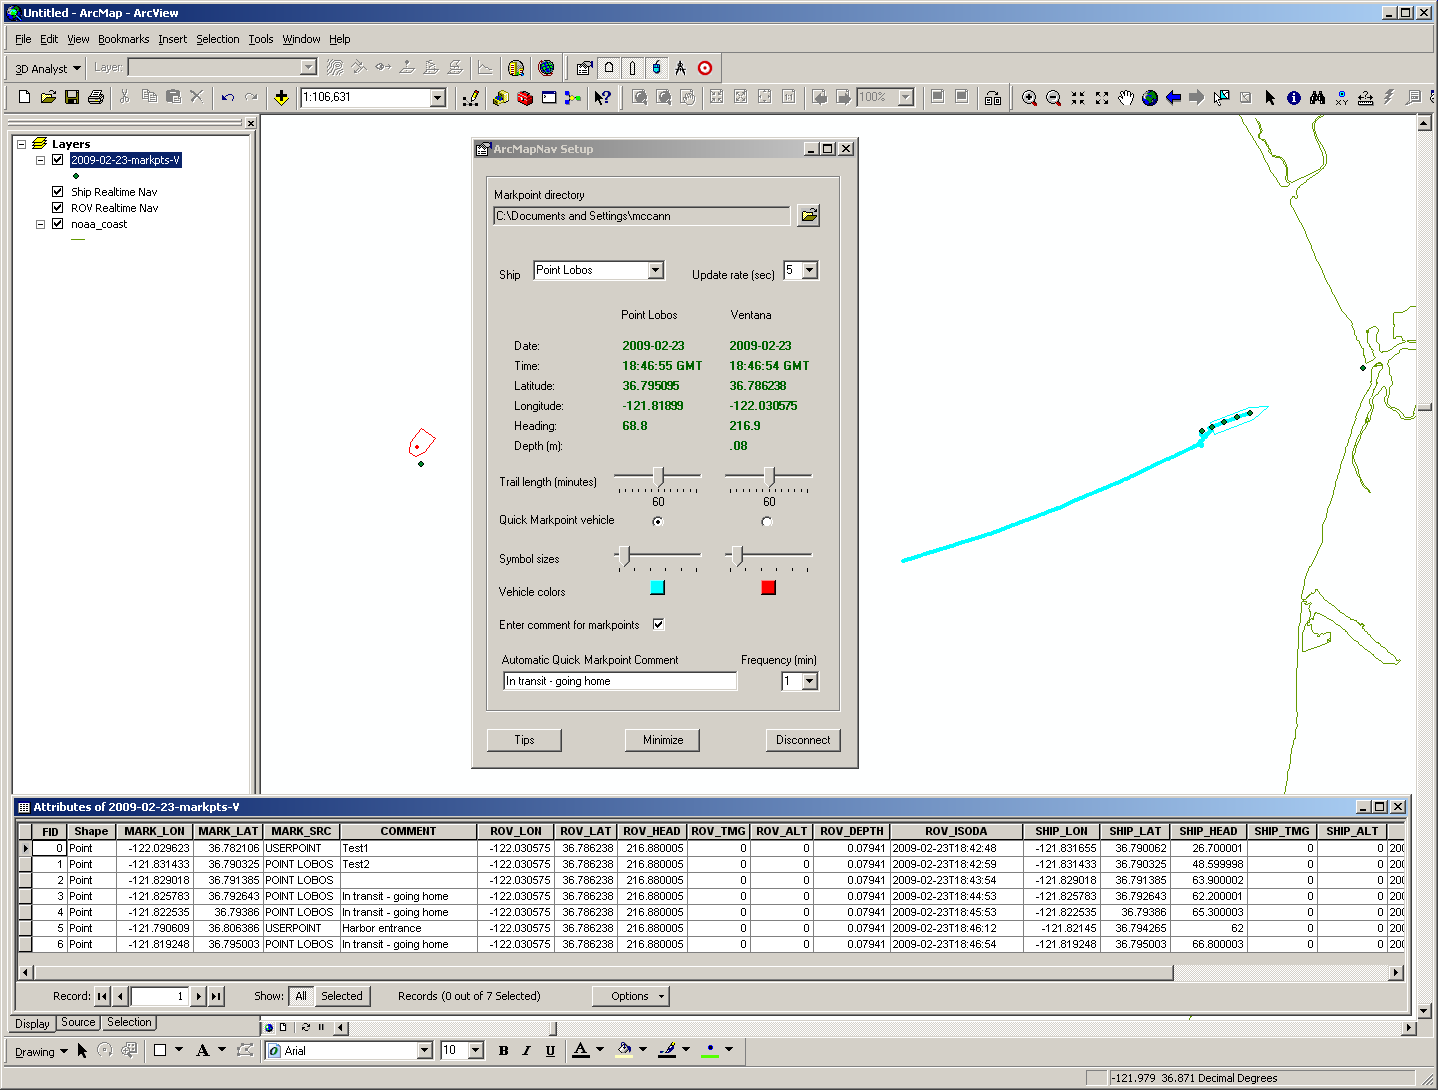
Add the ROV and Ship Layers, and any other base layers you wish

Saving Markpoints (click on Mouse button or Target button
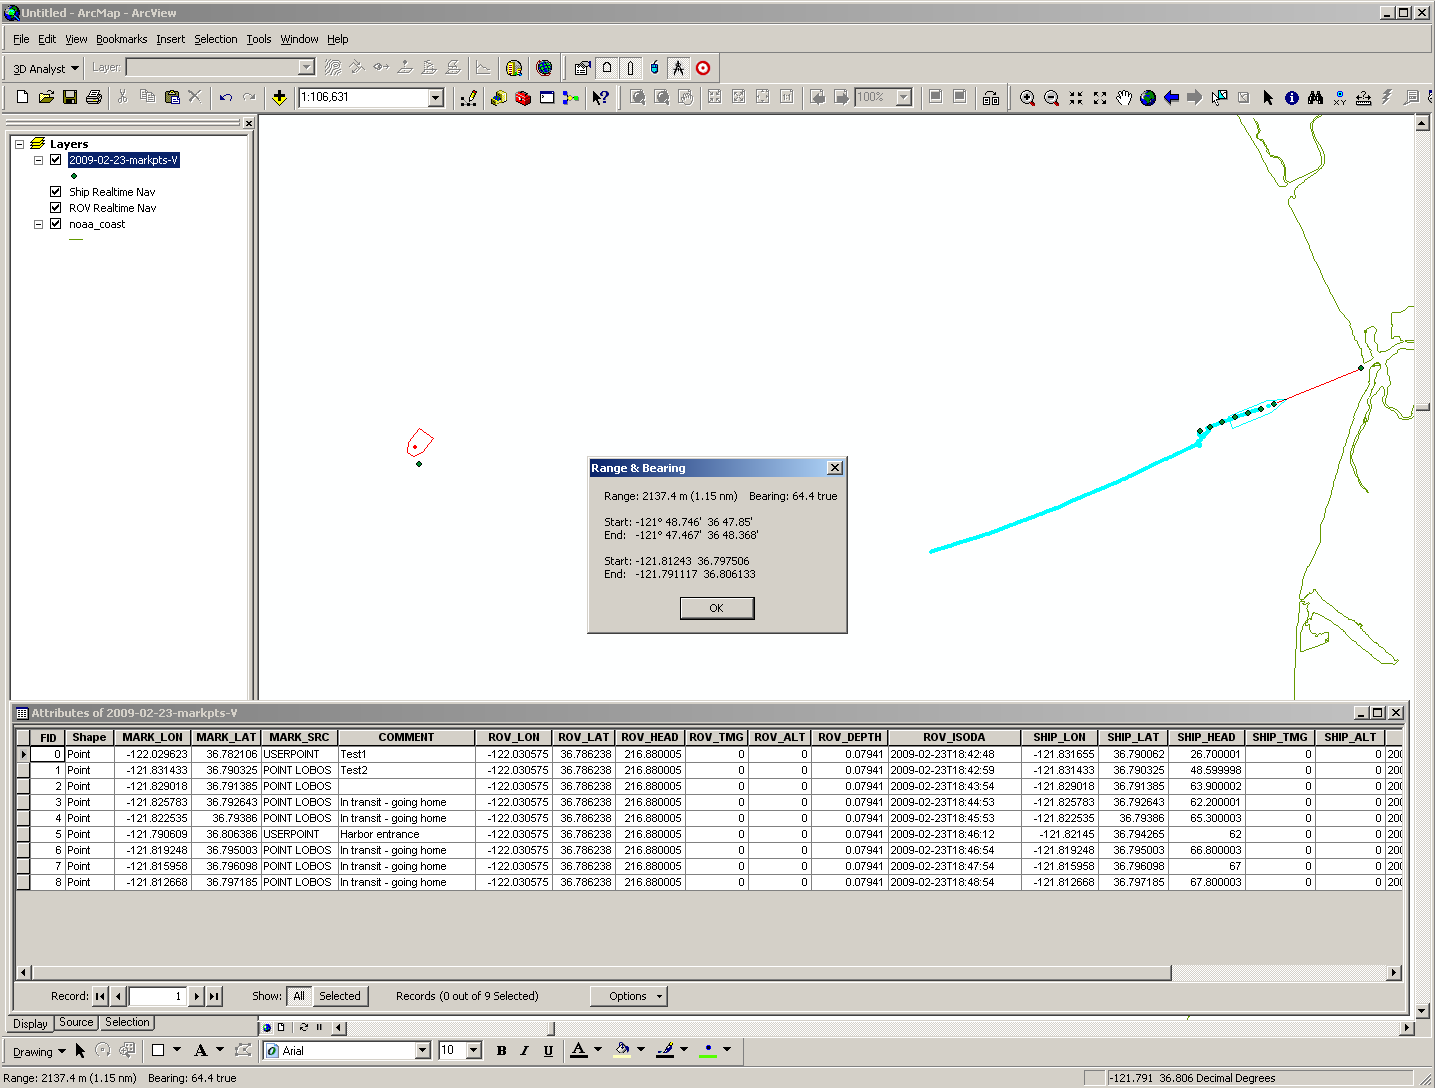
Getting Range and Bearing (click on Compass button)
Developing Setup and Instructions
Source Code for ArcMapNav is here
You need to do a 'bit' of setup in order to be able to effectively develop, debug and deploy the ArcMapNav component. Below are the steps that you need to take to get setup for development. Since the components are older versions, I found it best to start with a clean Windows 10 machine to make sure you don't have any newer, conflicting components
- Run any updates (until they don't have any more)
- Enable support for .Net3.5
- Press the Windows key. On your keyboard, type "Windows Features", and press Enter. The Turn Windows features on or off dialog box appears.
- Select the .NET Framework 3.5 (includes .NET 2.0 and 3.0) check box, select OK, and reboot your computer if prompted. It installs the .Net 2/3.5 libraries to C:\Windows\Microsoft.NET\Framework(64)
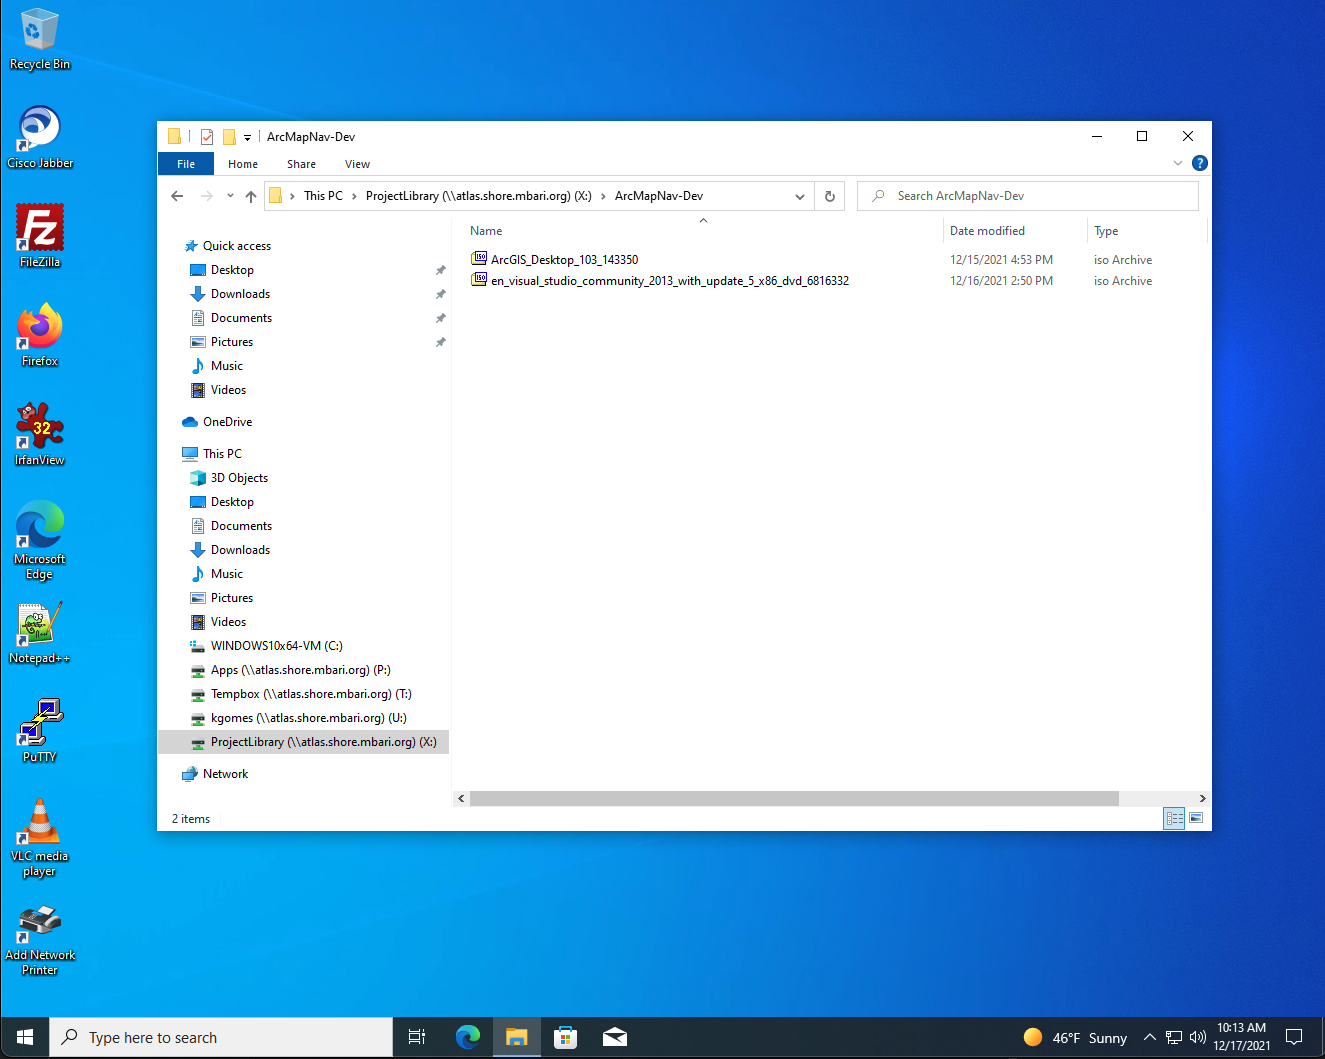
- Go to ProjectLibrary and in Folder ArcMapNav-Dev, copy down the .iso for Visual Studio 2013 Community Edition (en_visual_studio_community_2013_with_update_5_x86_dvd_6816332.iso) and the ArcGIS for Desktop .iso (ArcGIS_Desktop_103_143350). I copied them to the Downloads folder.
- From the IS Apps ArcGIS folder, go to latest ArcGIS version and download the .prvc file to Downloads
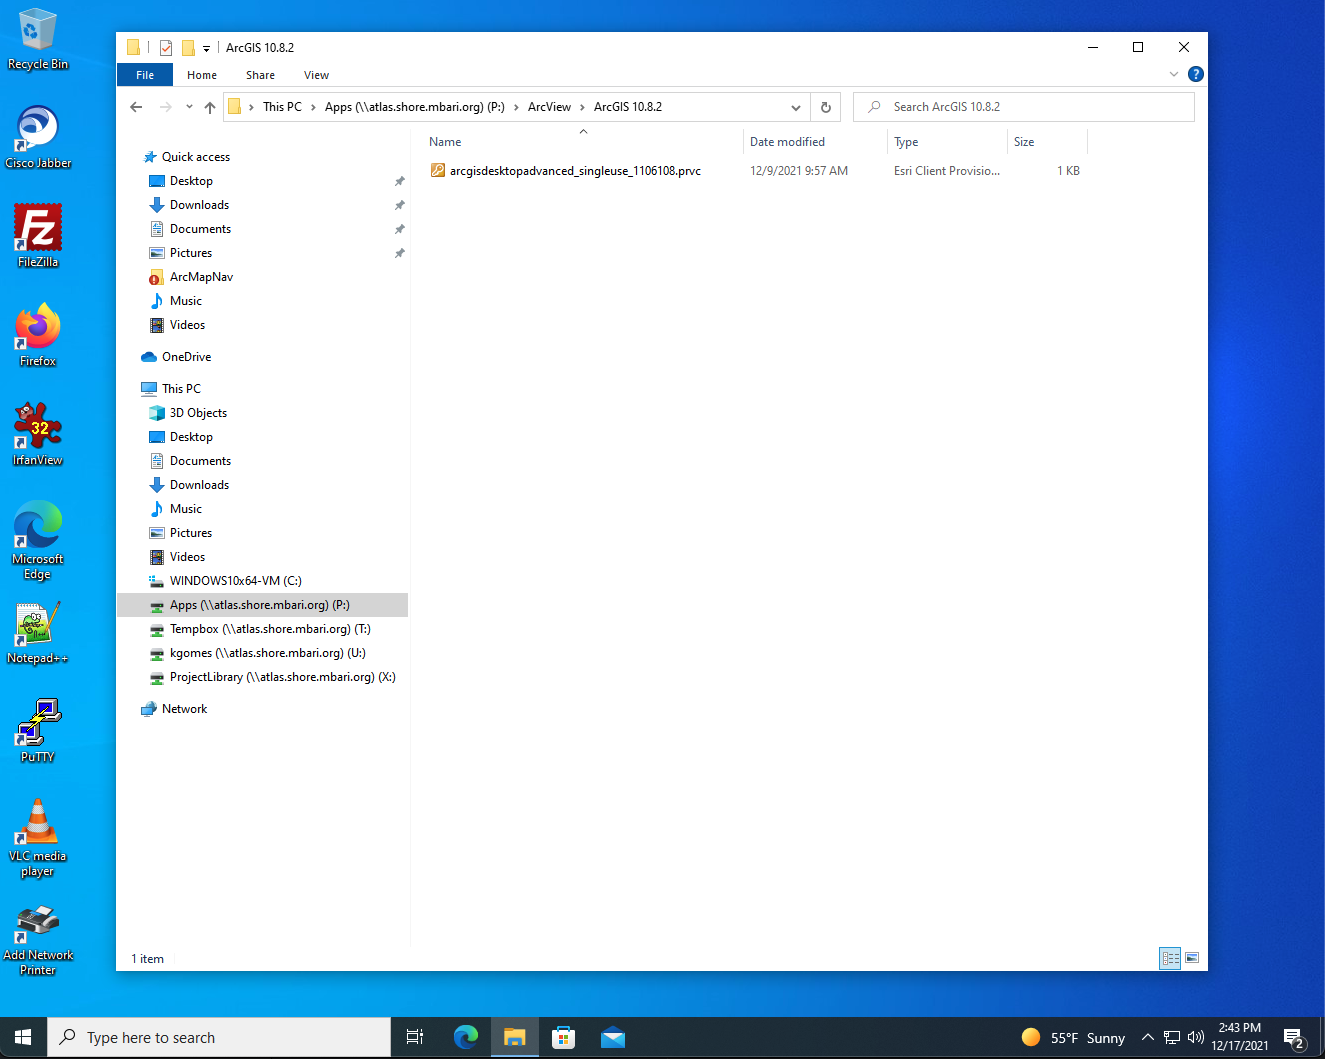
- Created VS2013 folder in downloads
- Created ArcGIS-10-3 folder in downloads
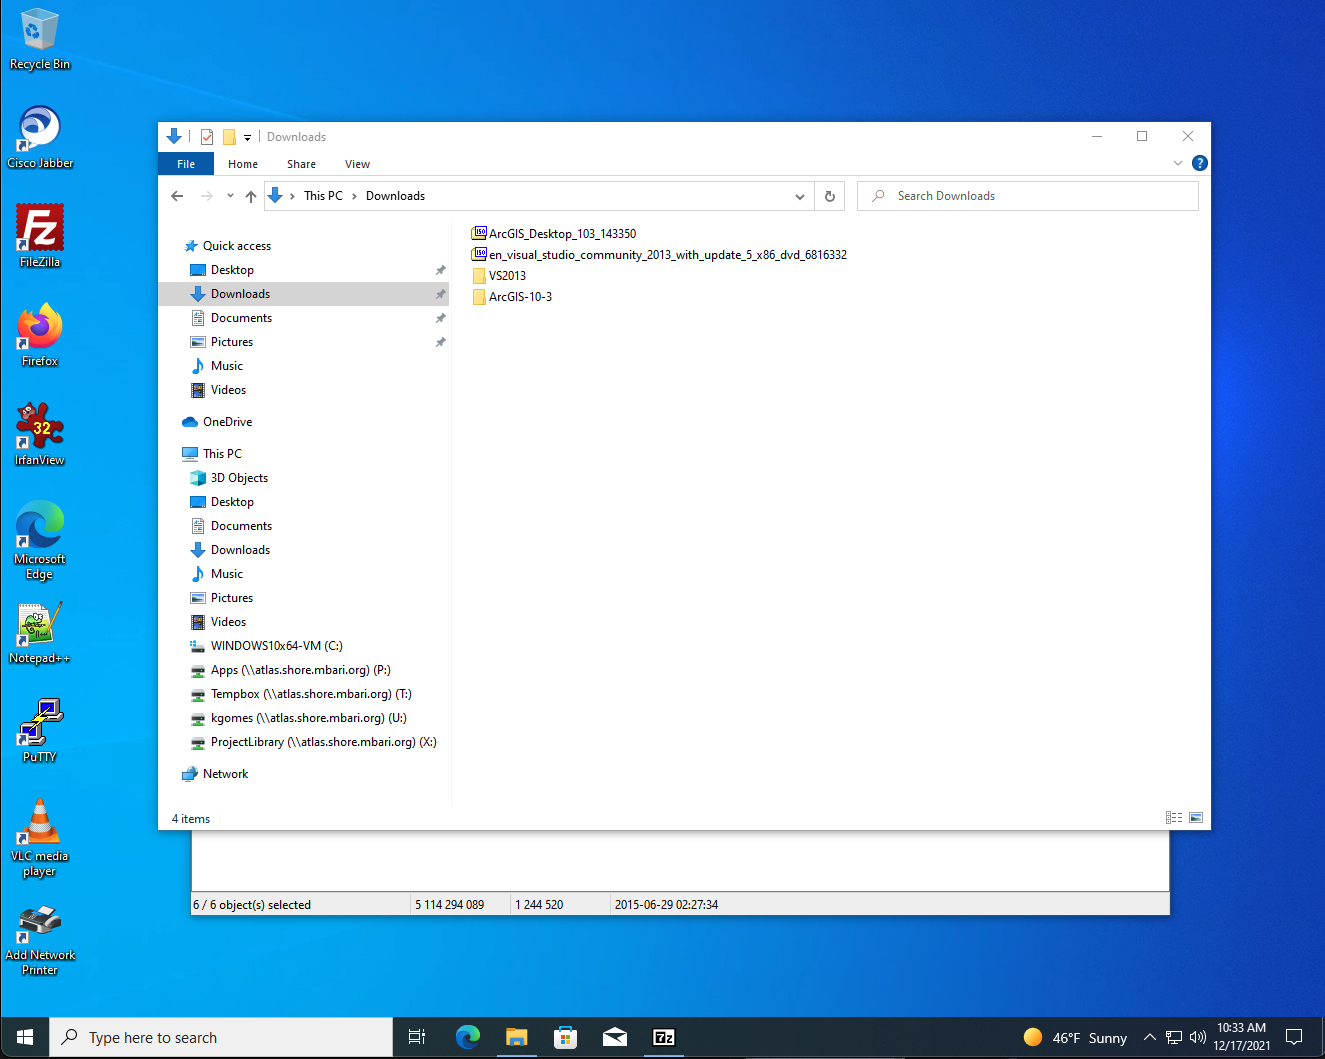
- Extract the contents (7Pak comes with IS installed Windows) of both somewhere on your drive
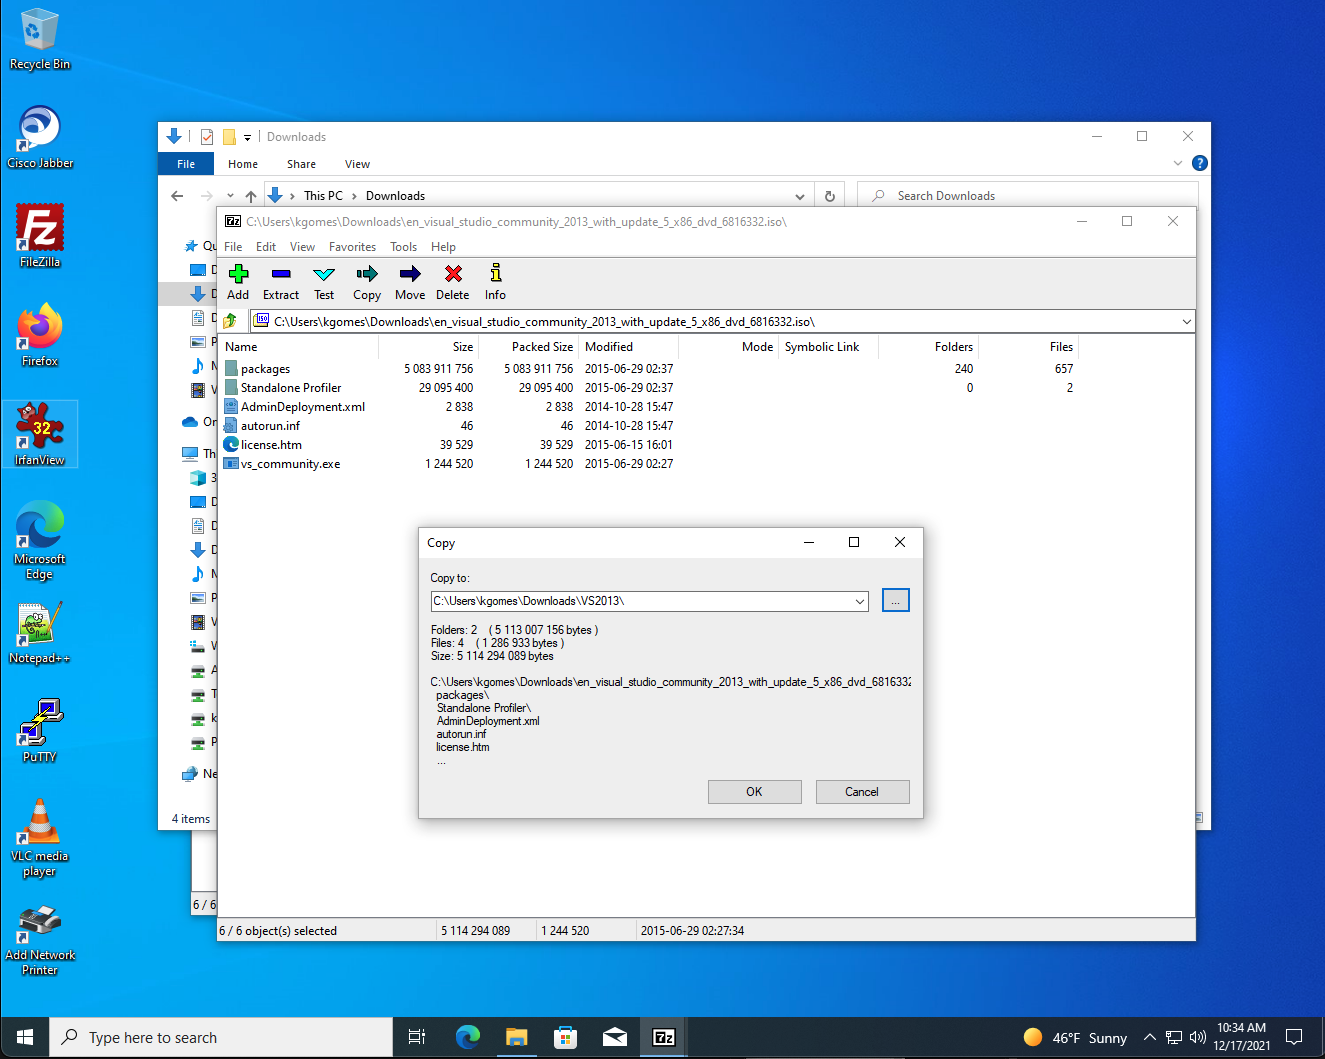
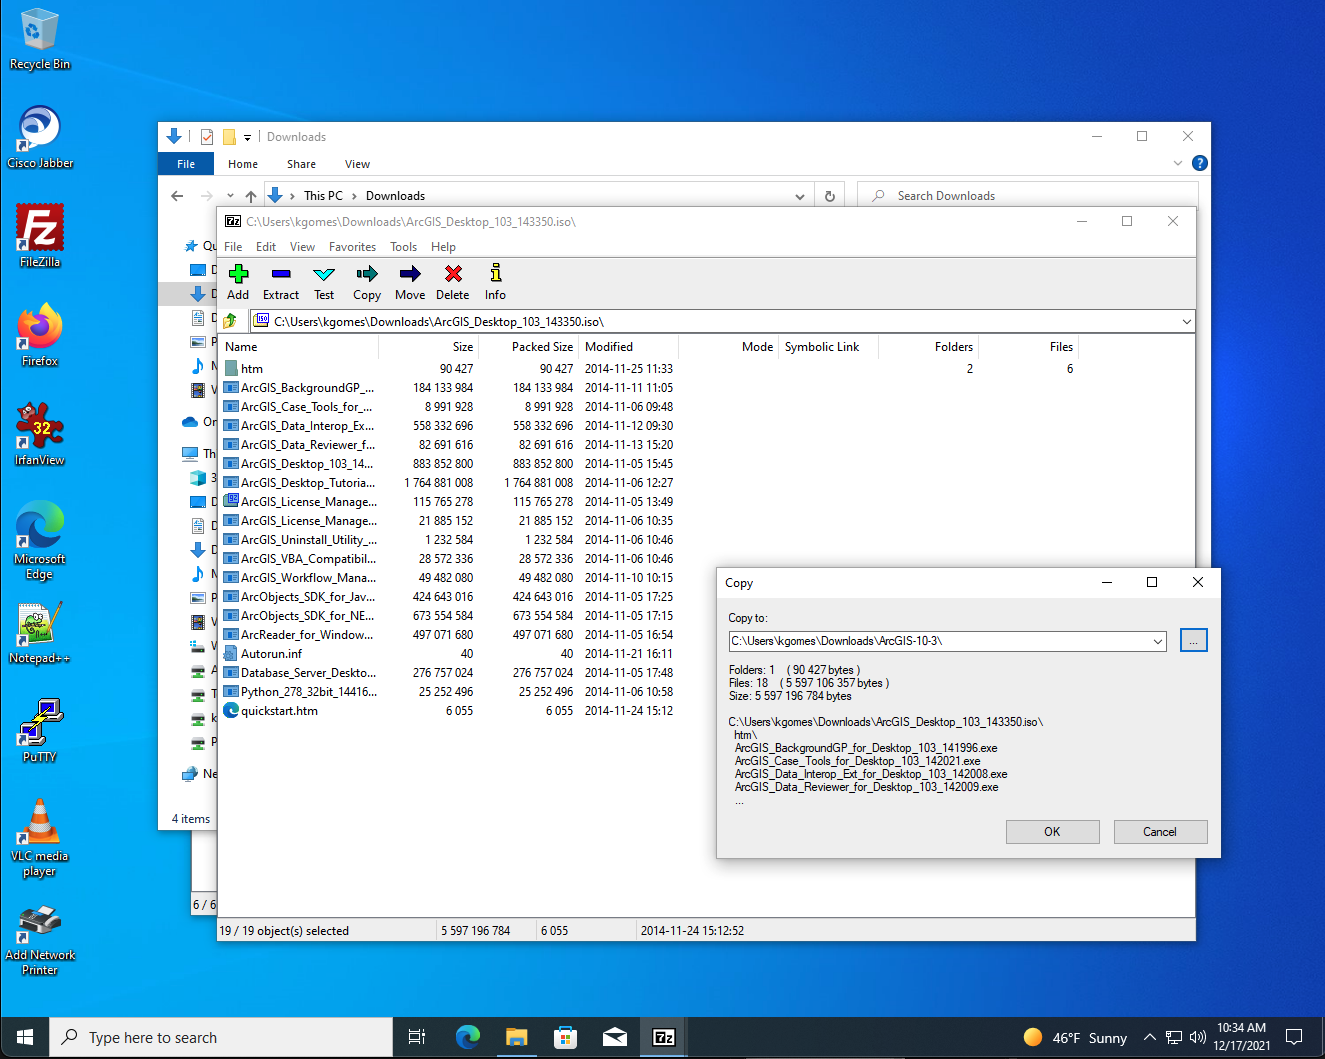
- Run the installer for Visual Studio 2013
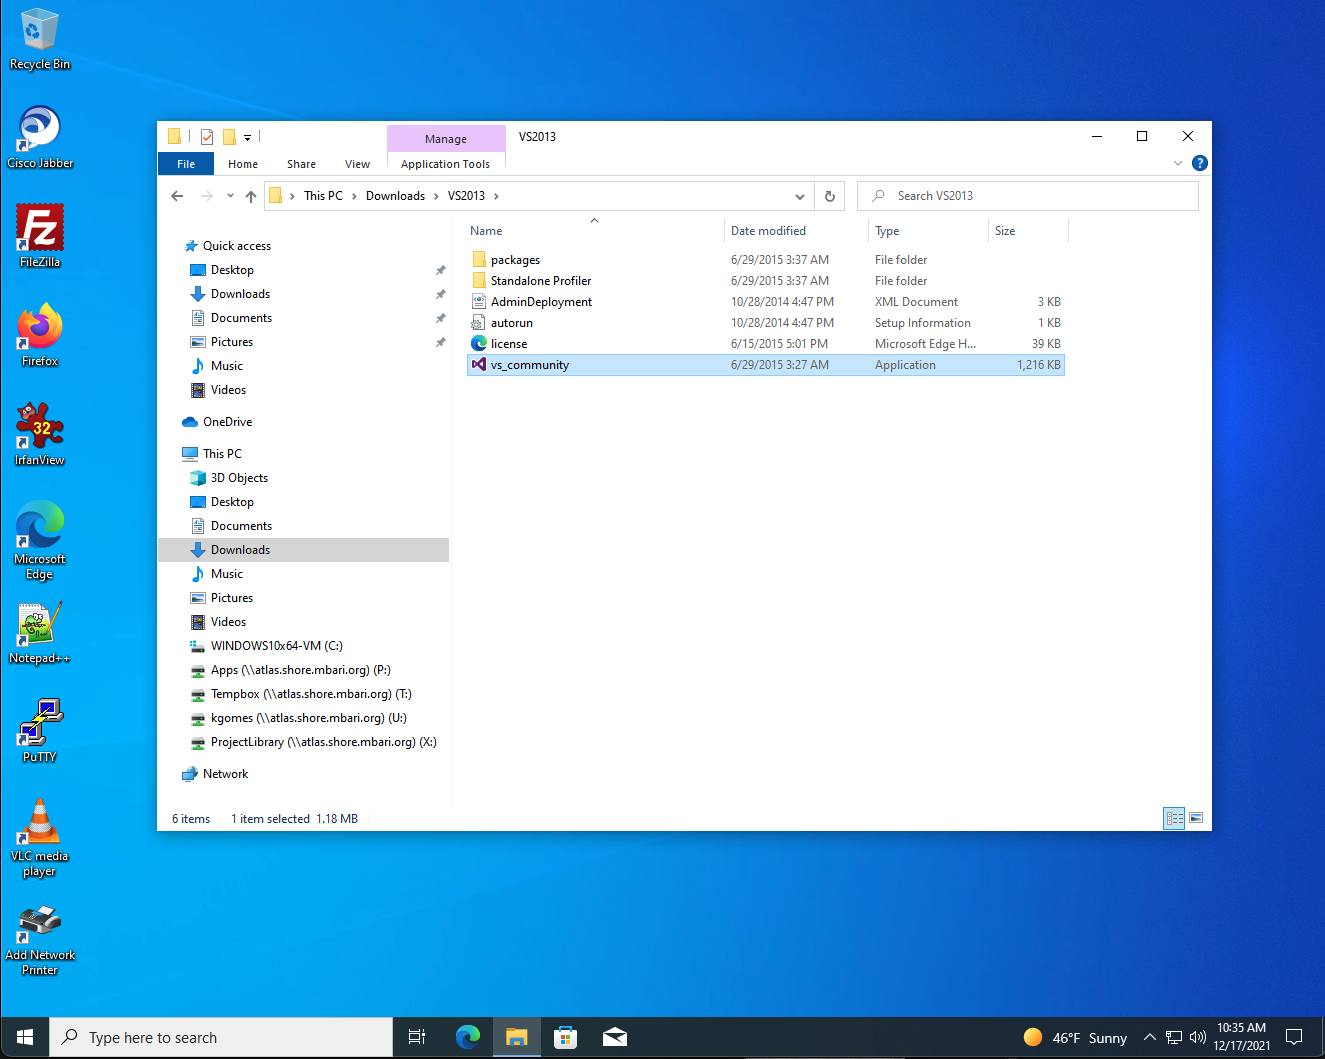
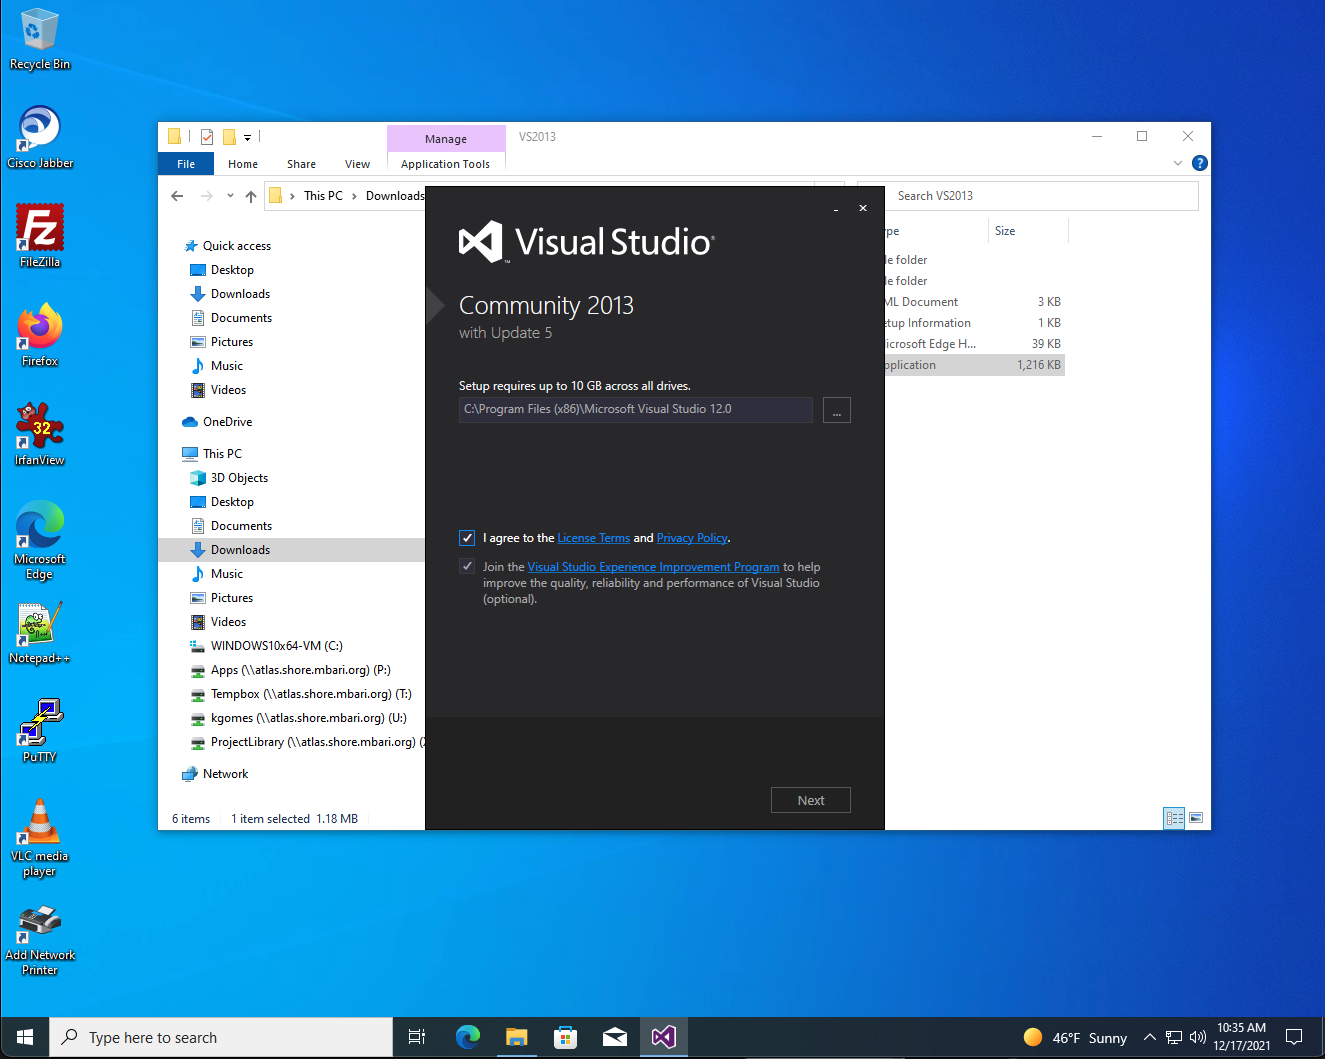
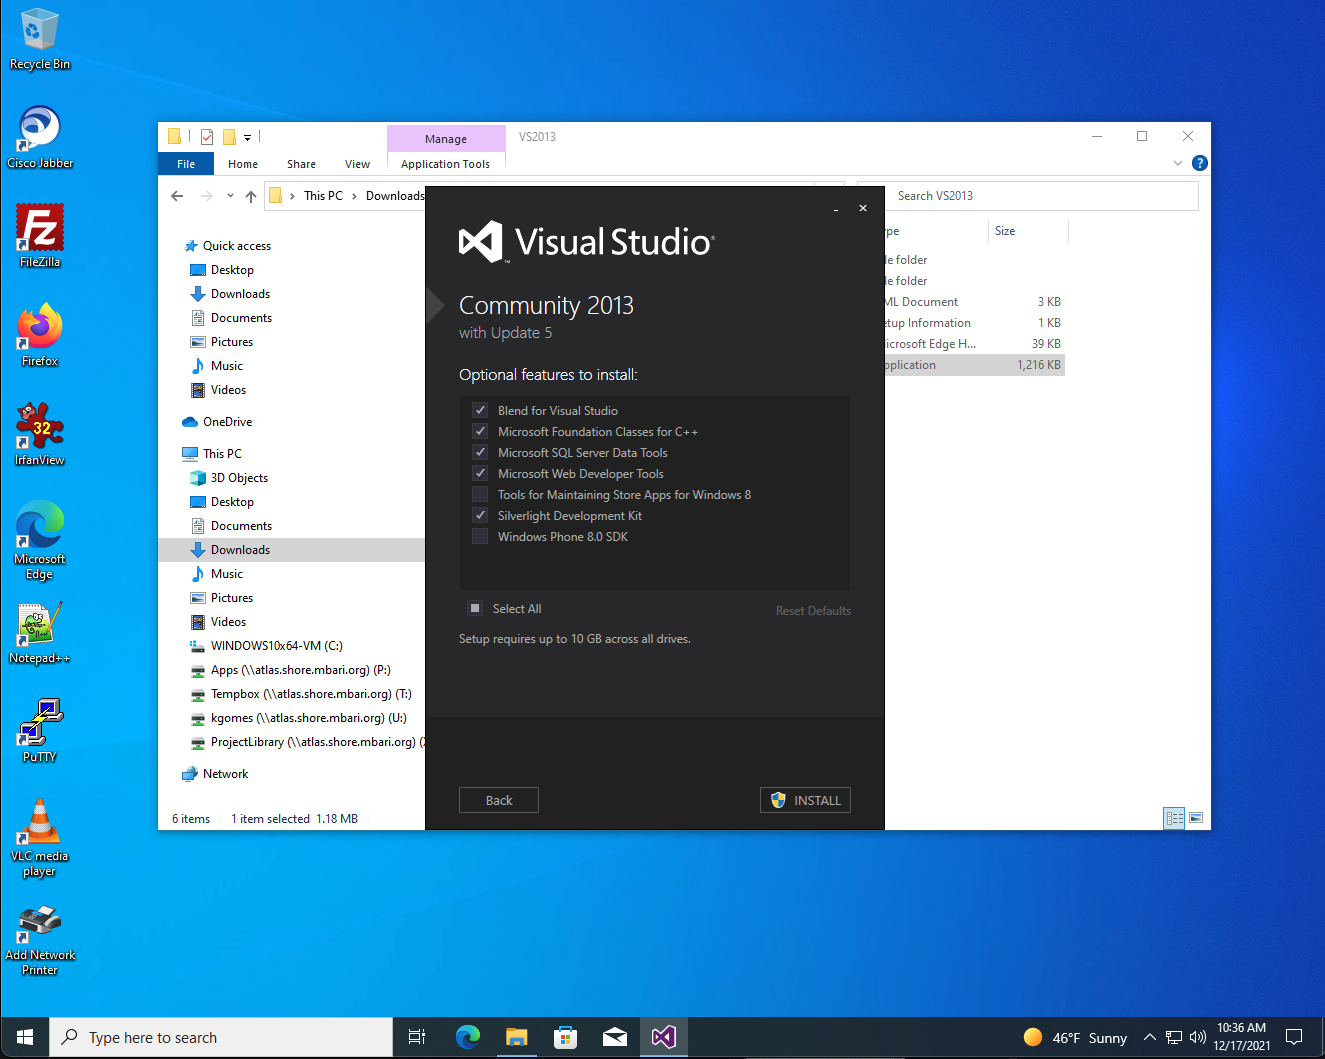
- Start VS 2013
- login using MBARI account
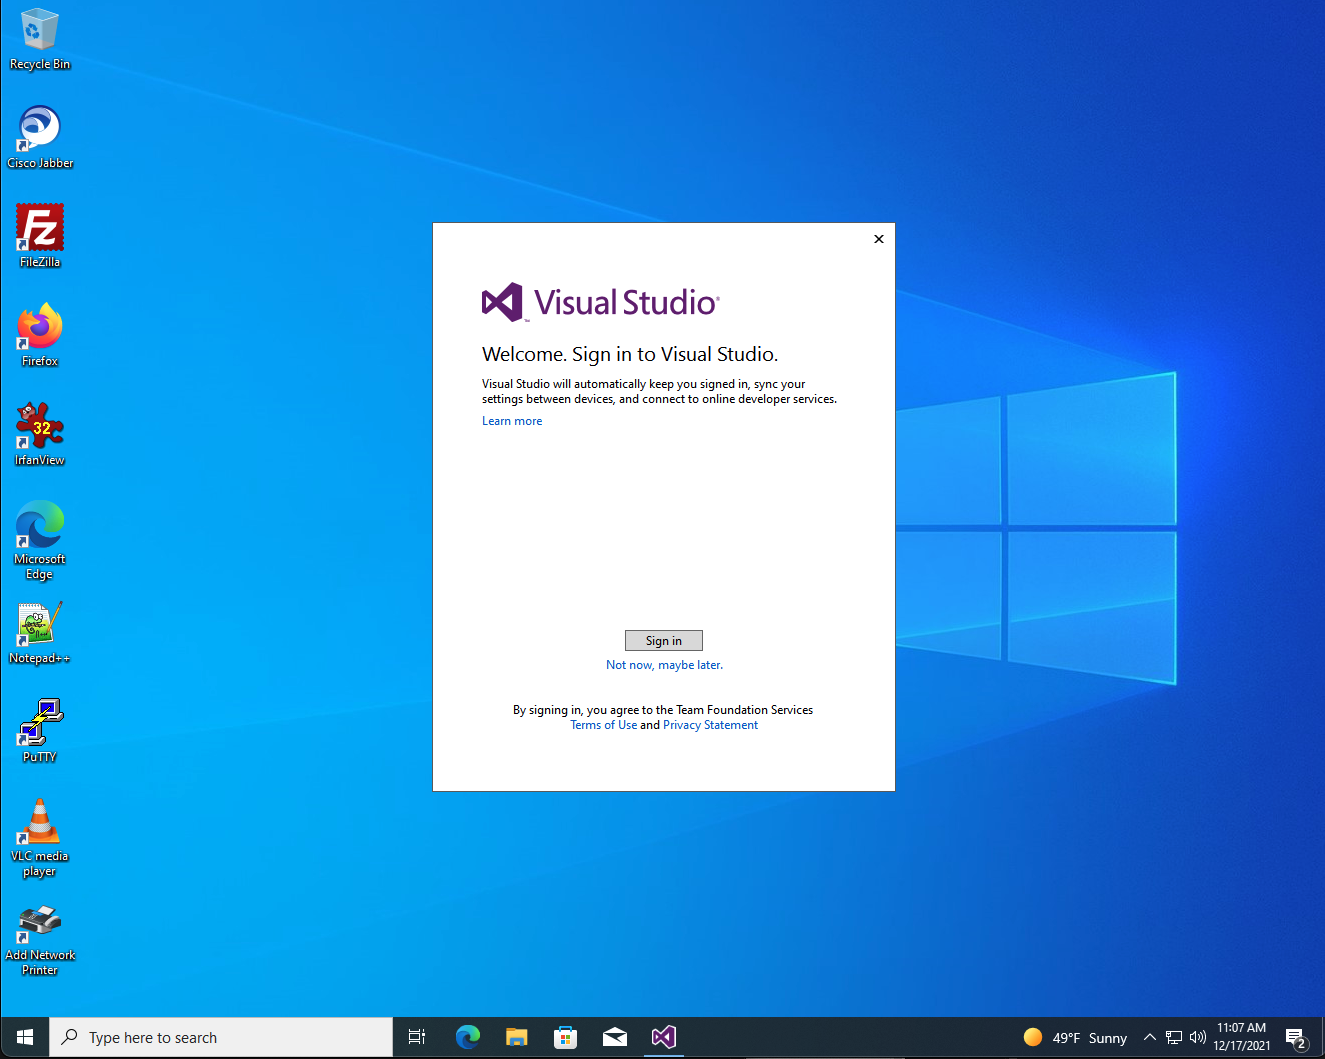
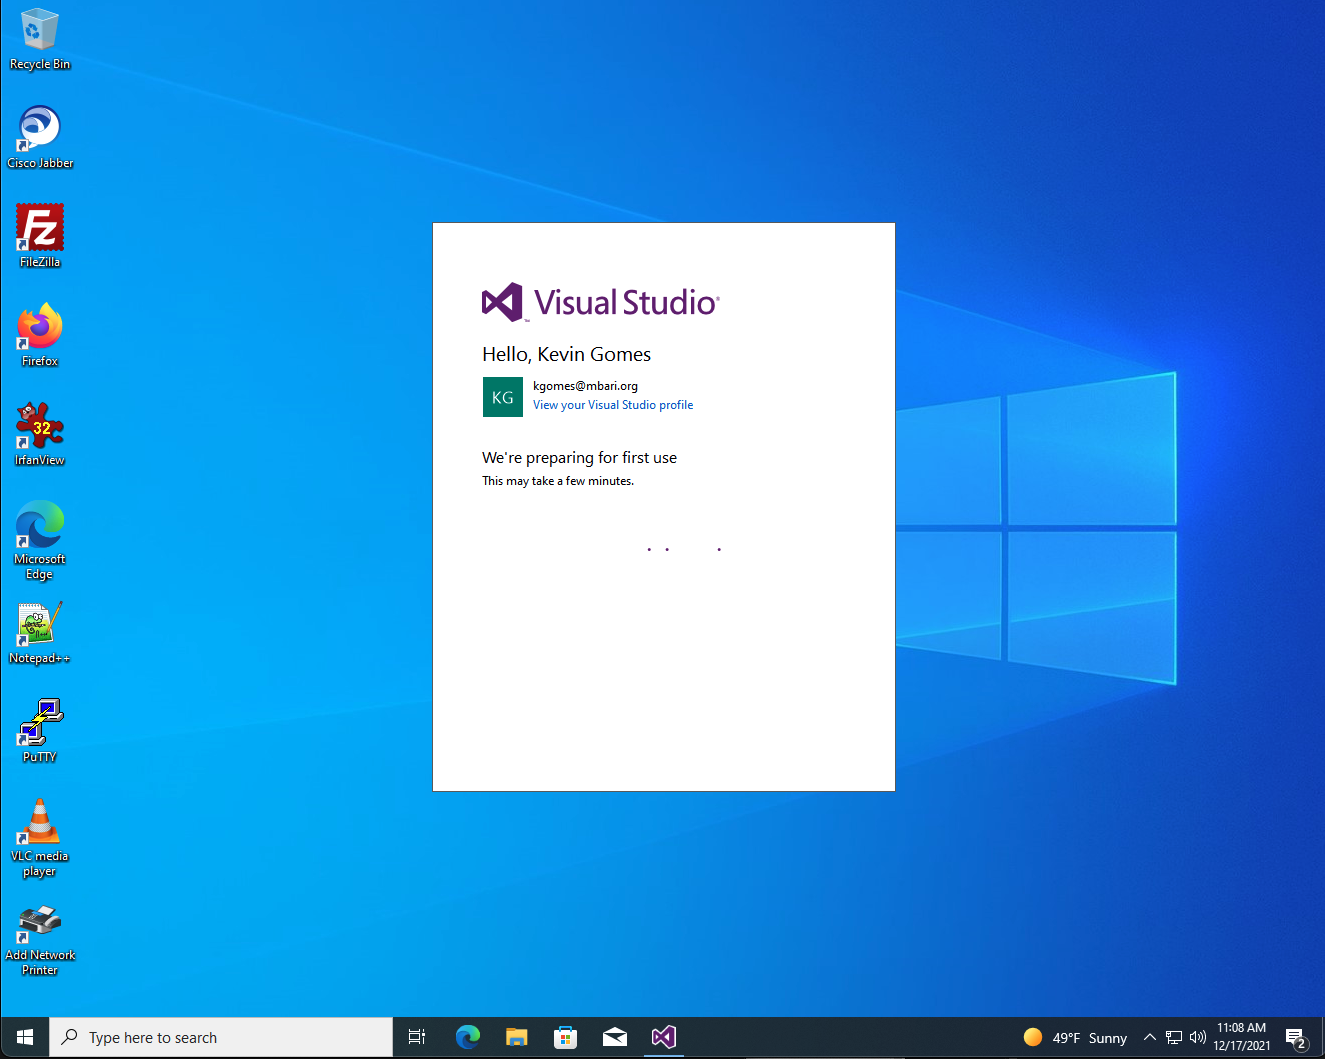
- Close VS 2013
- Run the installer for ArcGIS 10.3
- Go to ArcGIS-10-3 folder and run ArcGIS_Desktop_103_141985
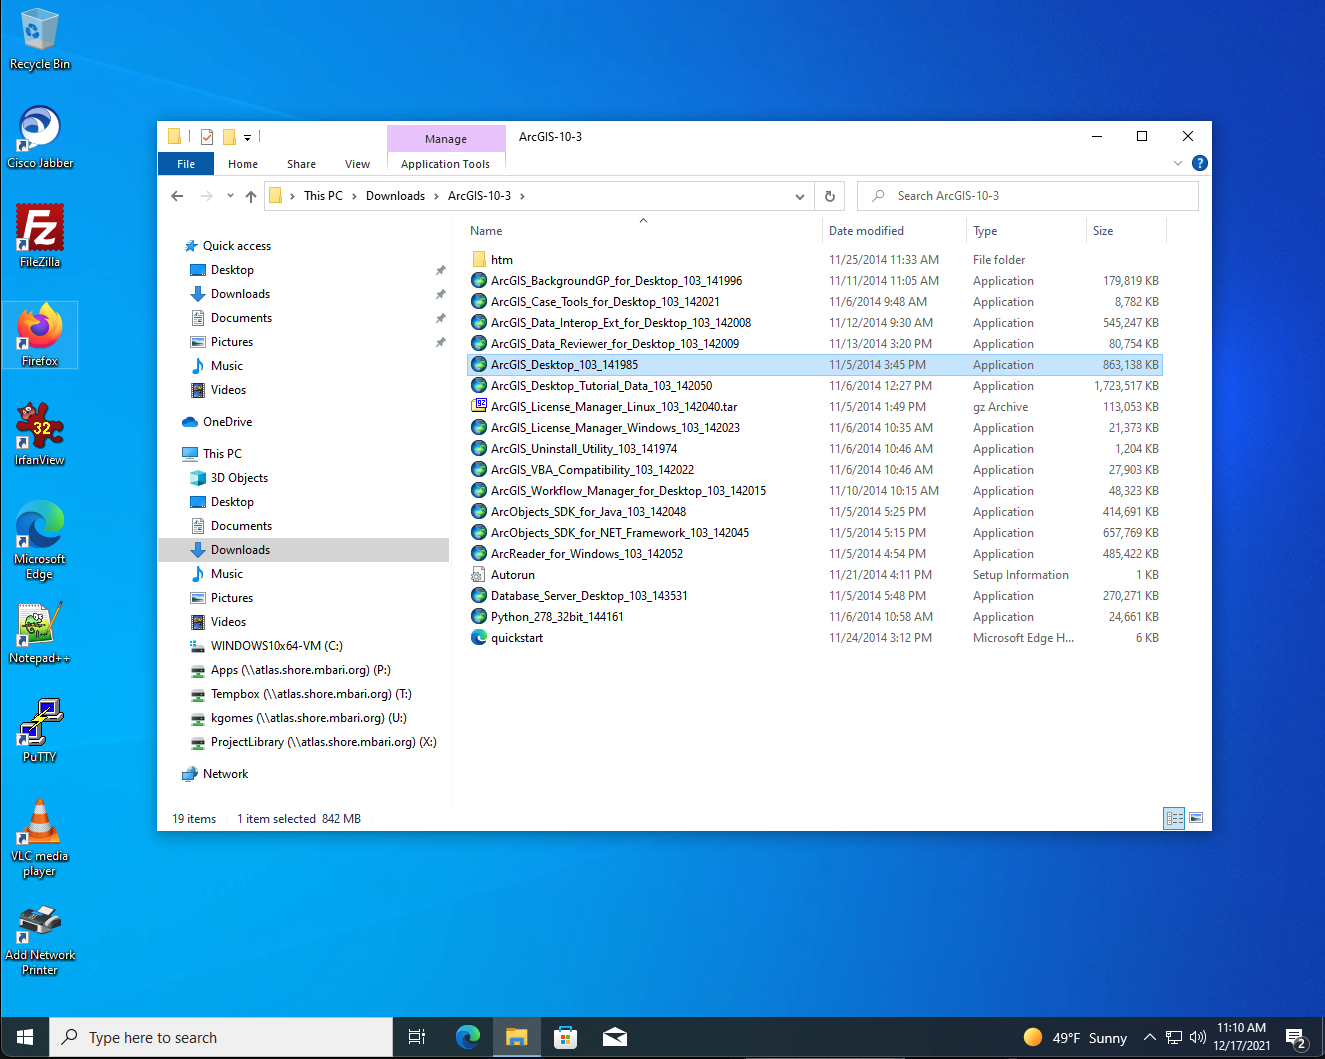
- This just extracts the contents to another folder in your home and then asks you to 'Launch the setup program'. Do that.
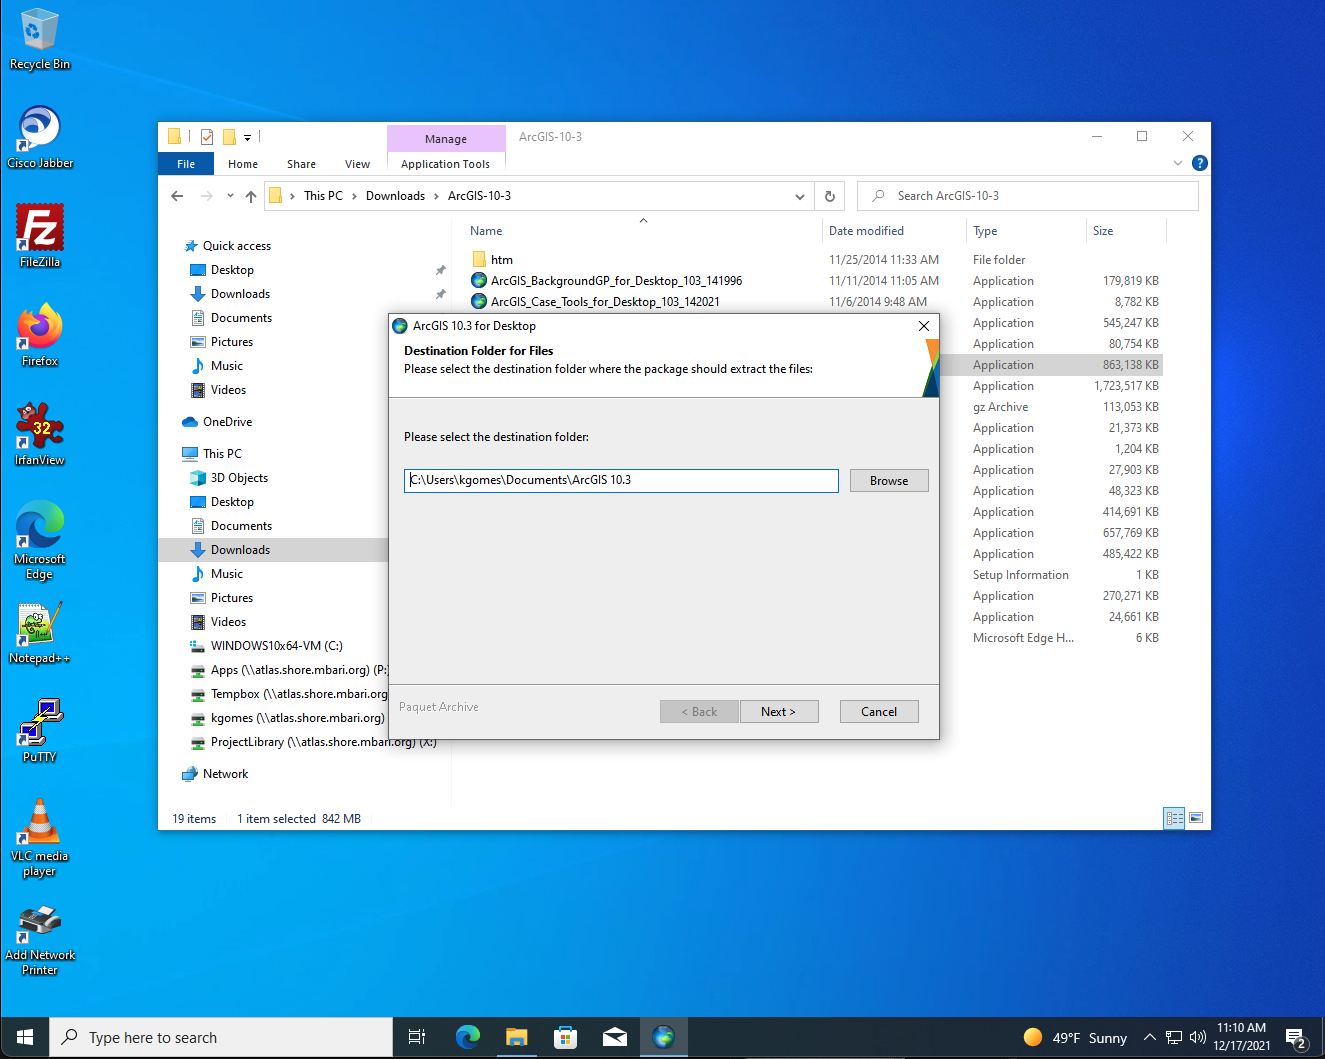
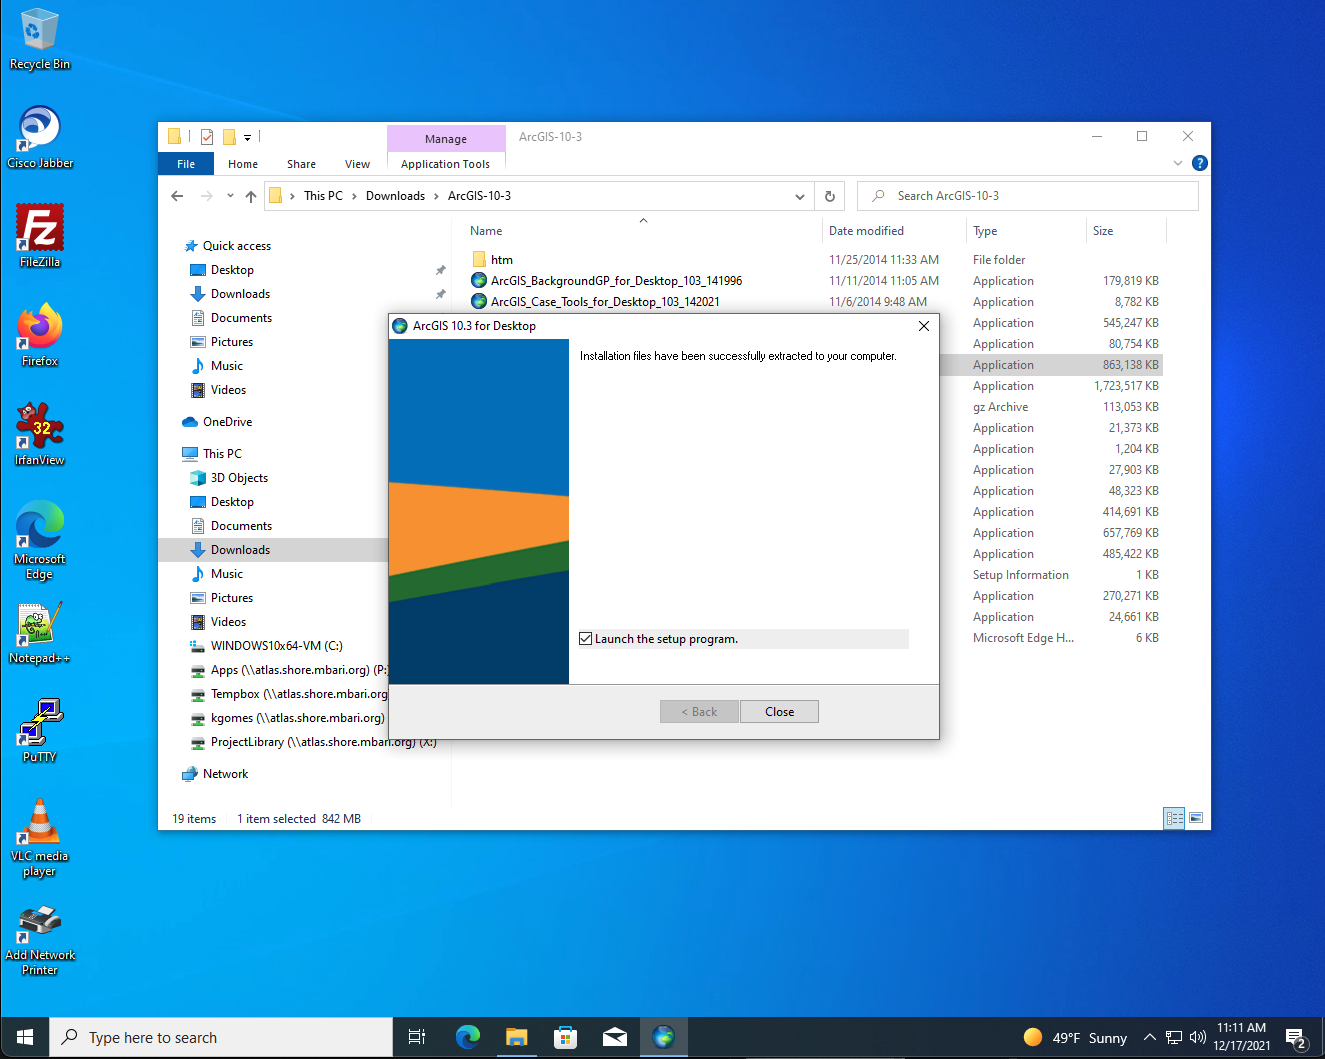
- Accept the defaults for the installation (accept license and use complete install). Although uncheck 'Click here to participate in the ESRI User Experience Improvement program (Recommended).
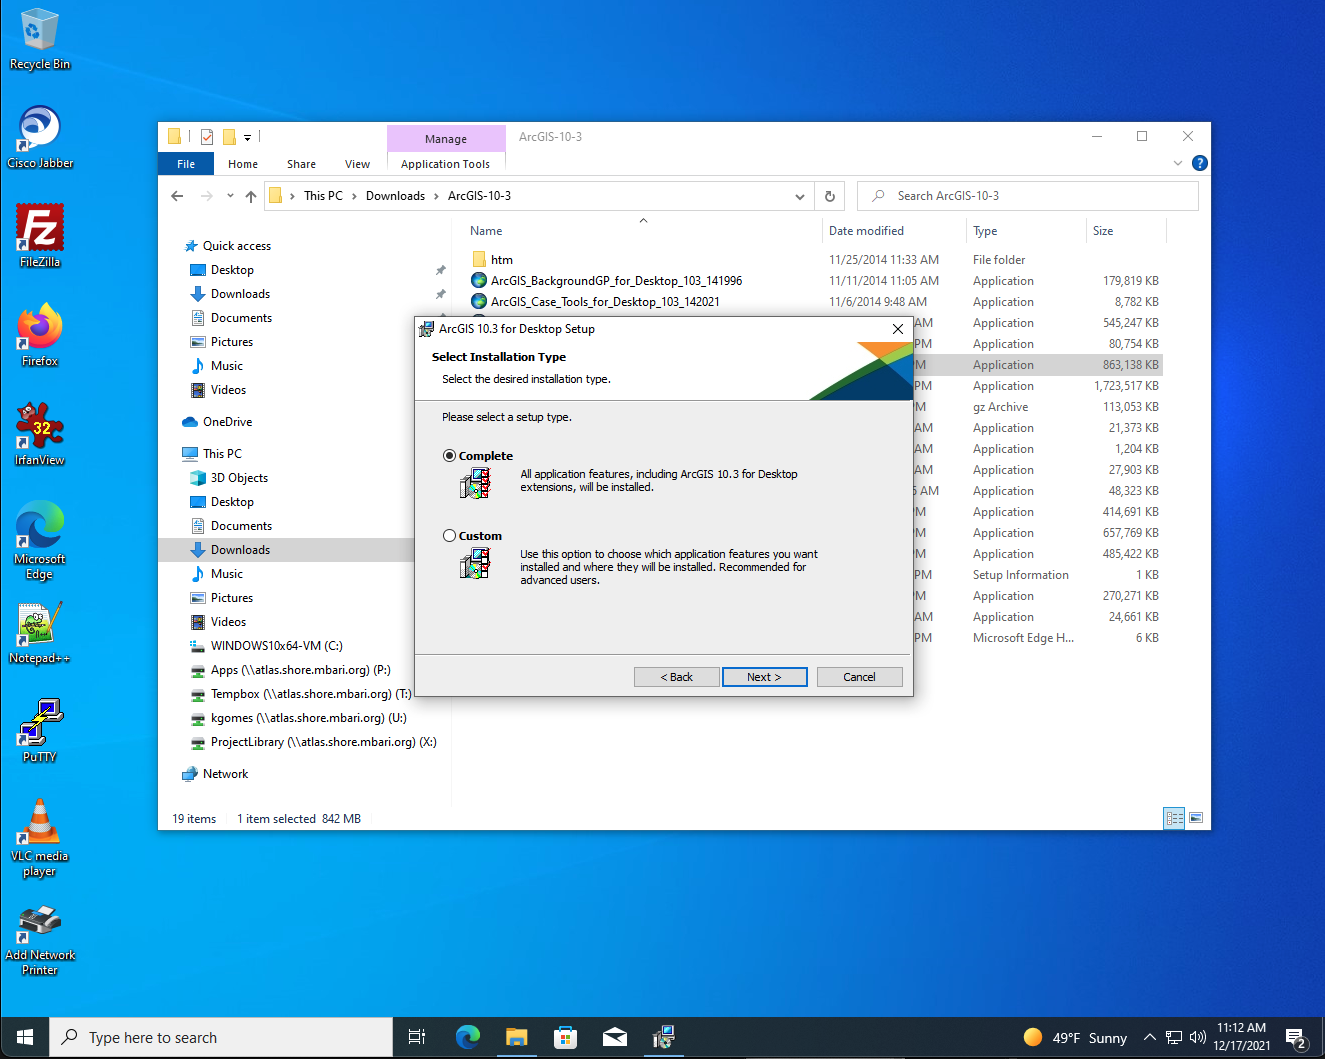
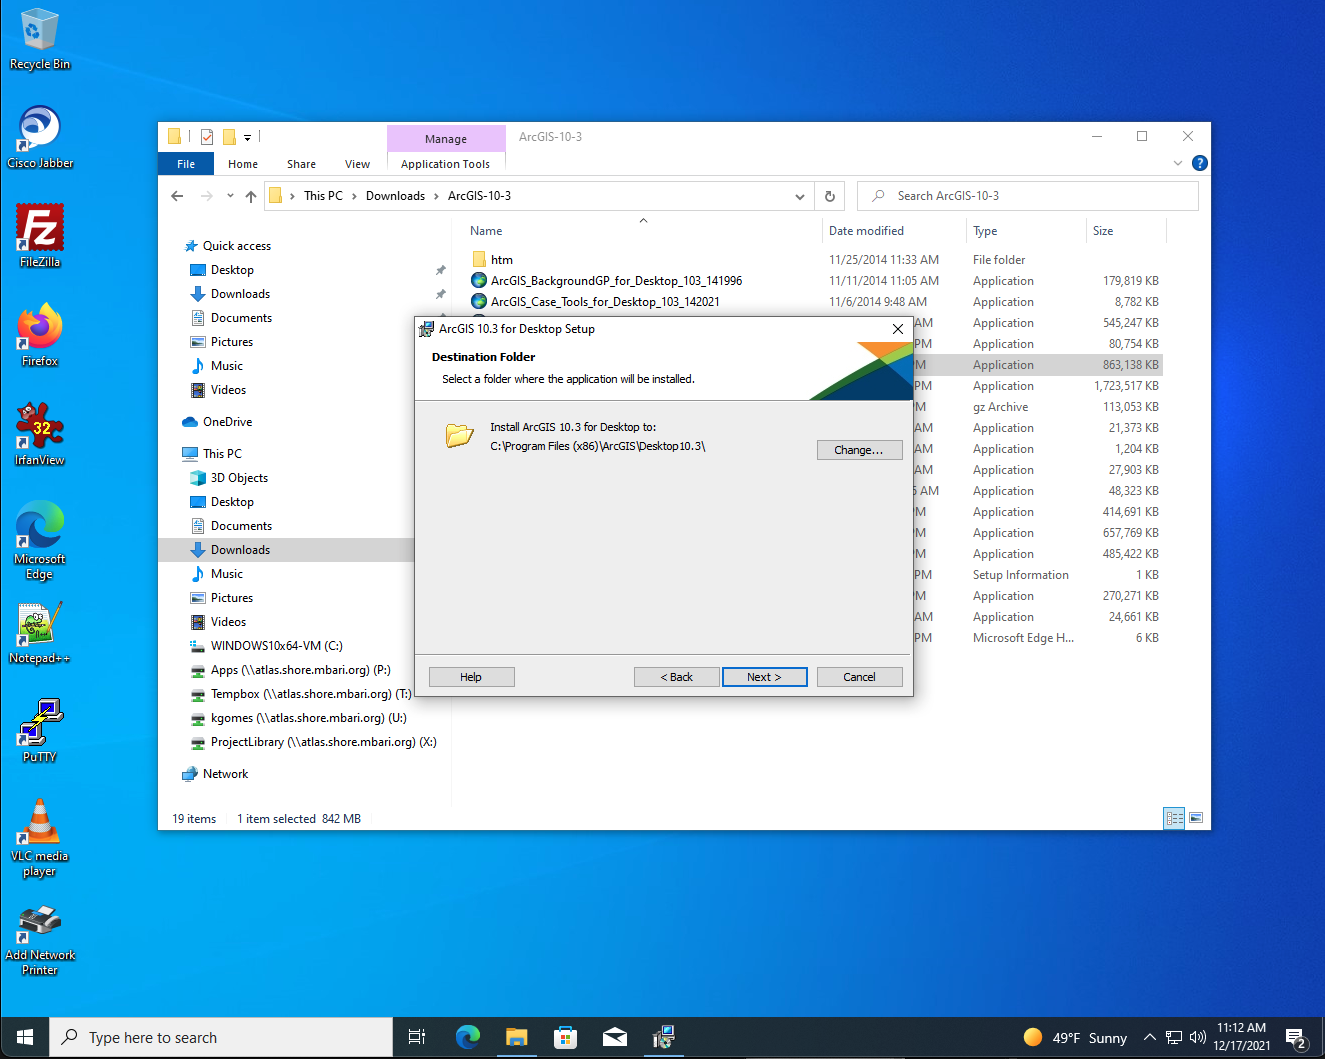
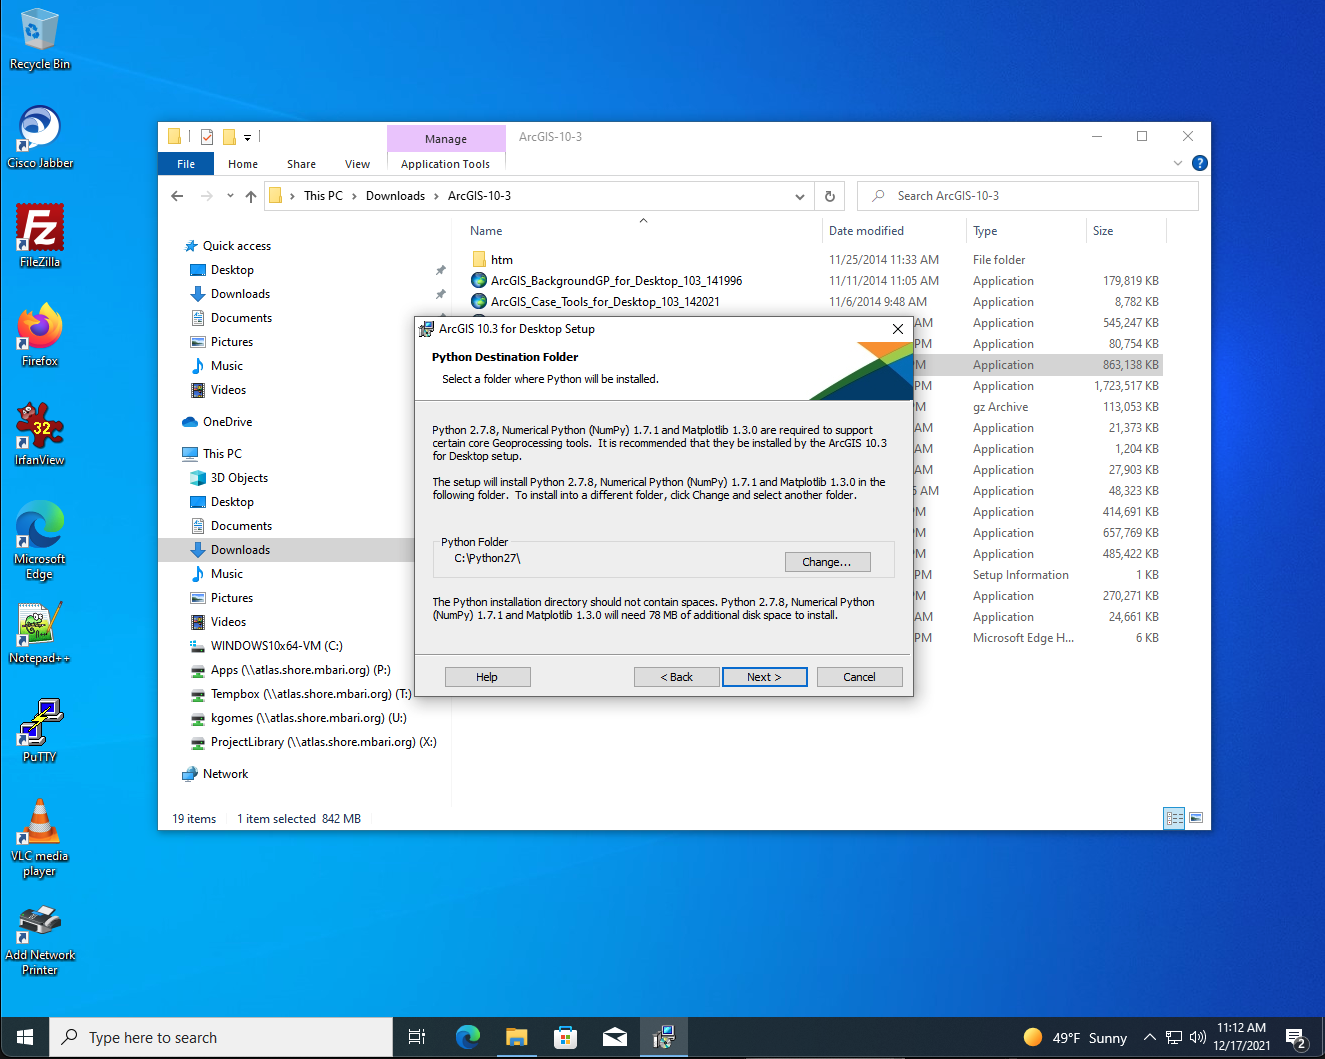
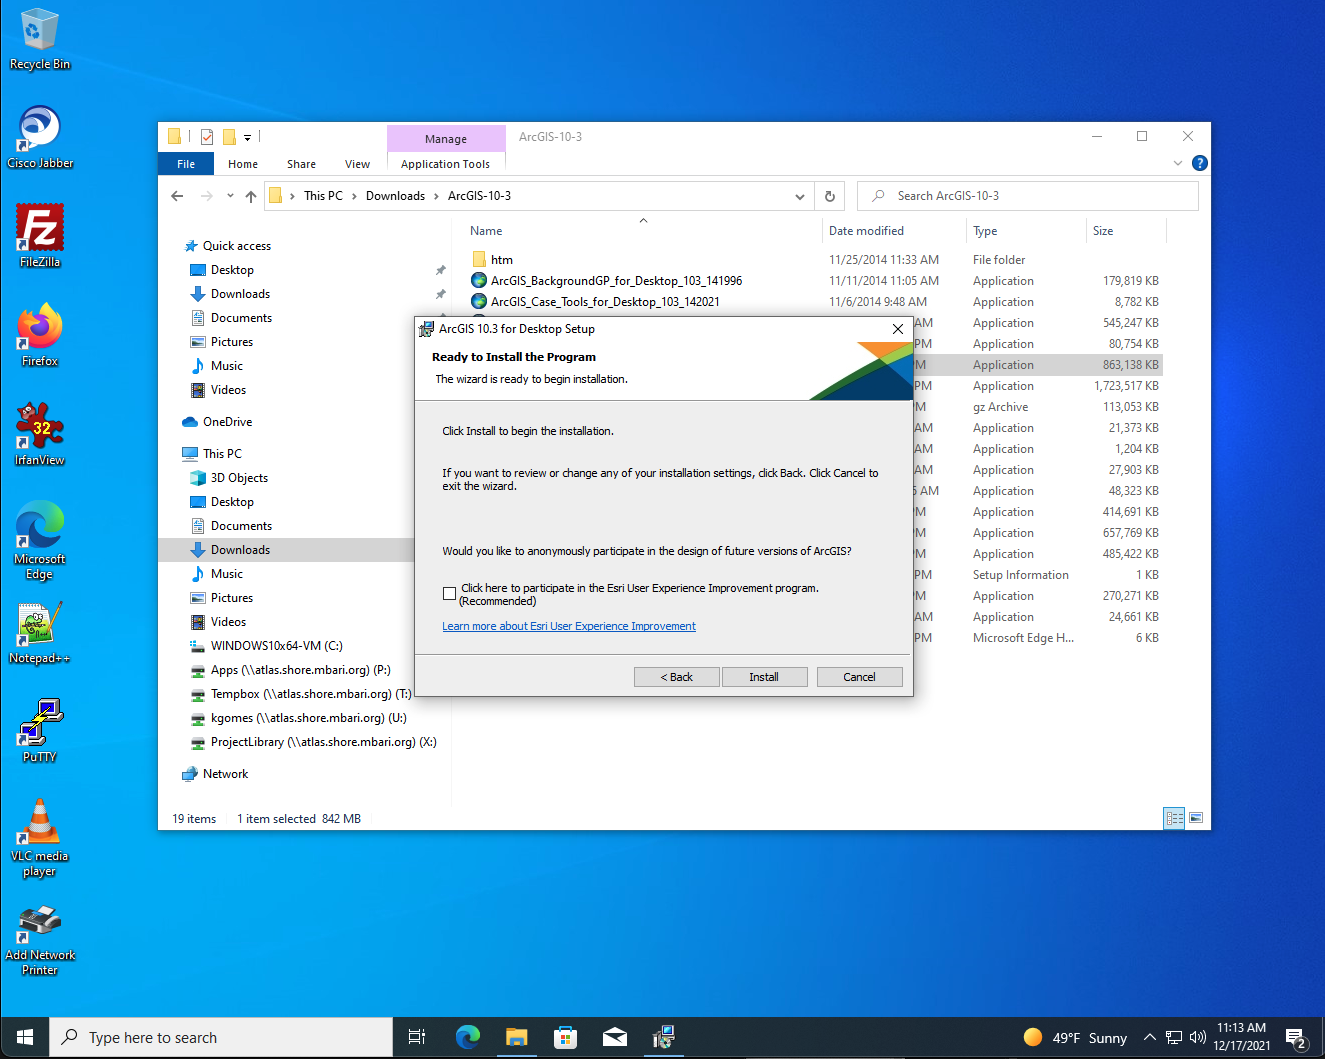
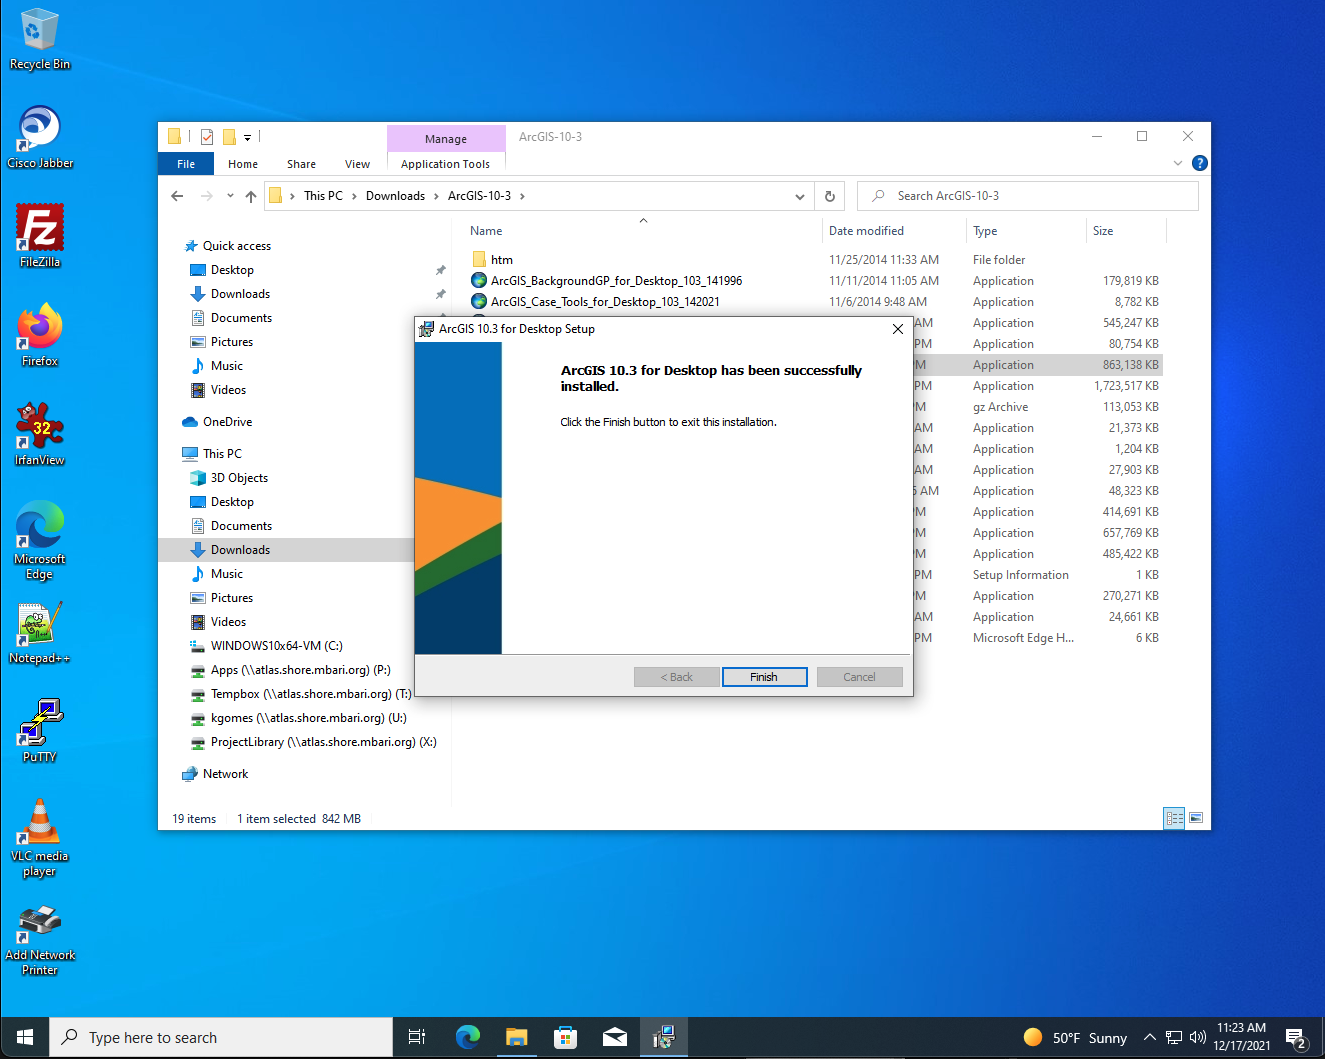
- In ArcGIS Administrator Window (comes up automatically), choose 'Advanced (ArcInfo) Single Use'.
- Click Authorize Now
- Choose 'I have received an authorization file from Esri and am now ready to finish the authorization process'
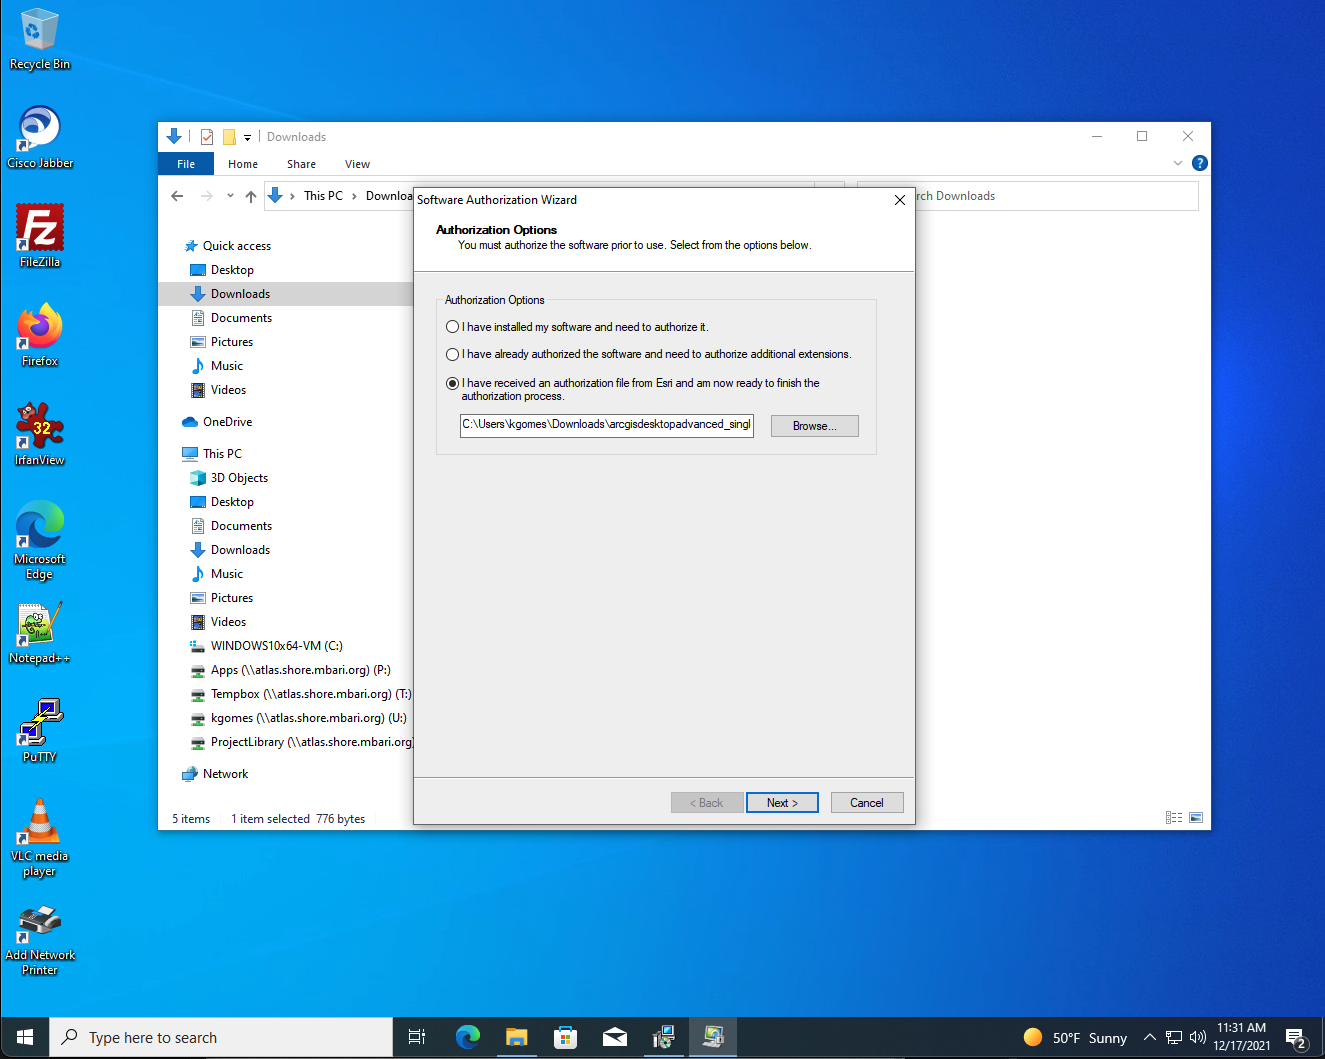
- Click 'Browse ...' and select .prvc file you downloaded to 'Downloads', click Next
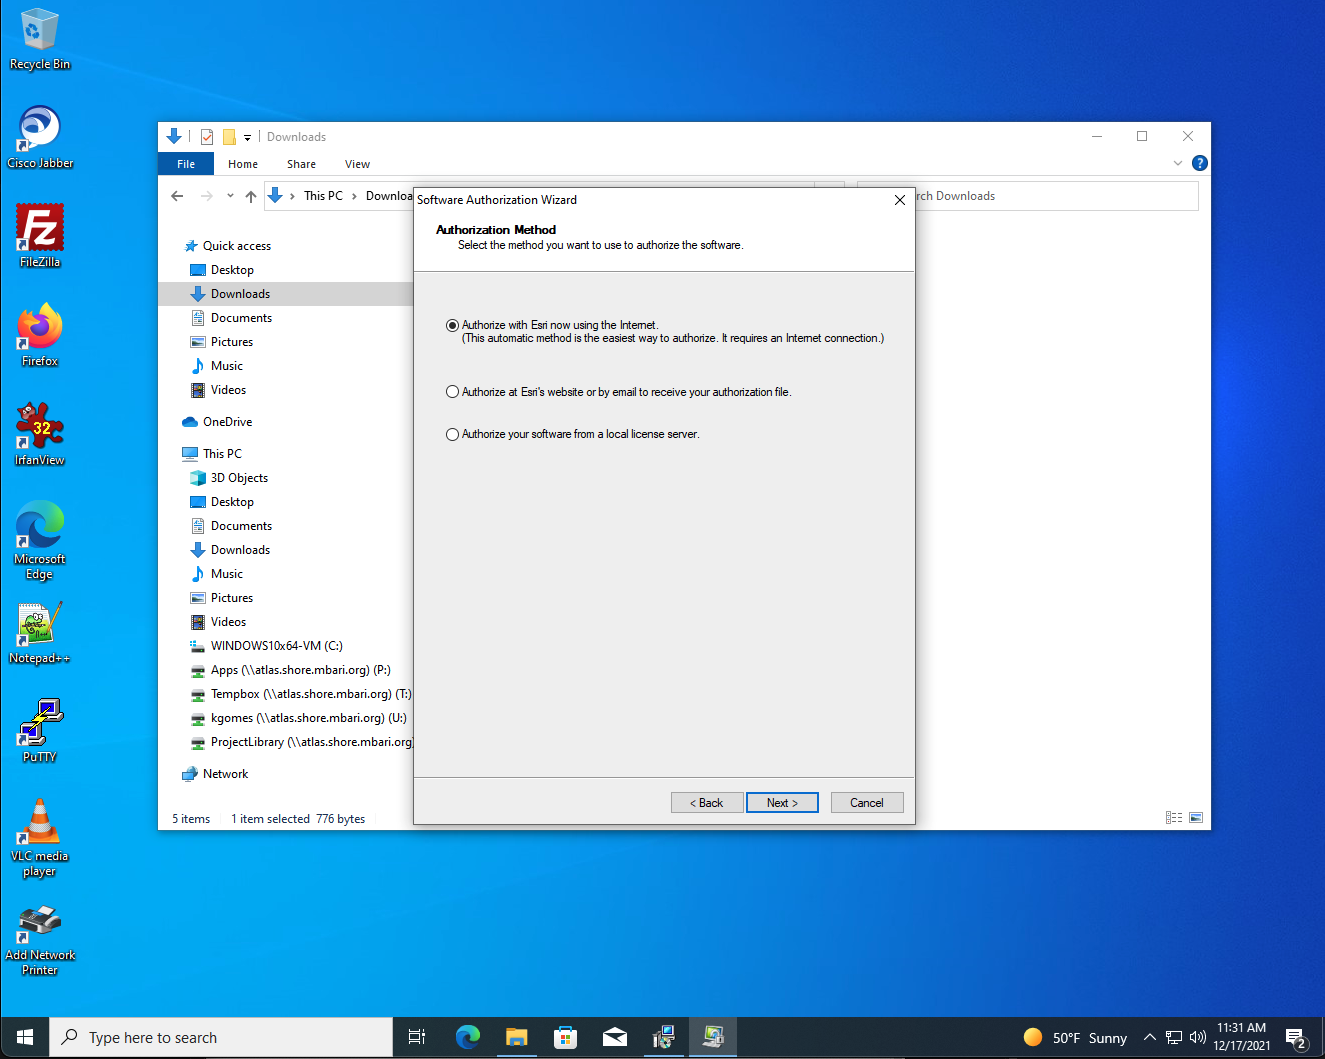
- Choose 'Authorize with Esri now using the internet' and click Next
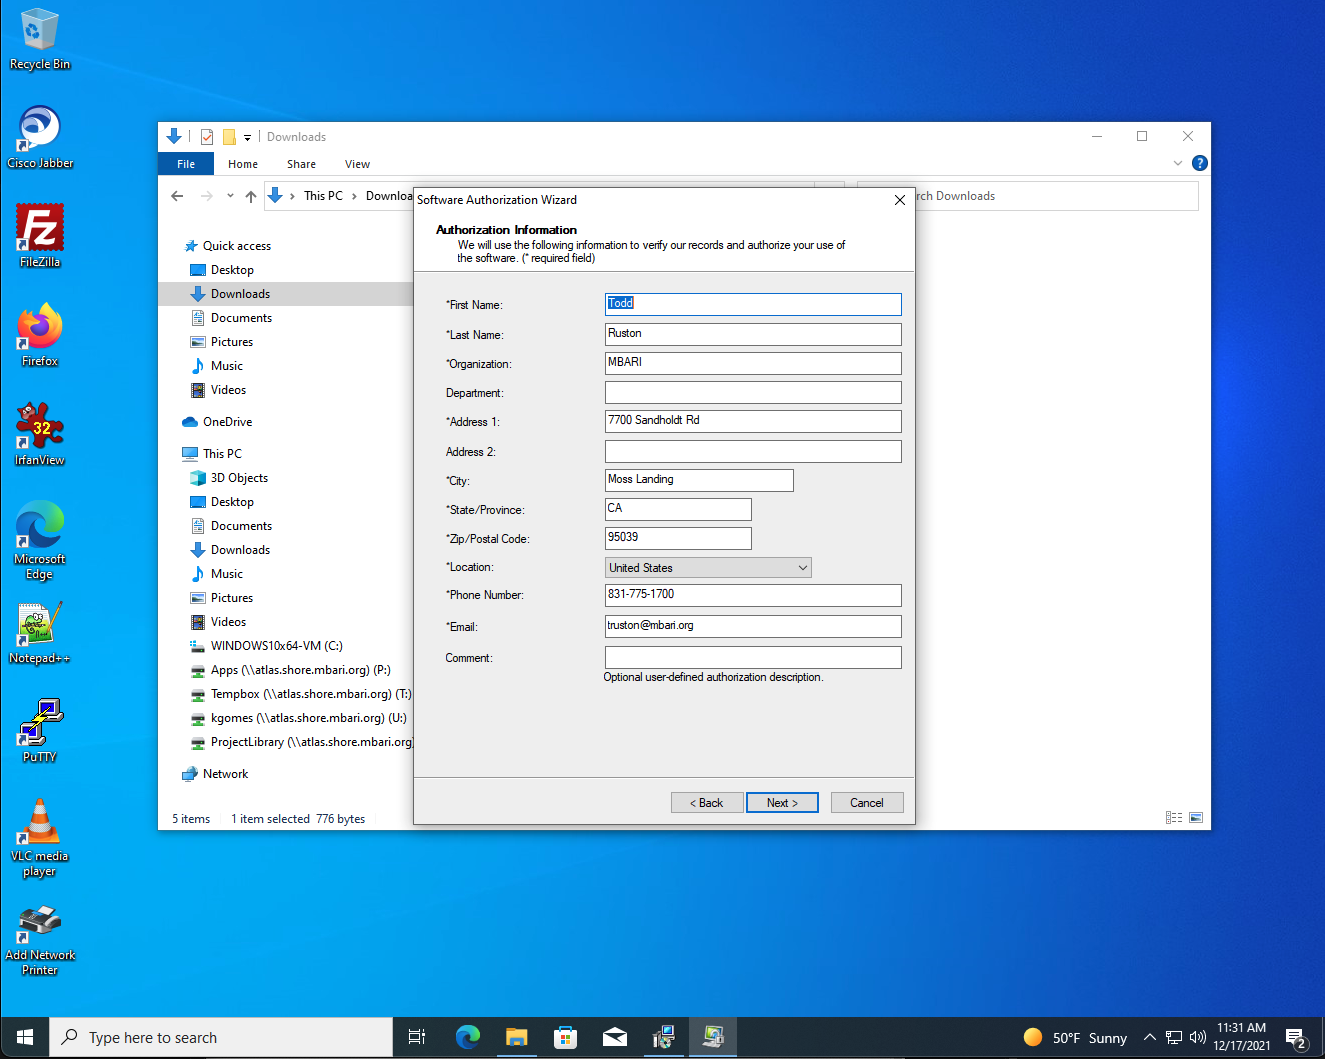
- Leave defaults in form and click Next
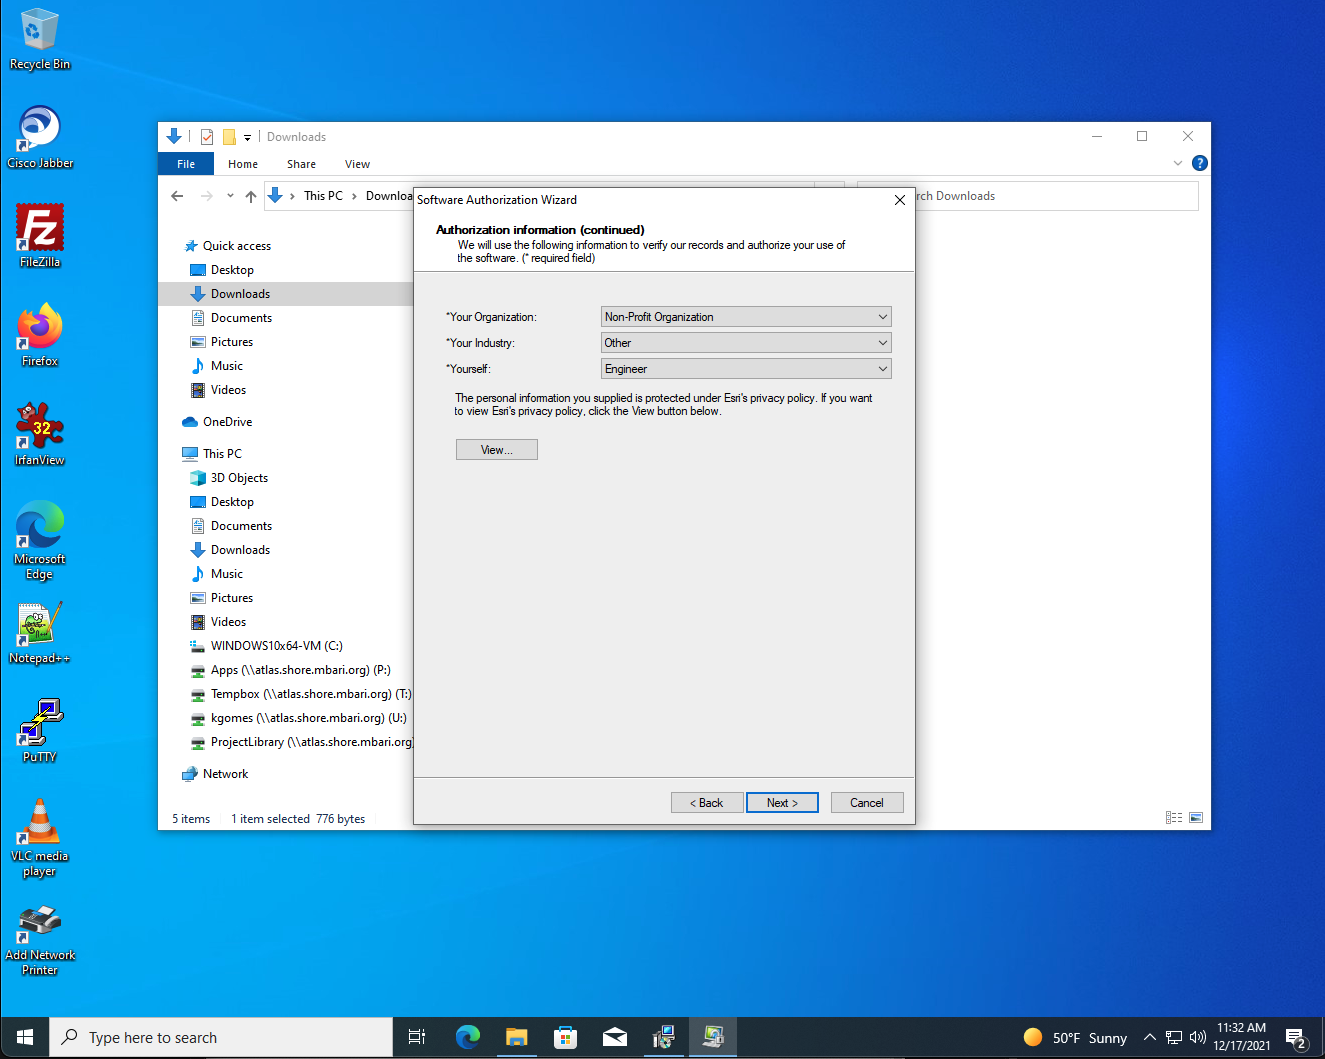
- Choose best options for 3 questions and click Next
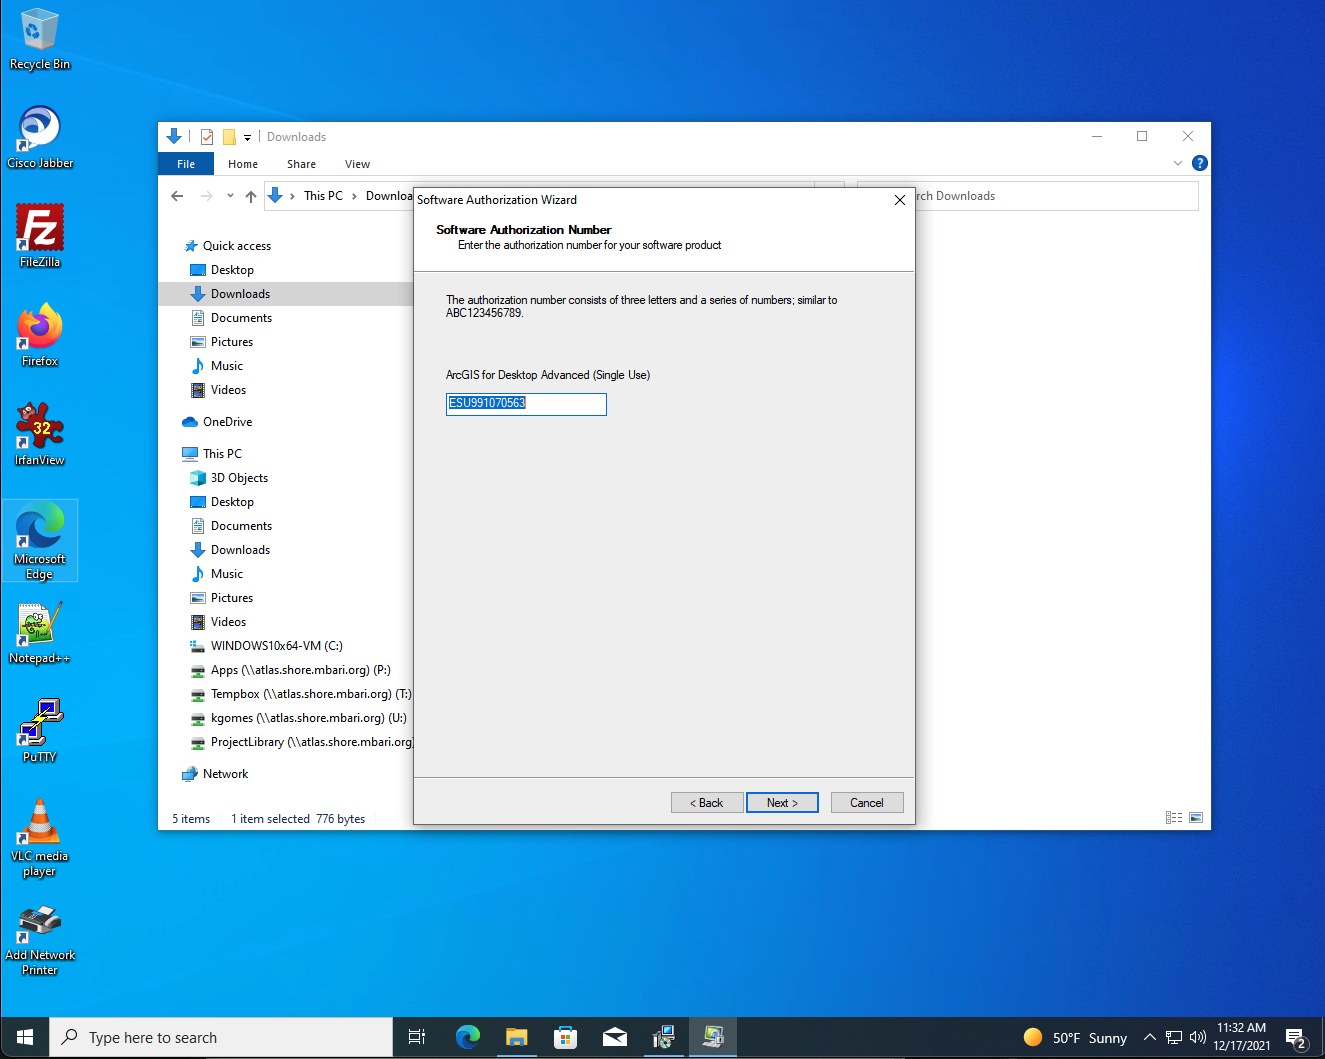
- Leave default Authorization number and click next
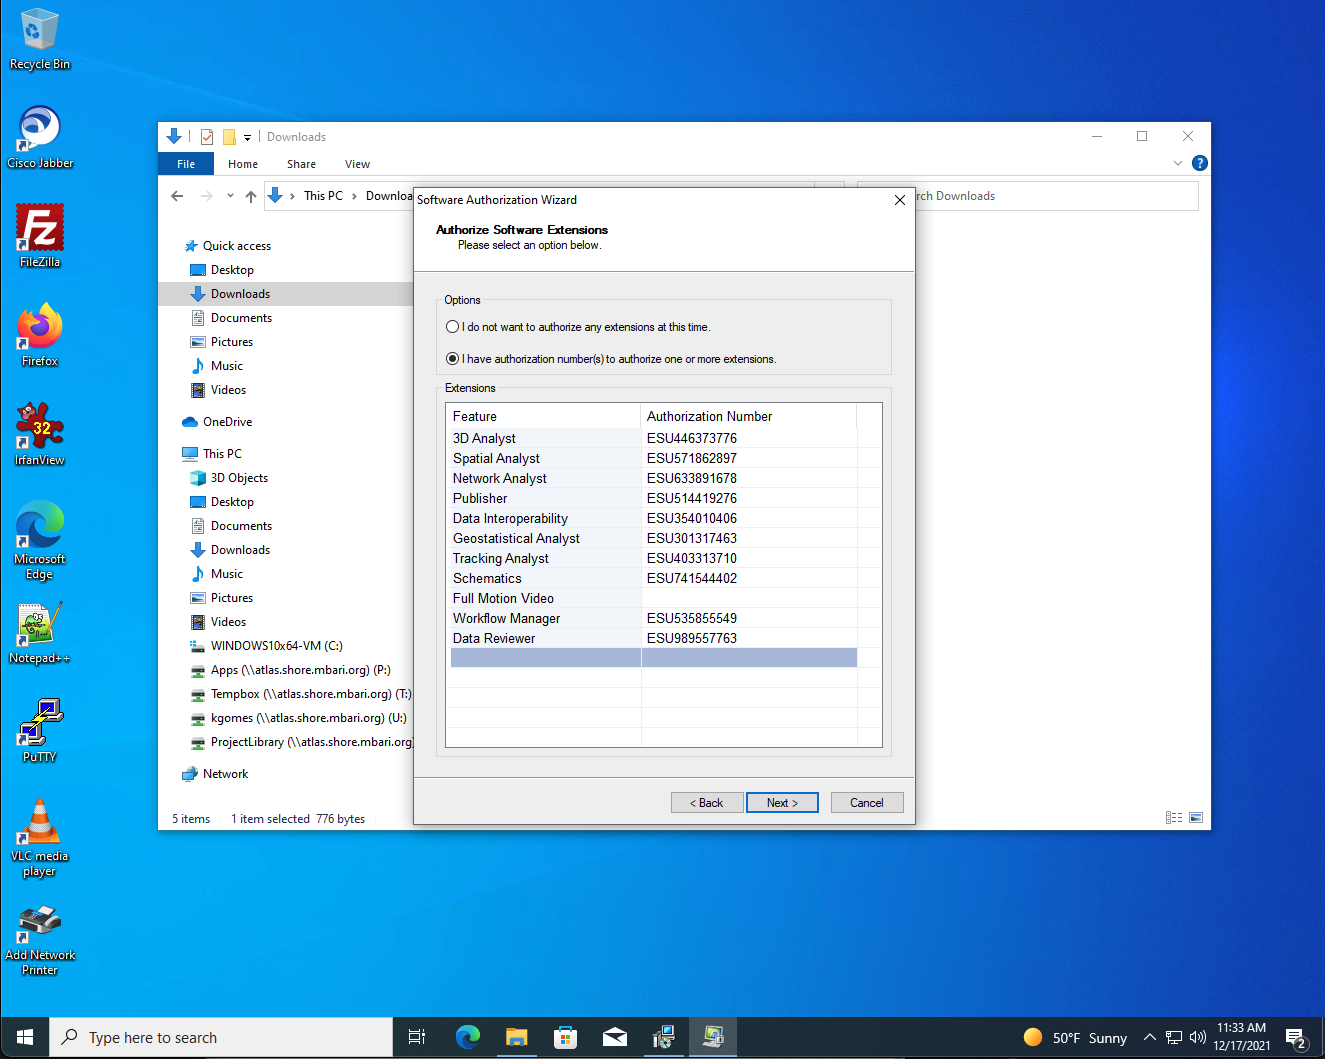
- Leave default extensions and click Next
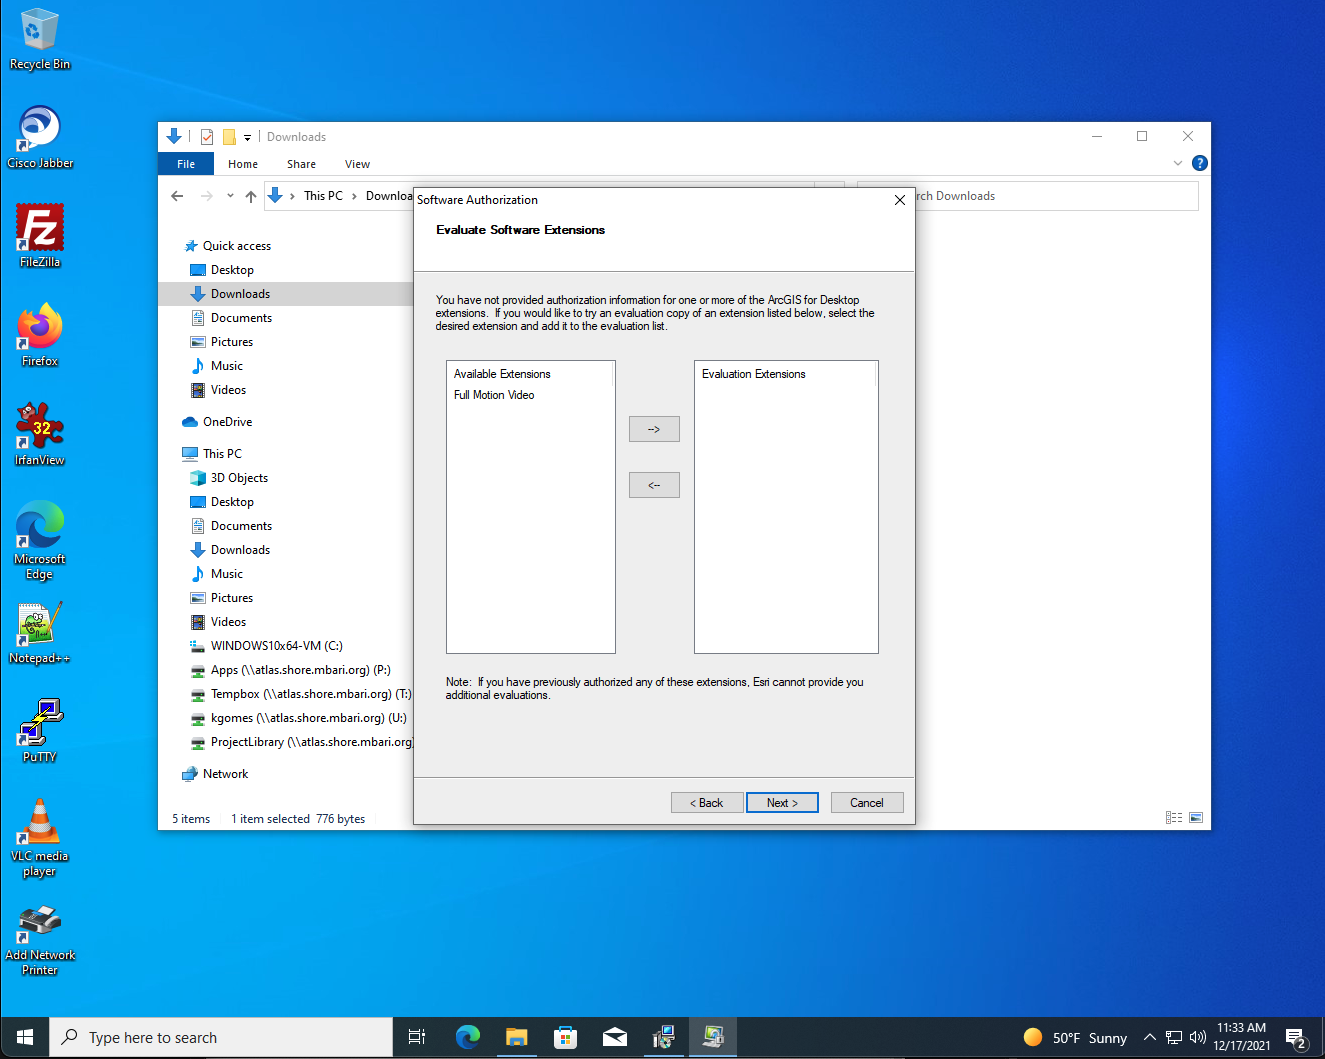
- Just click Next on following screen.
- Once authorization is complete, click Finish
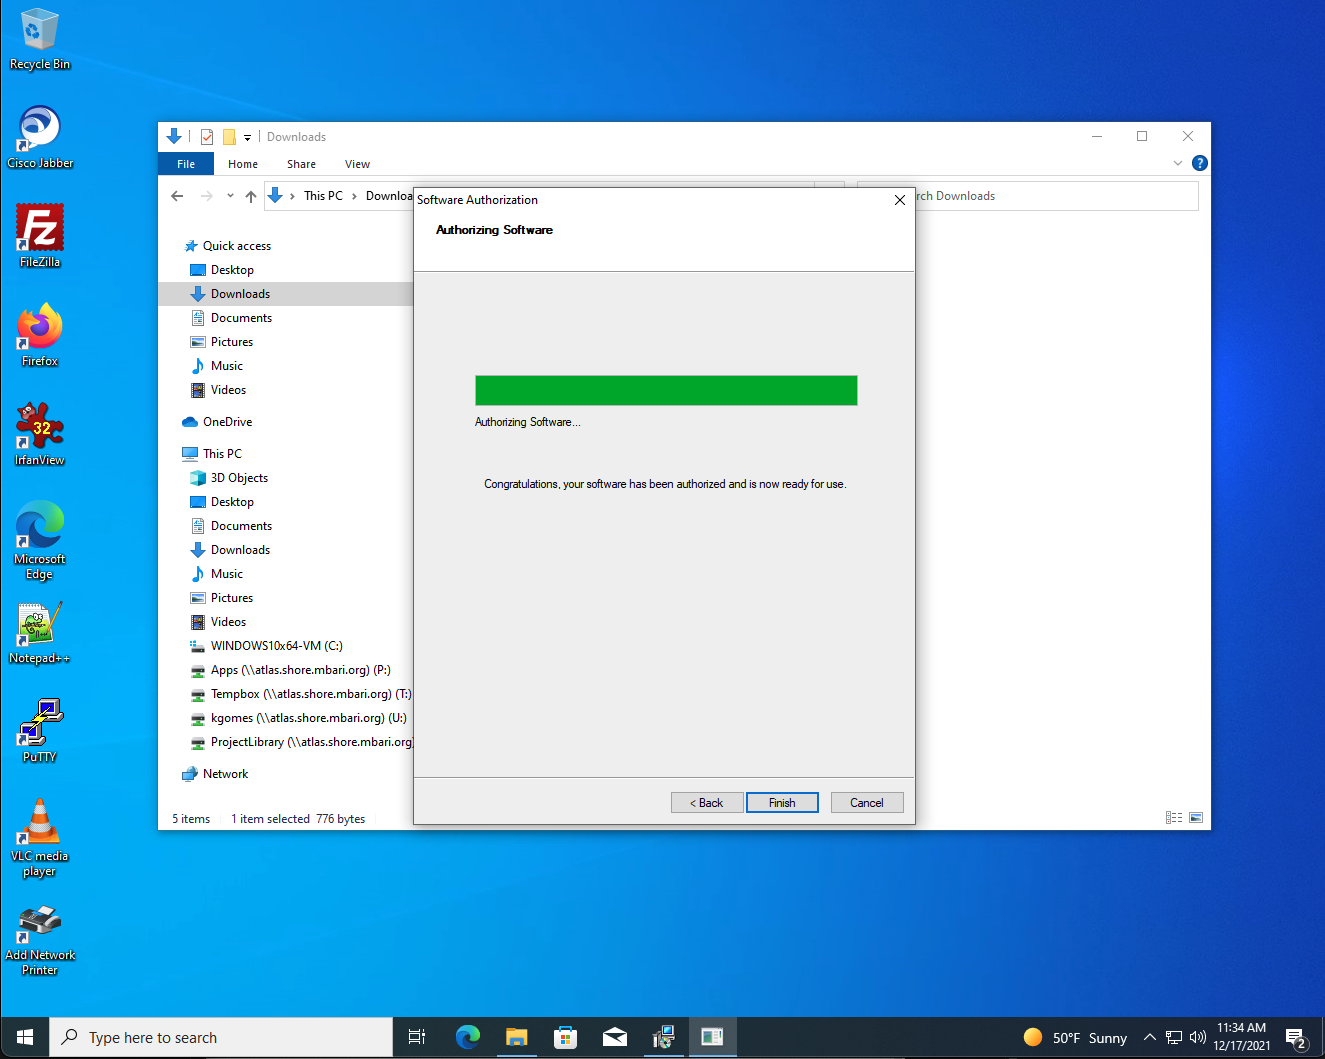
- Click OK on the ArcGIS Administrator screen to close it.
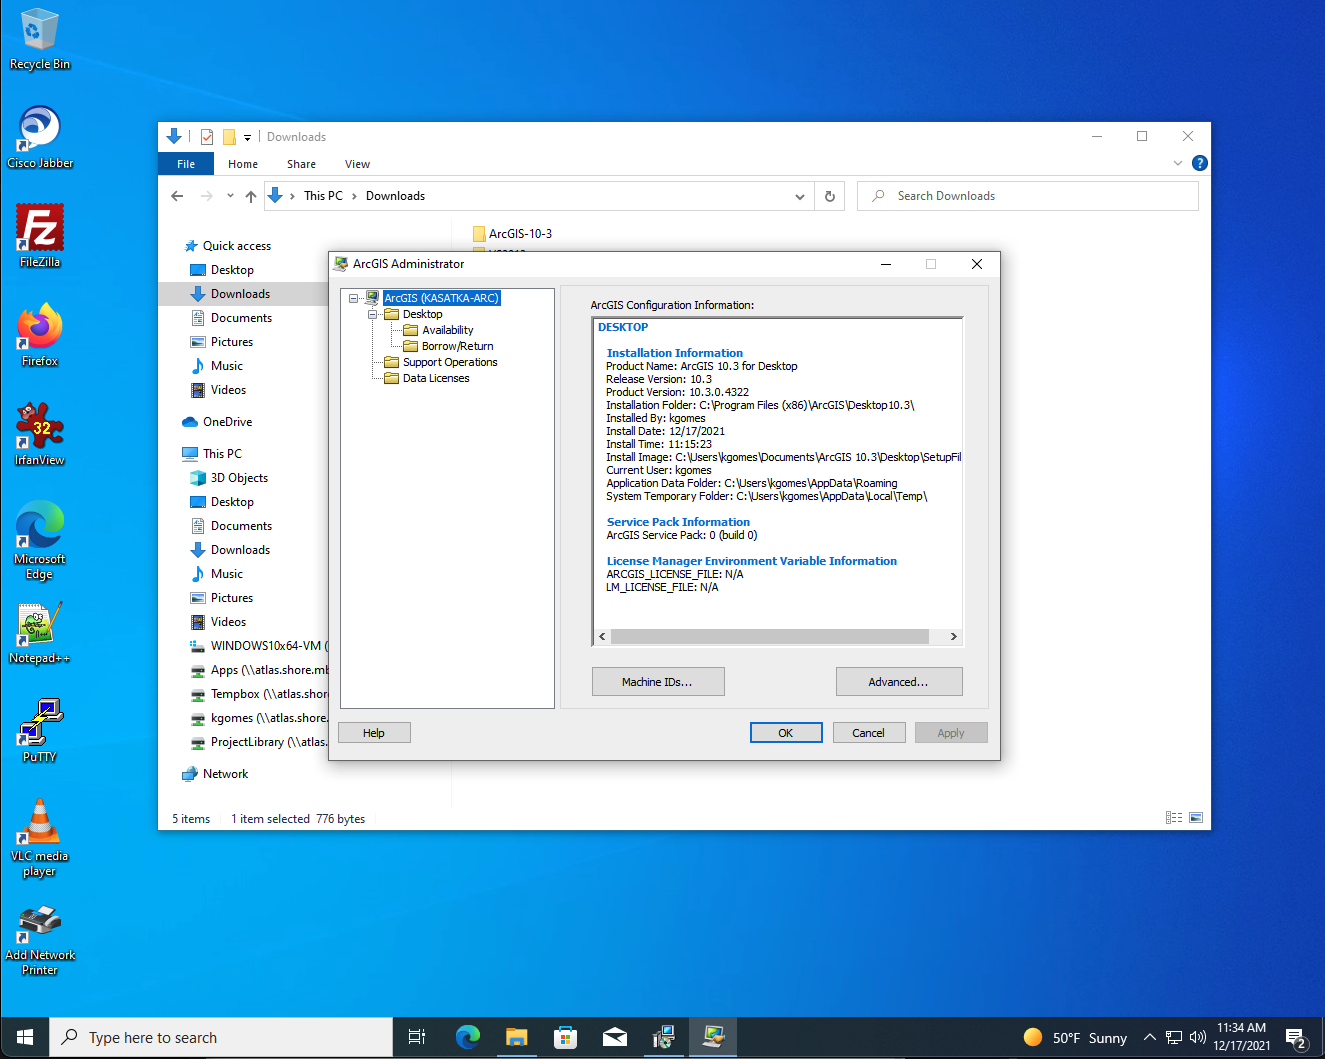
- Go to ArcGIS-10-3 folder and run ArcGIS_Desktop_103_141985
- Run the installer for ArcObjects
- Navigate to Downloads\ArcGIS-10-3 folder and double click on ArcObjects_SDK_for_NET_Framework_103_142045
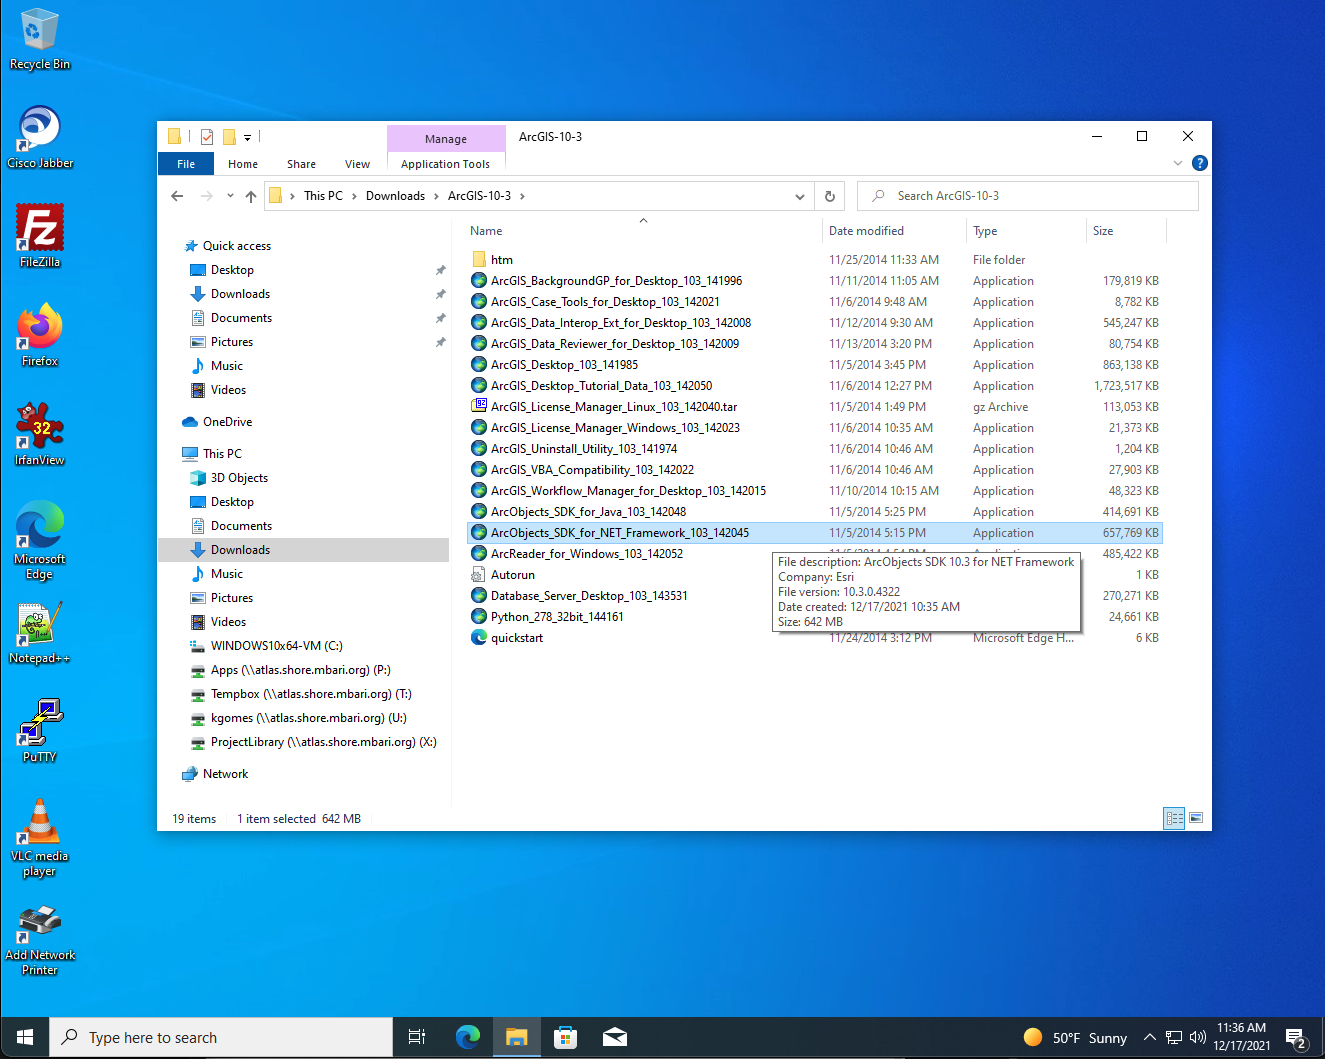
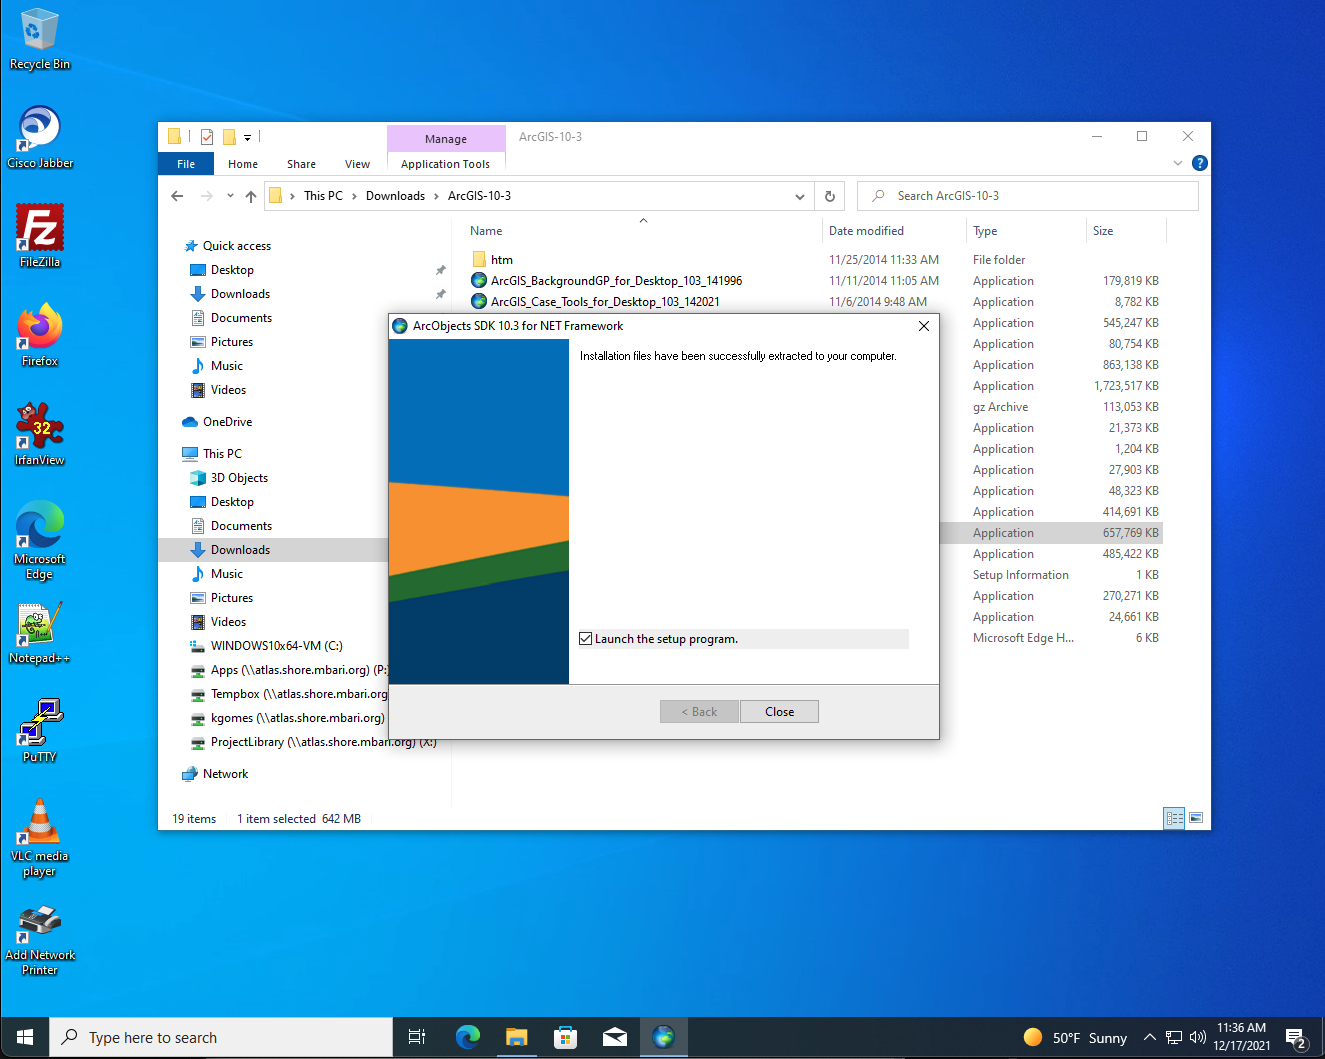
- The will extract the contents to your Documents folder
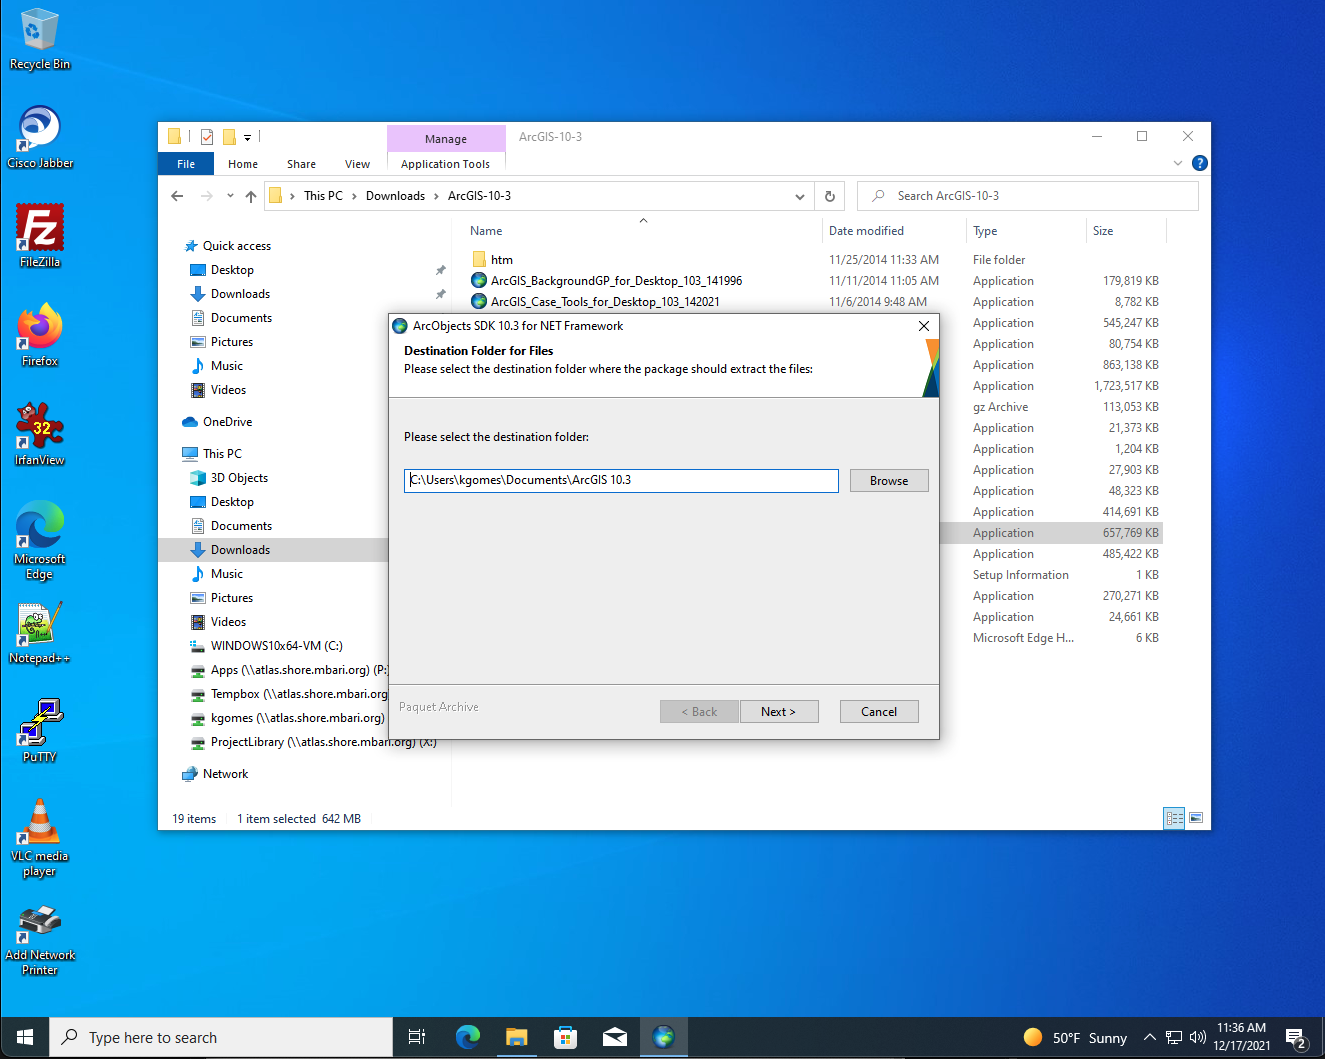
- Leave the box 'Launch the setup program' checked and click Close.
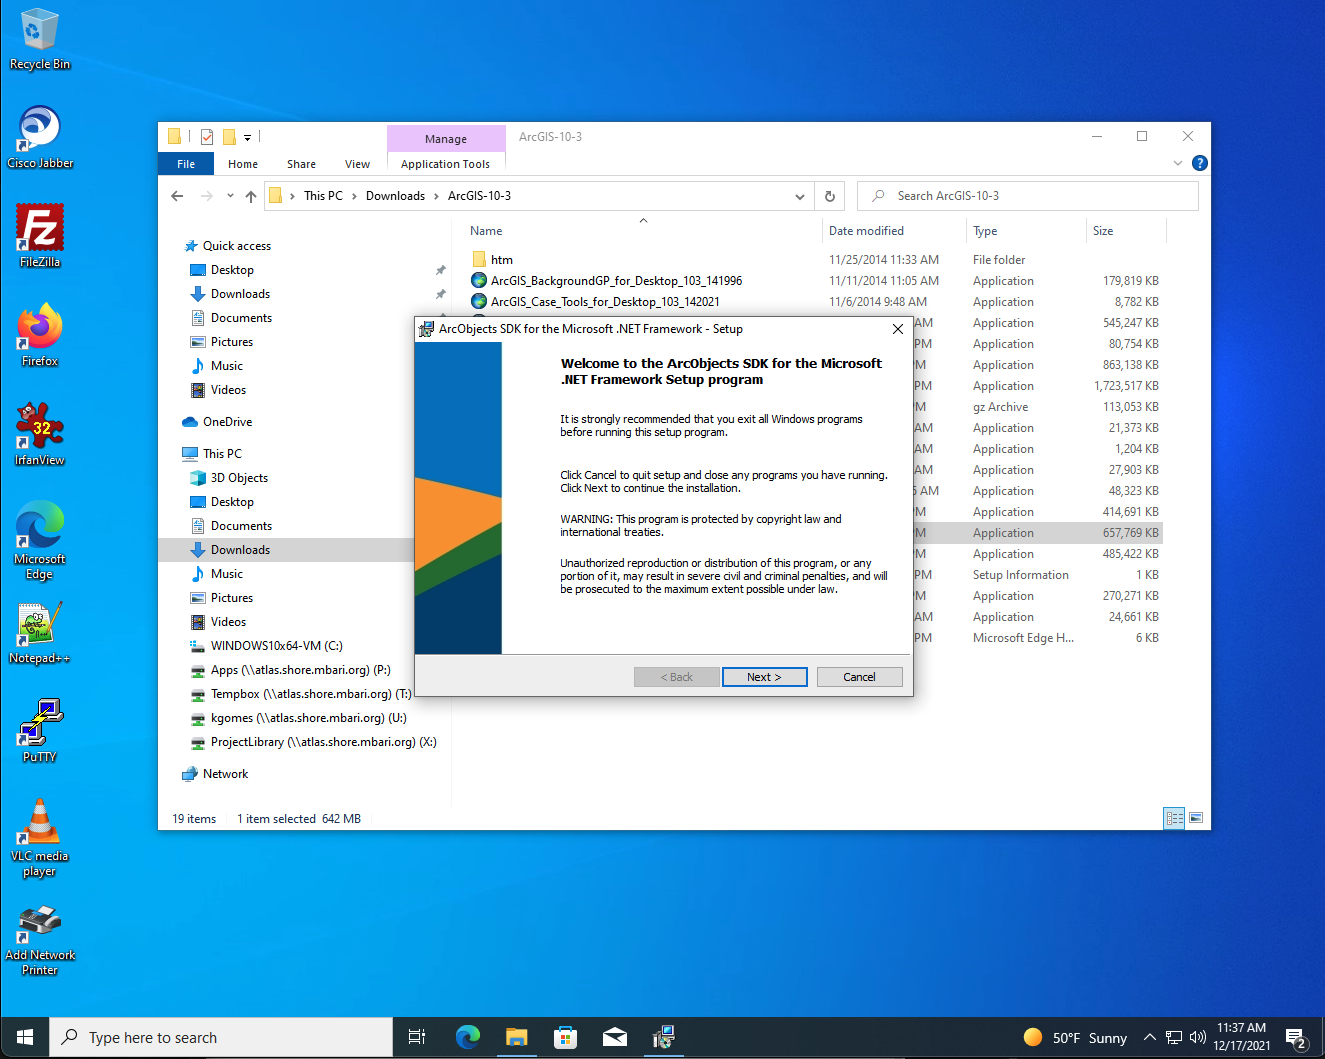
- Accept the license agreement and defaults through until you click on 'Install'
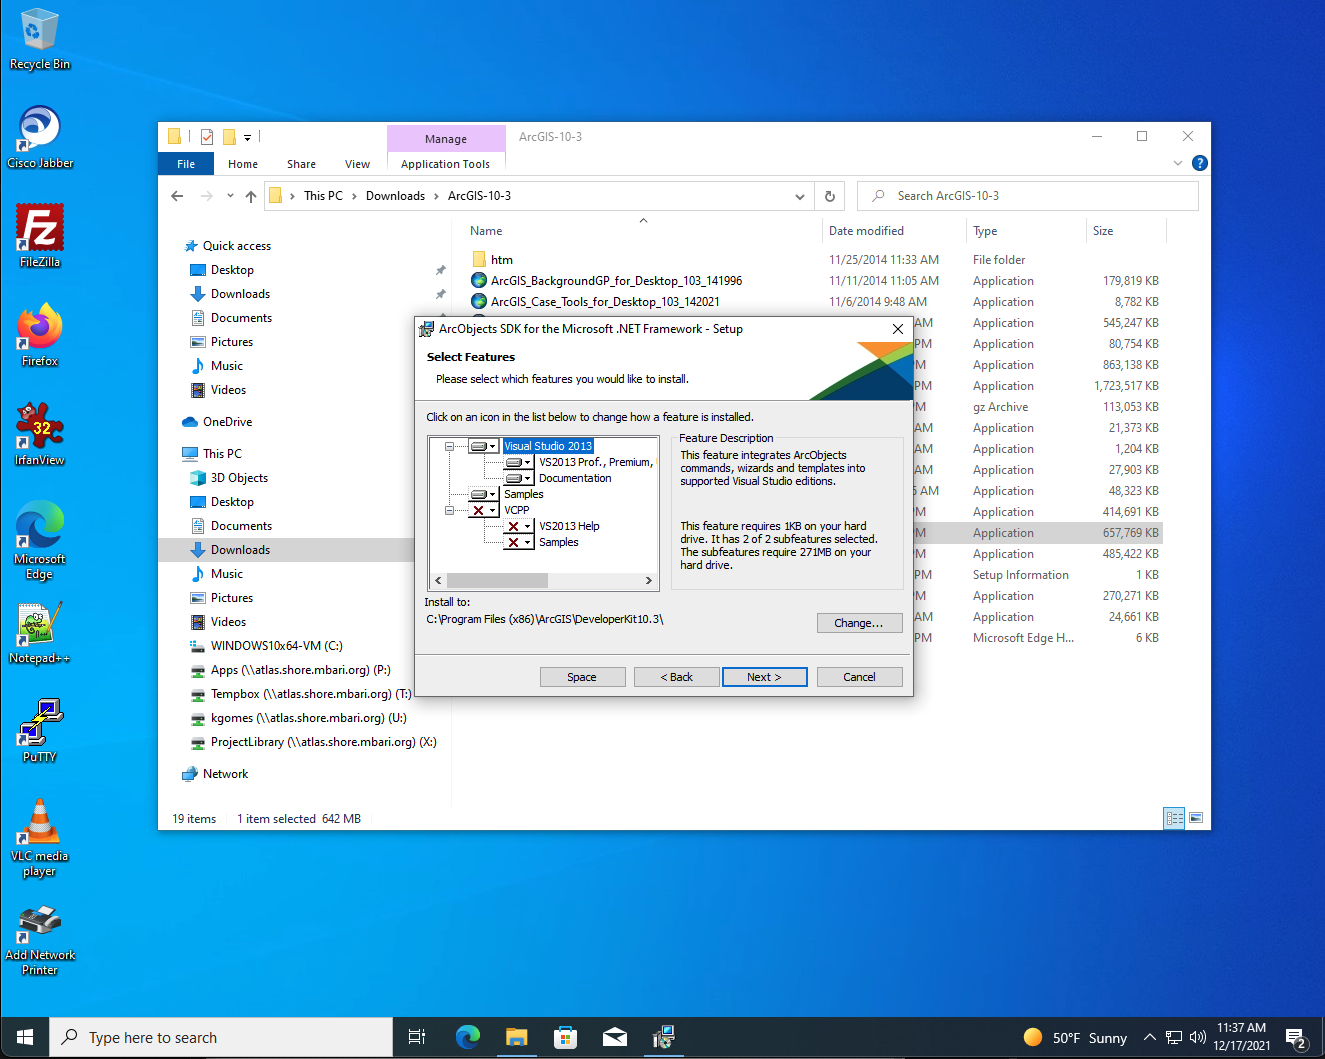
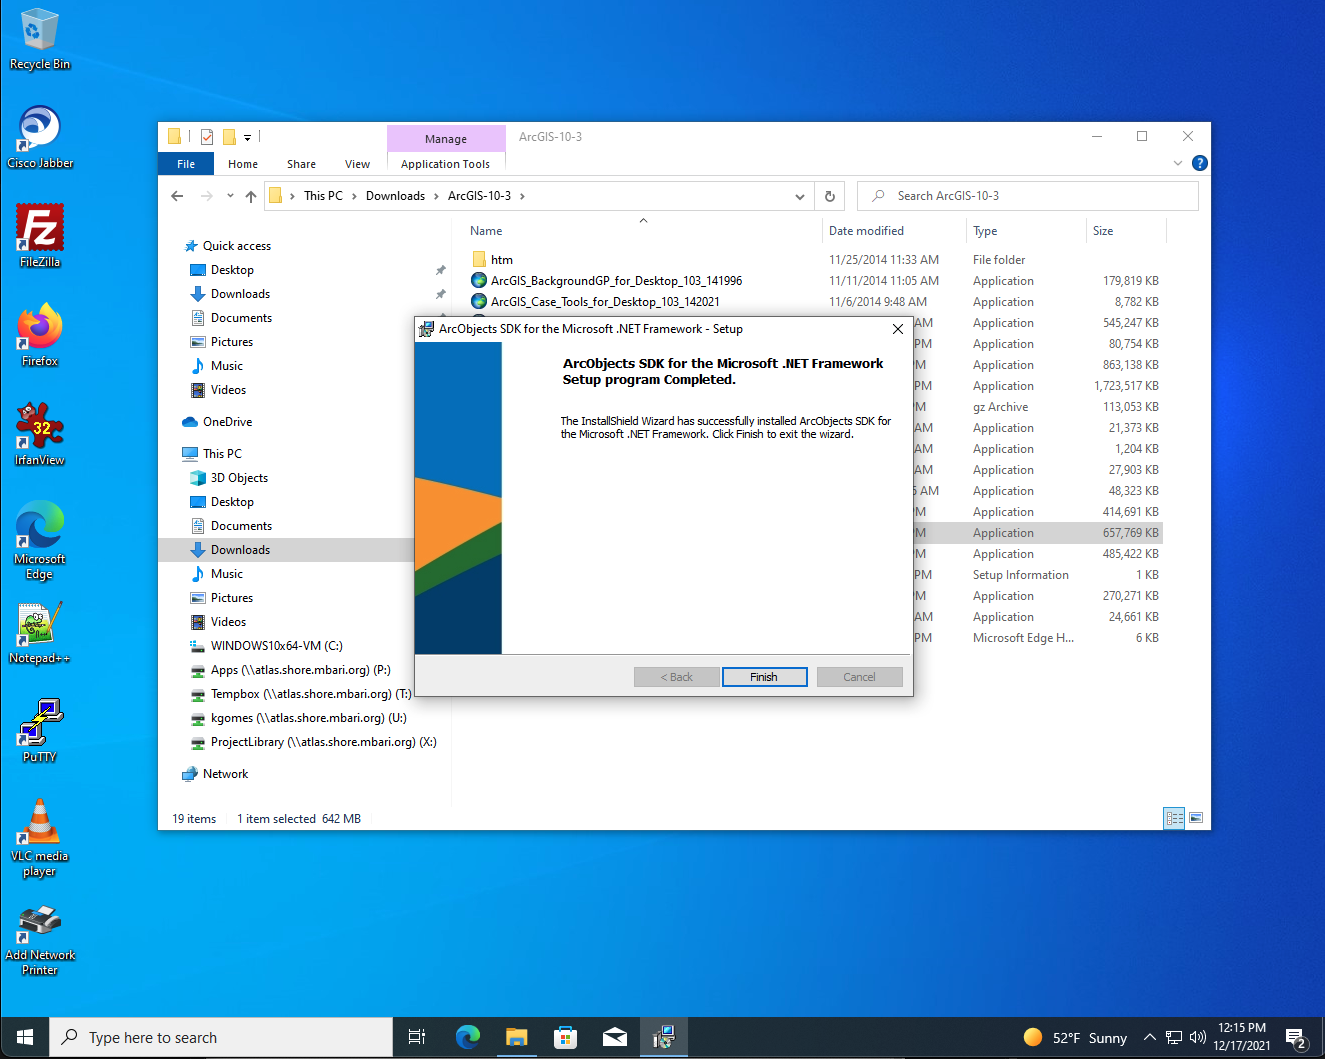
- Click on Finish once done
- Click on OK when ArcGIC Administrator panel comes up
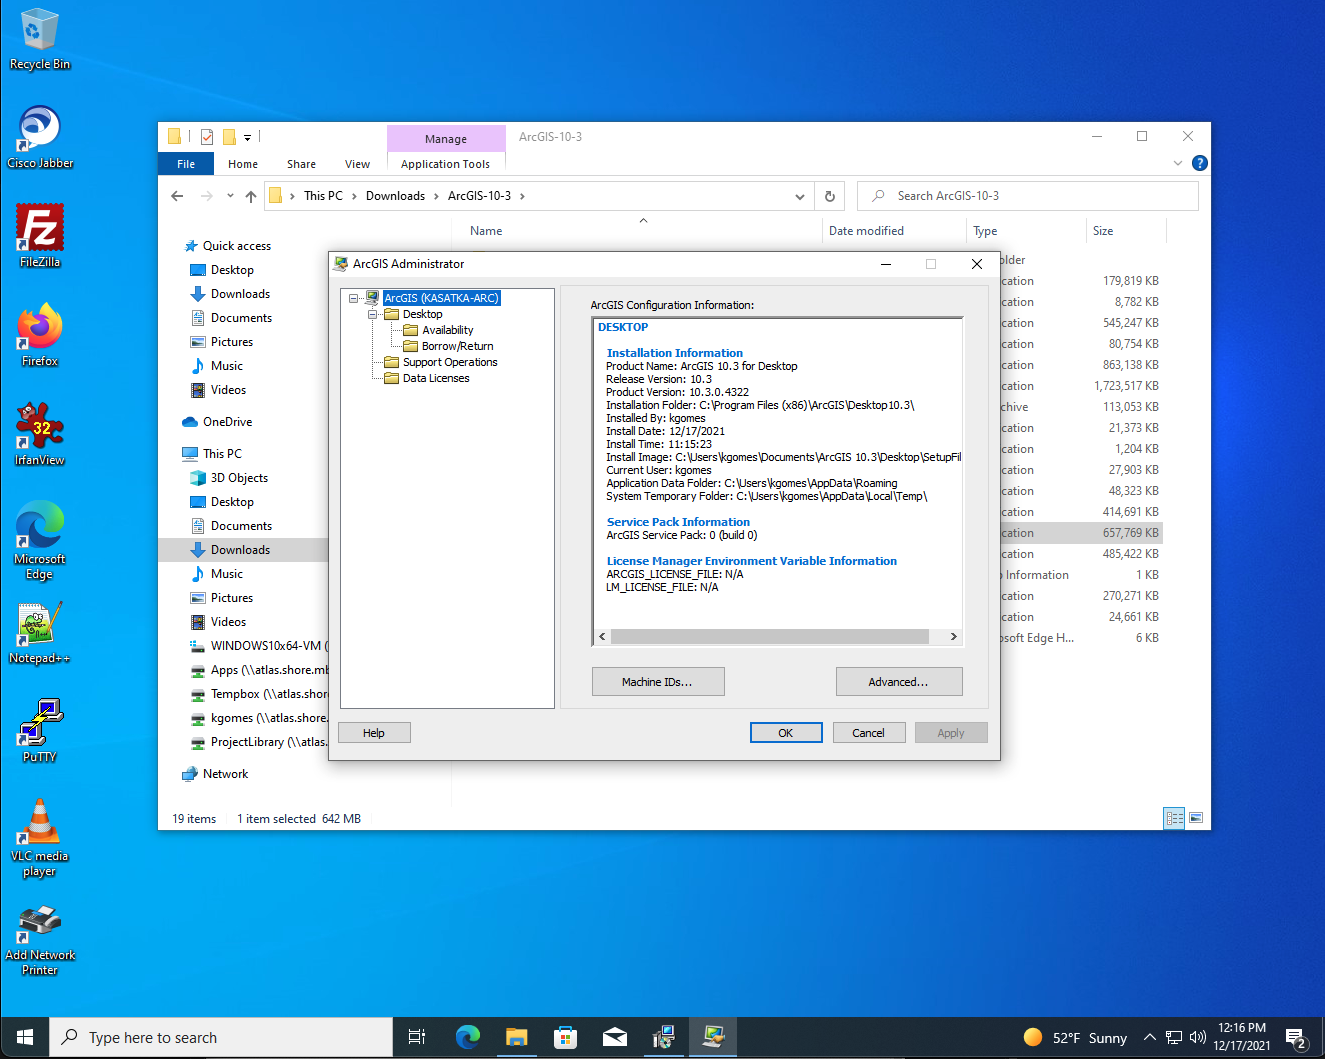
- Navigate to Downloads\ArcGIS-10-3 folder and double click on ArcObjects_SDK_for_NET_Framework_103_142045
- Install subversion client (Tortoise used in these instructions)
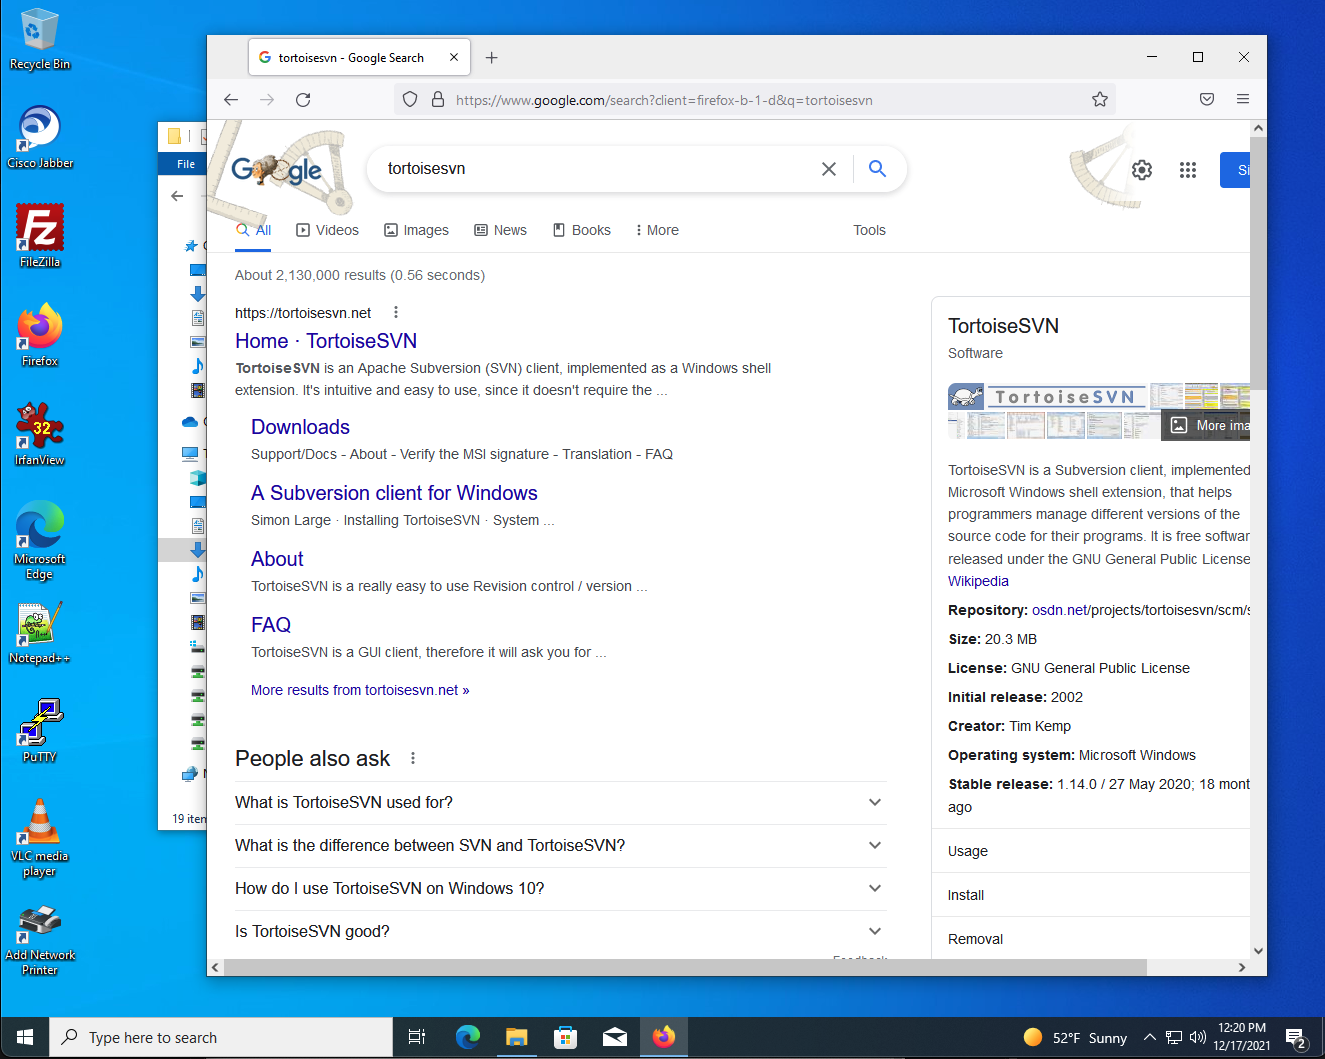
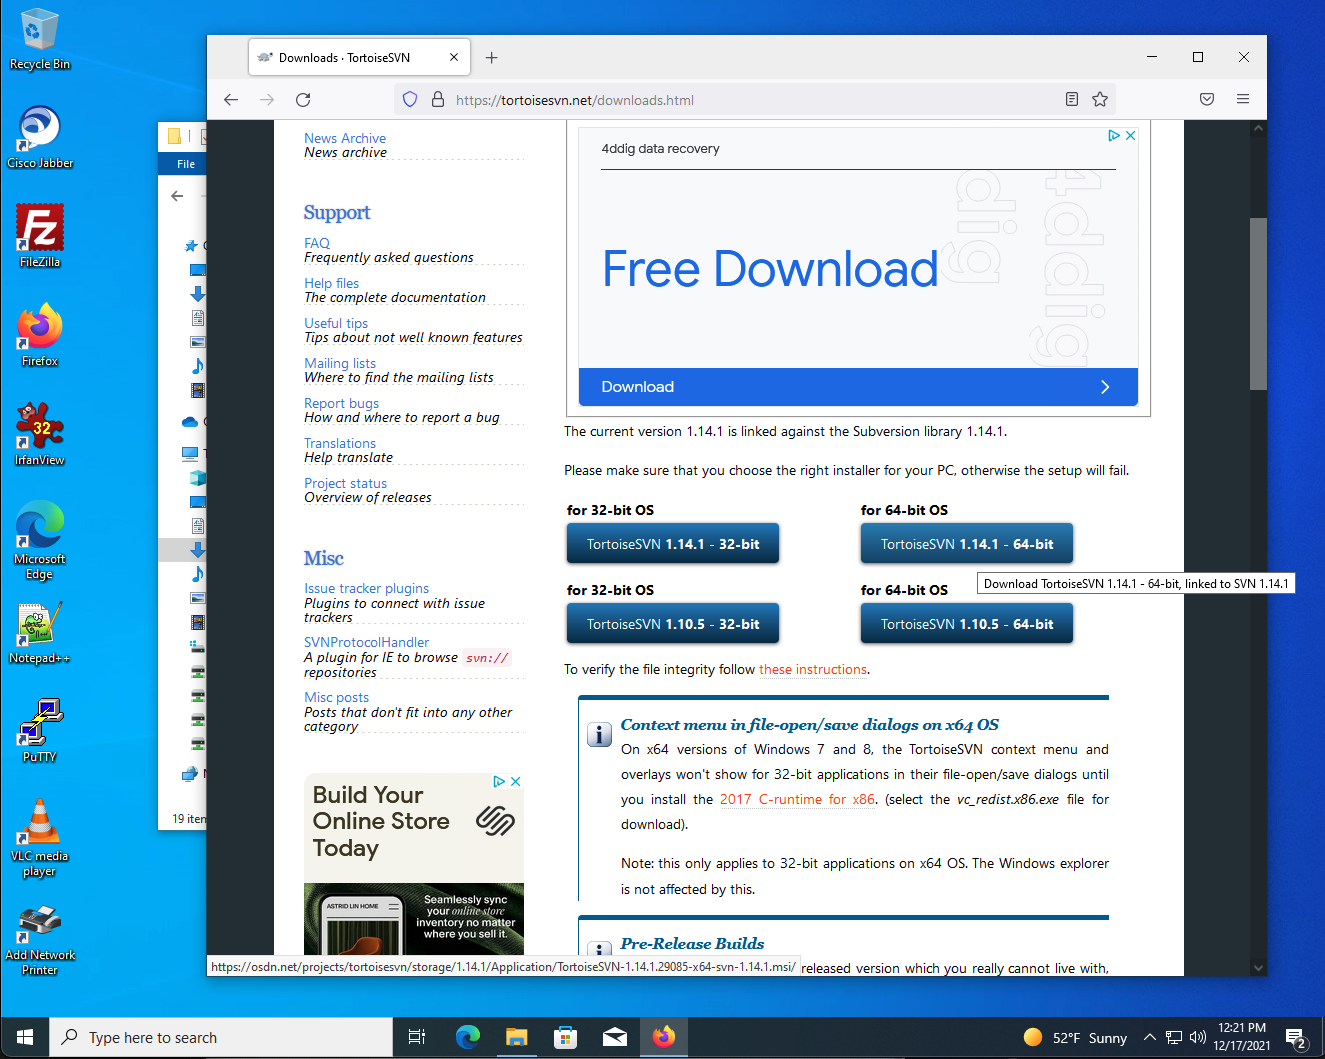
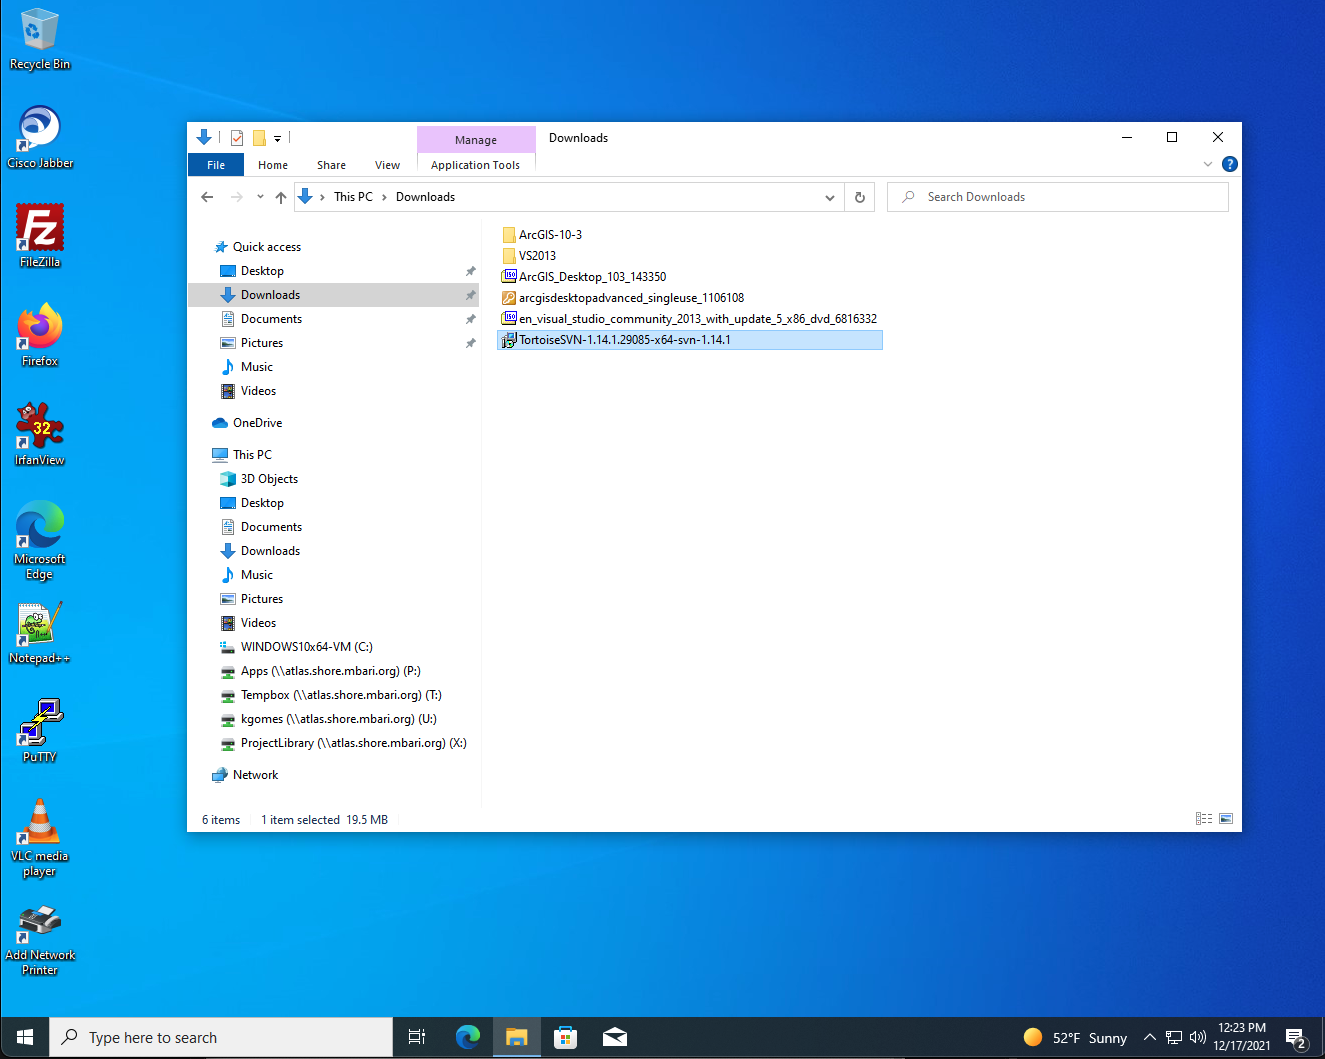
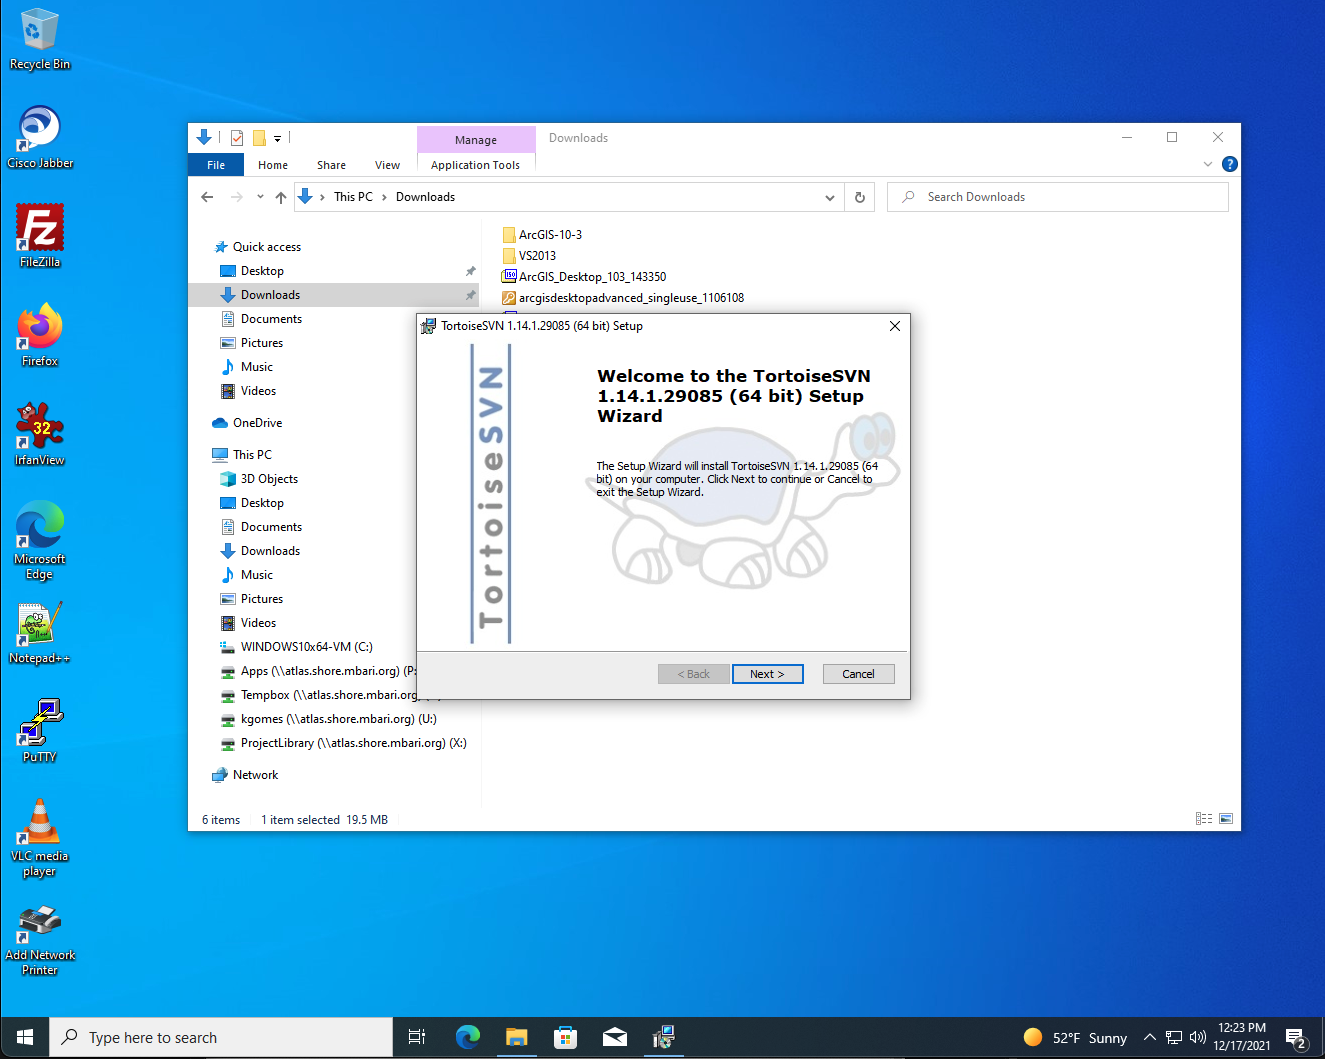
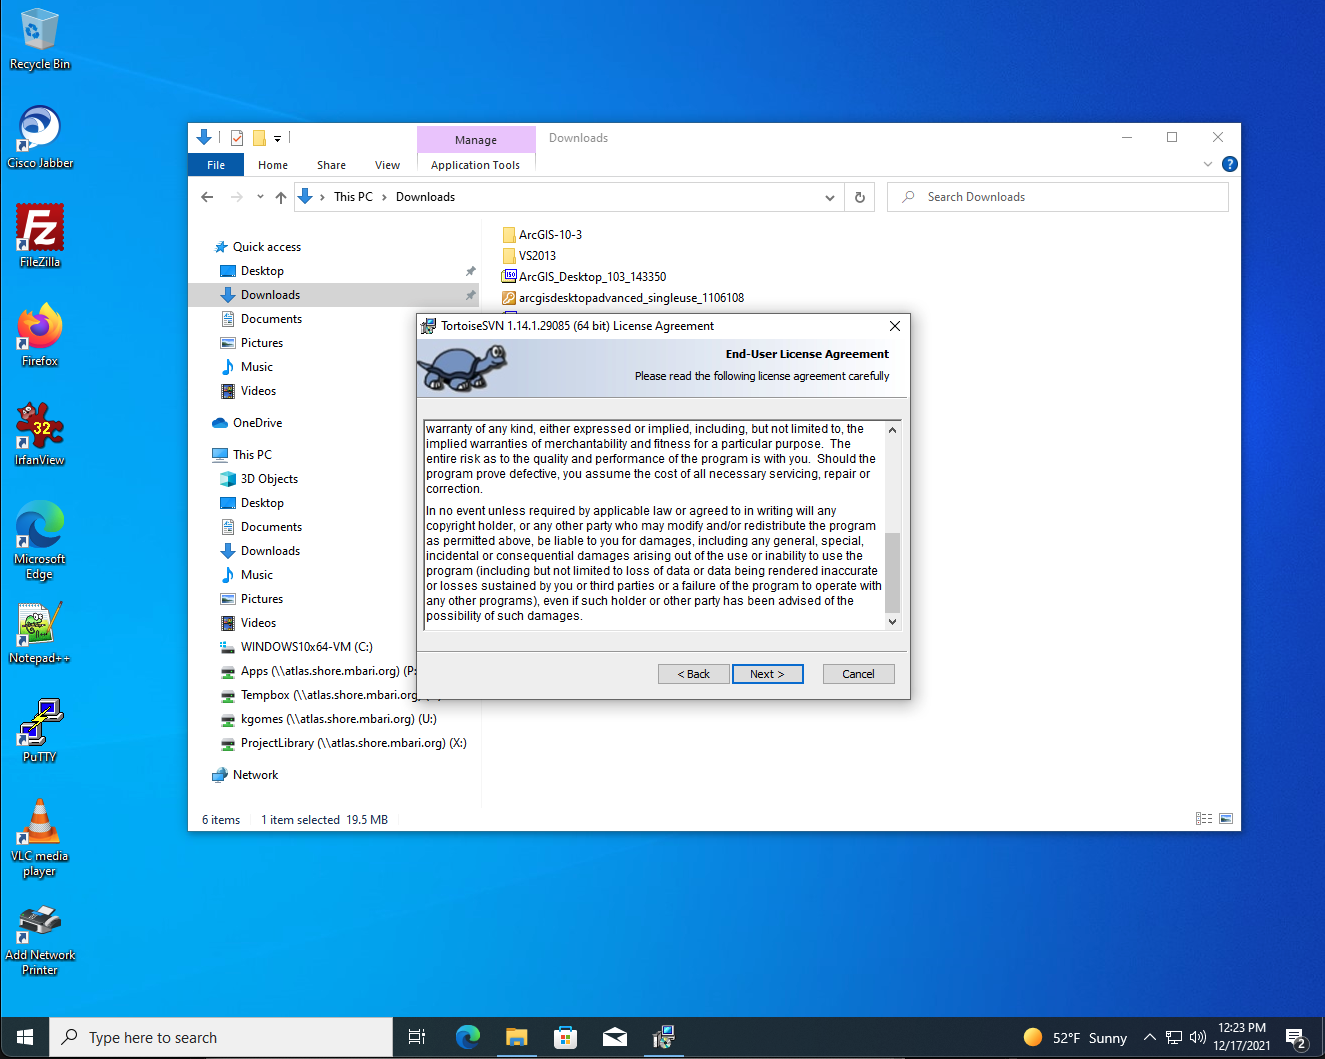
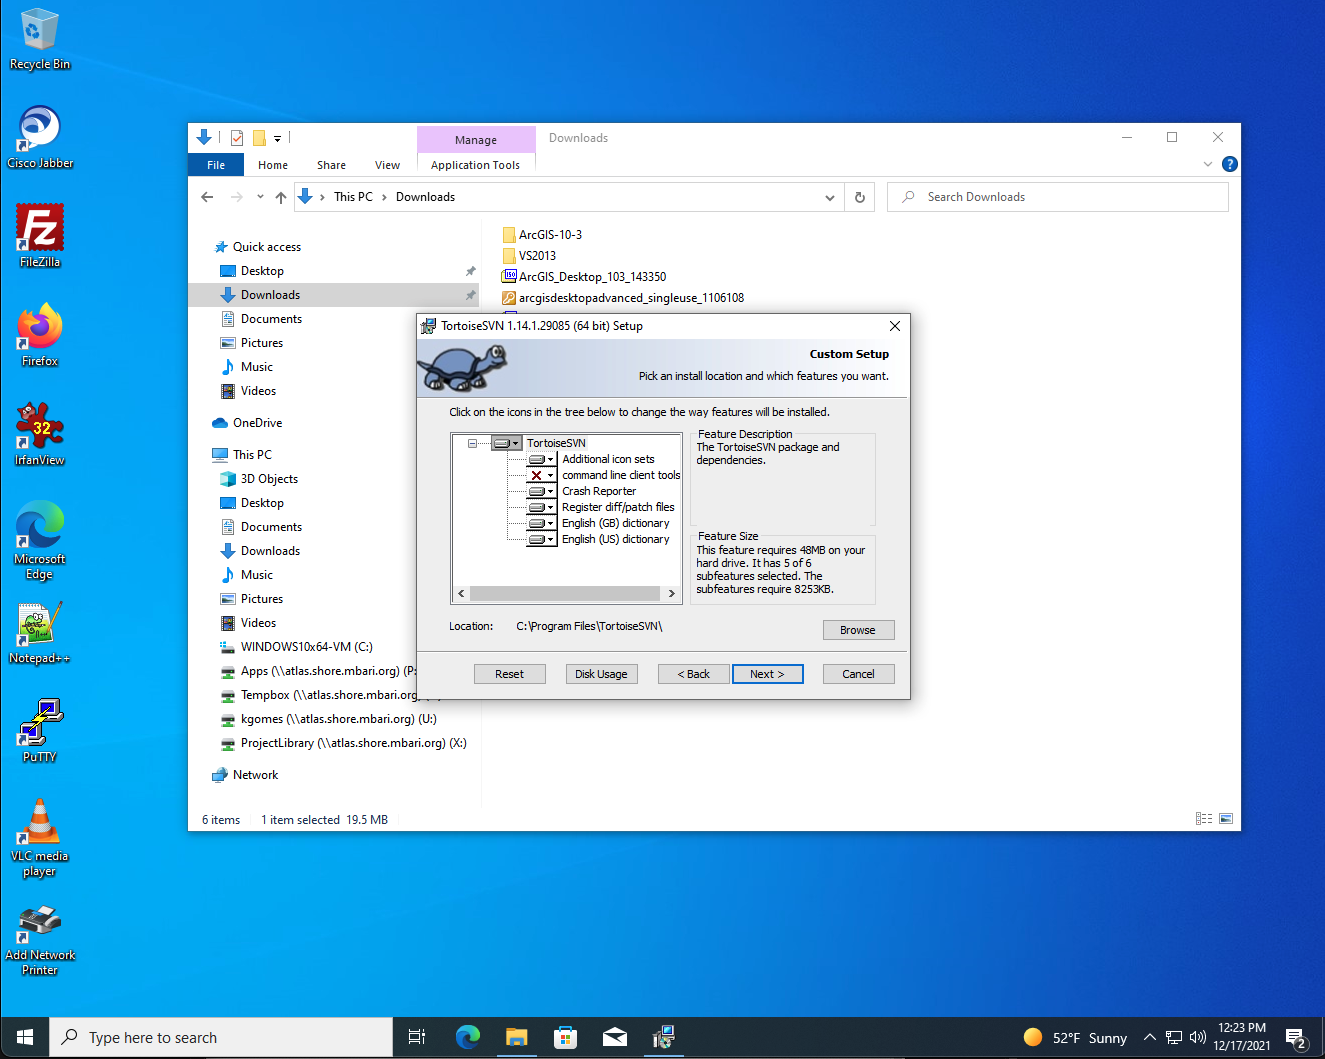
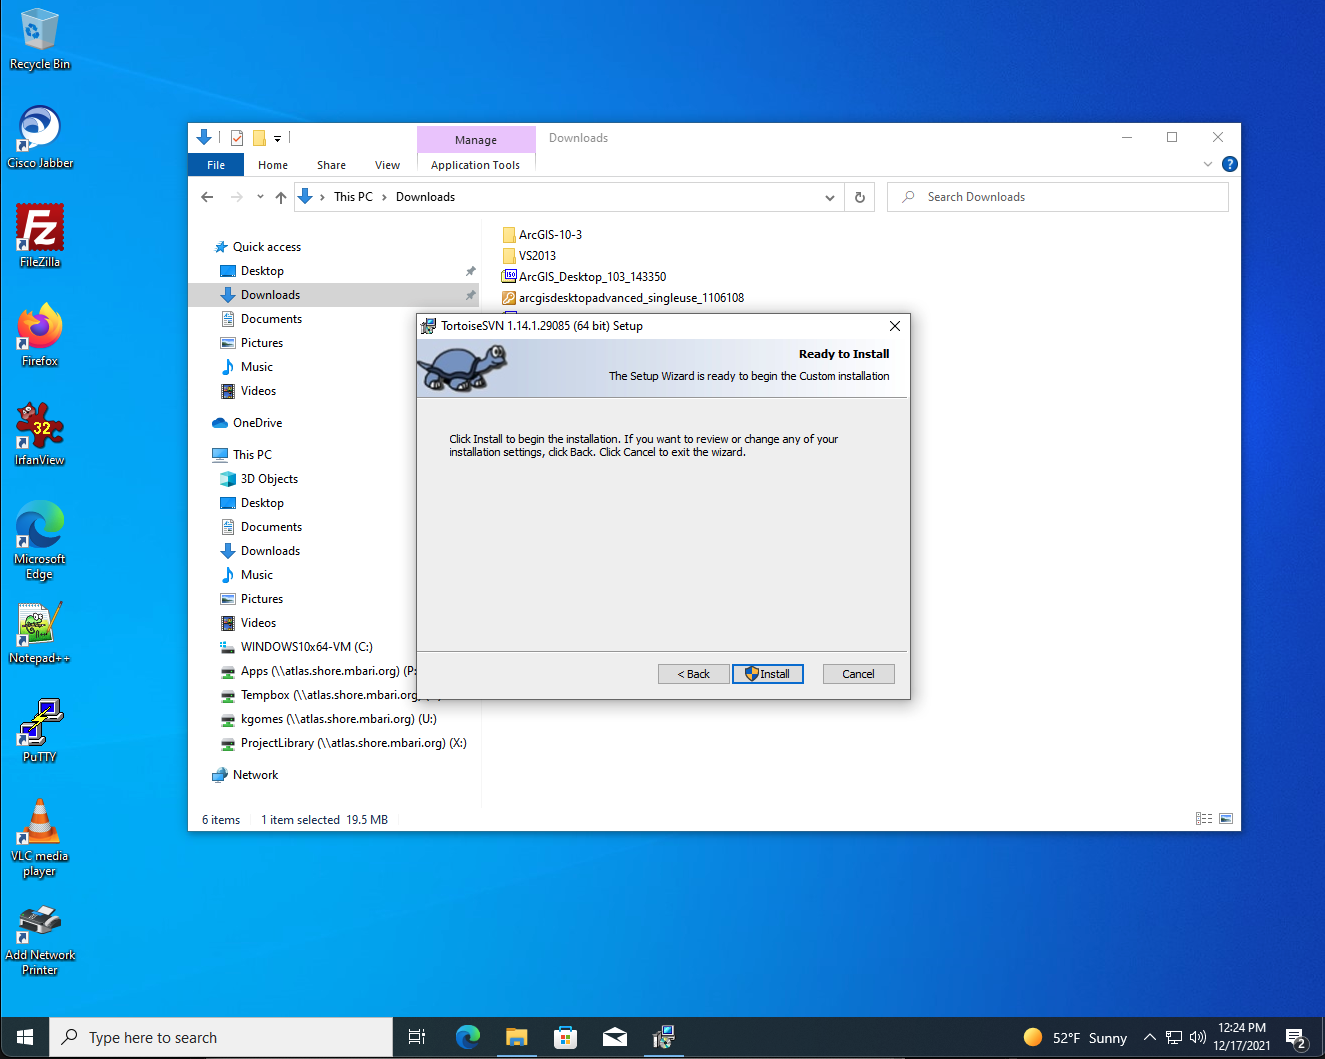
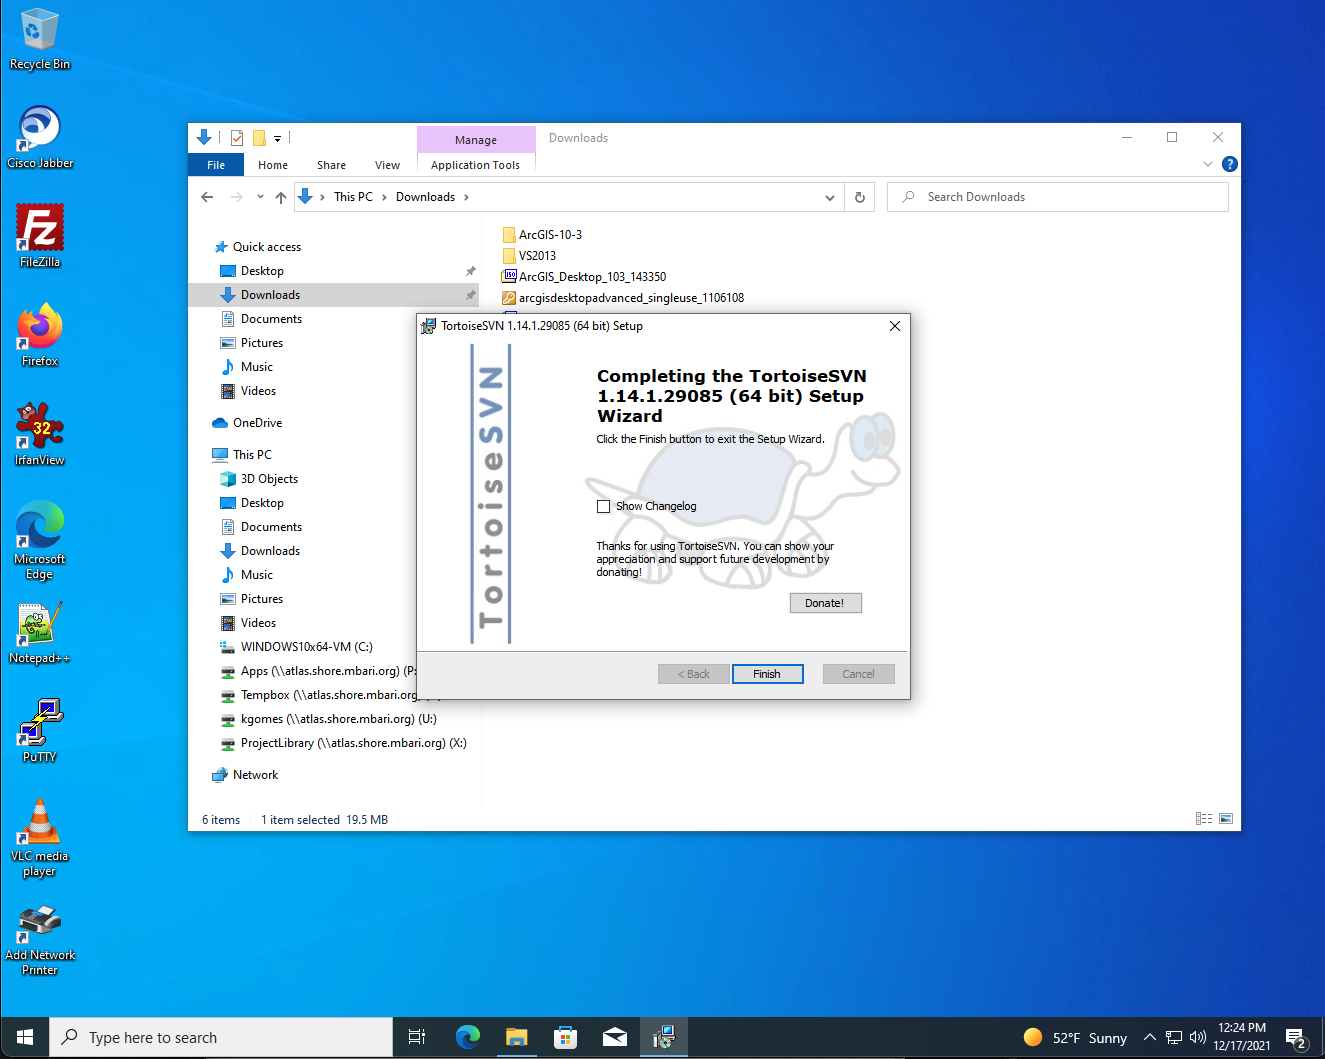
- Checkout the ArcMapNav project
- Click on "Documents", Create new folder named mccann
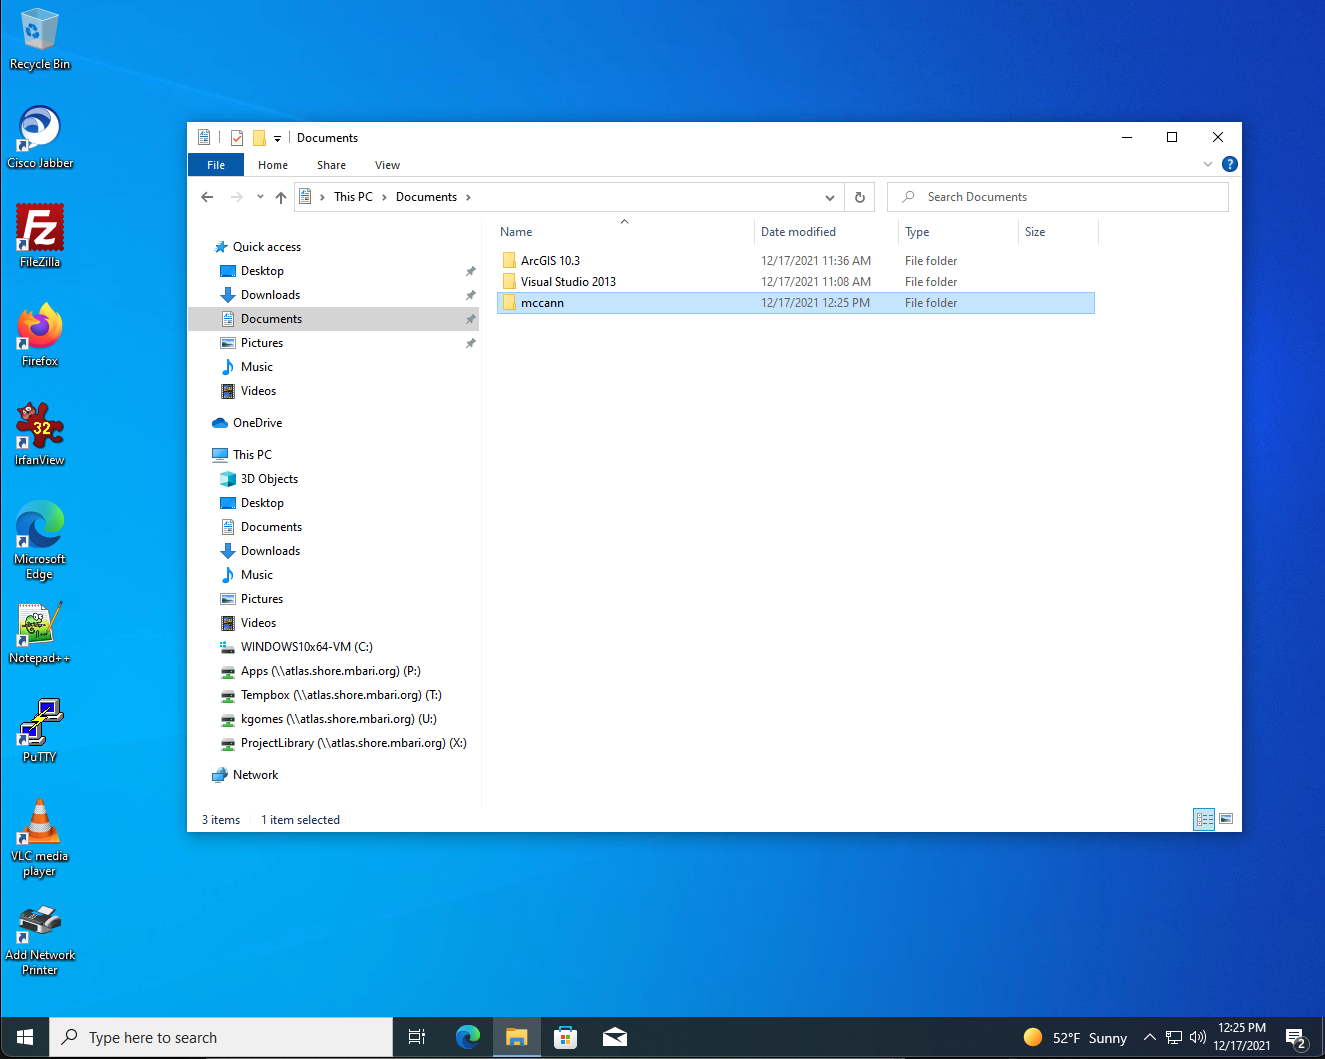
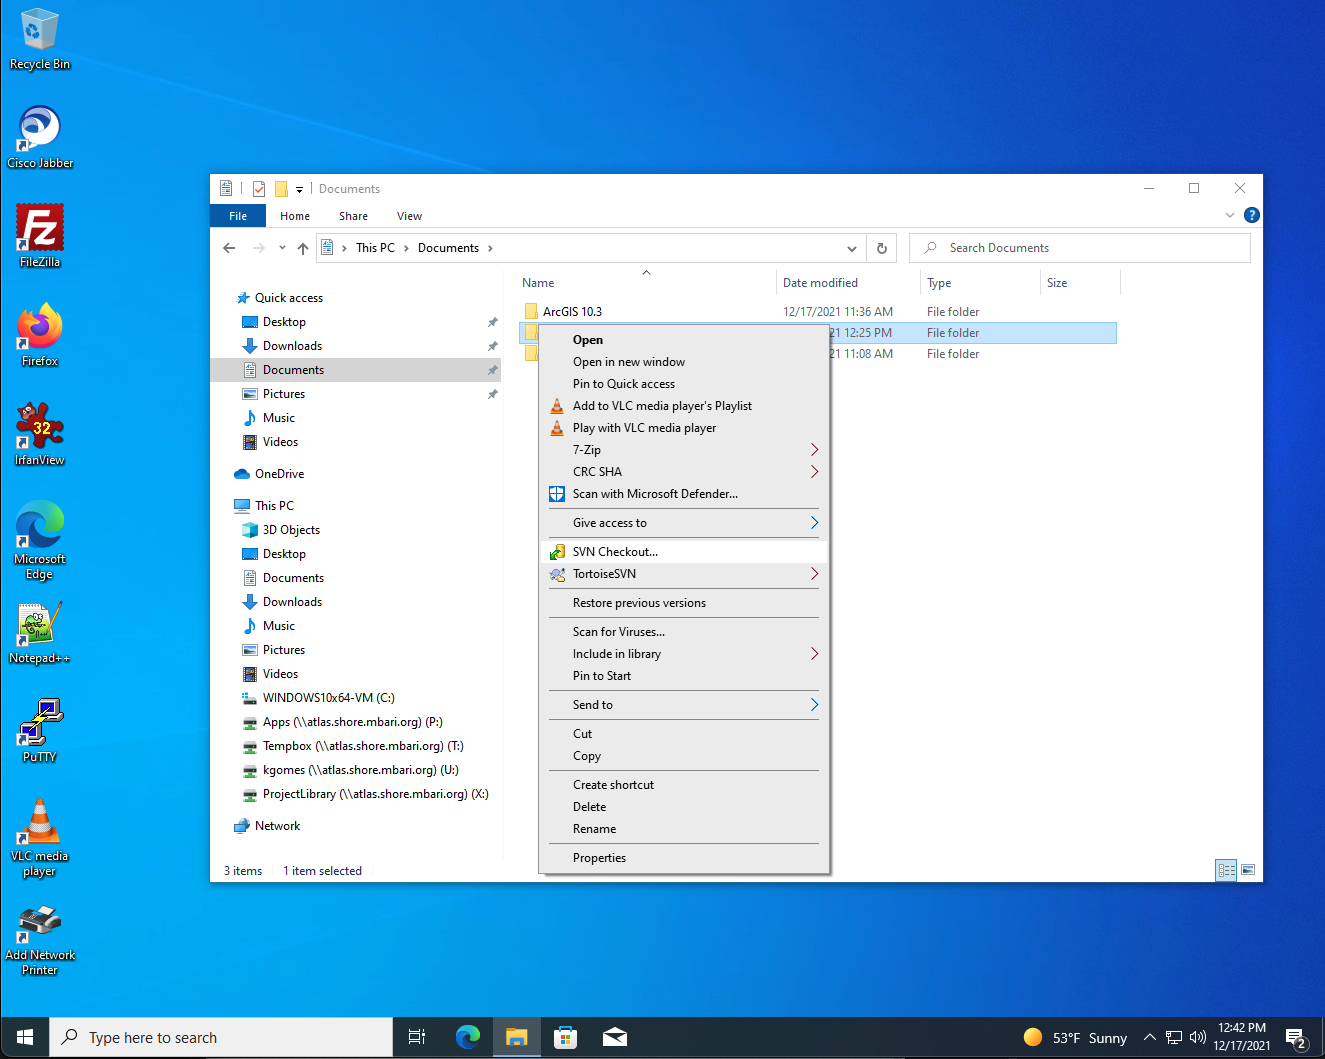
- Rick-click on mccann, select 'SVN Checkout.
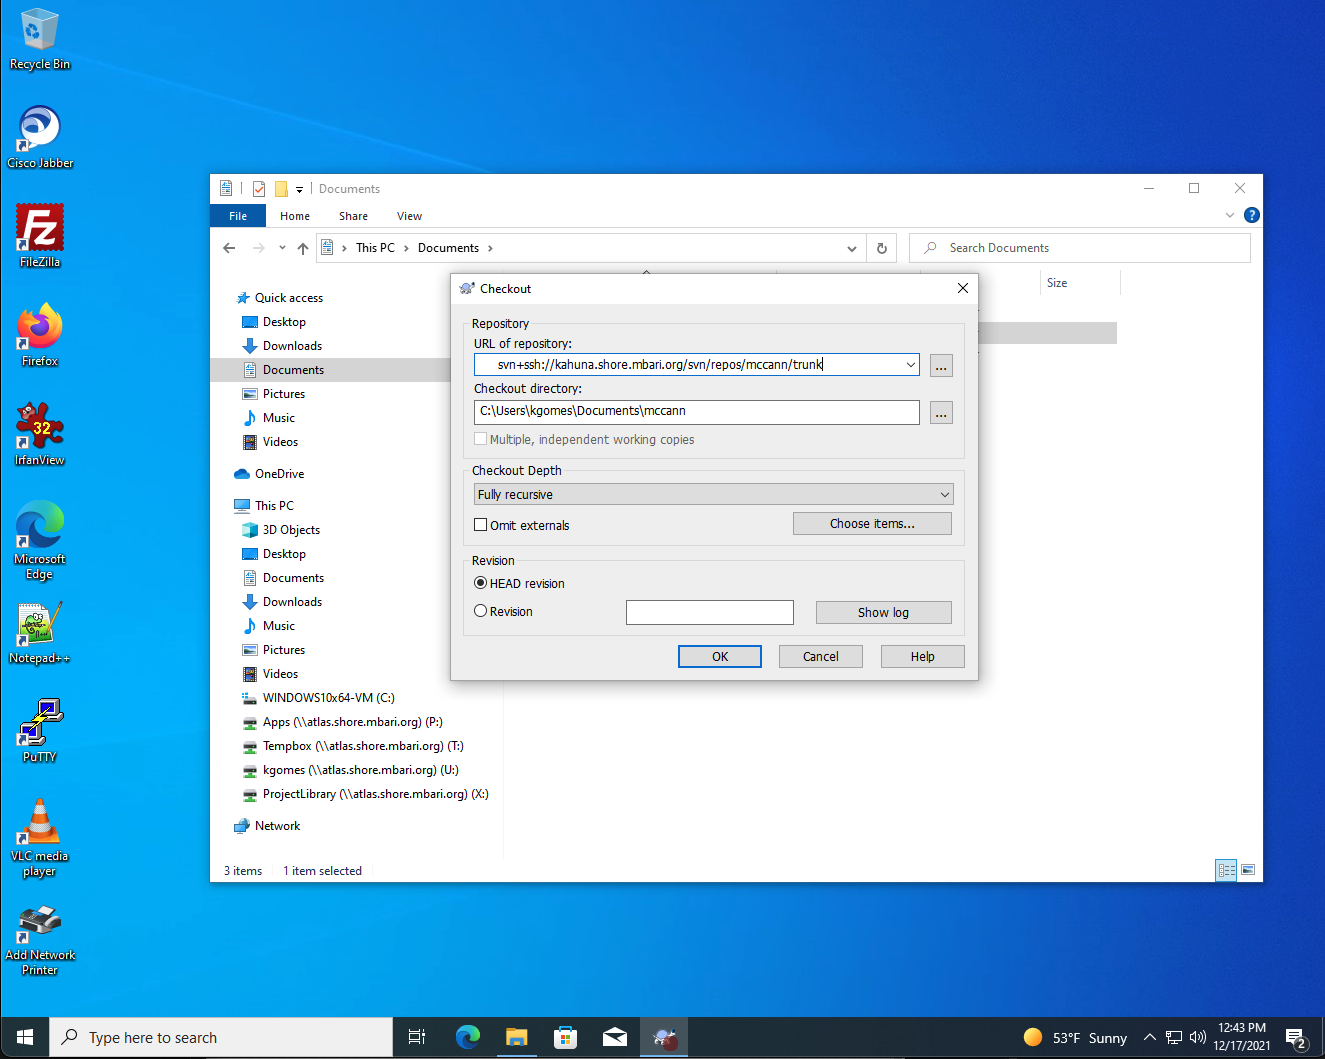
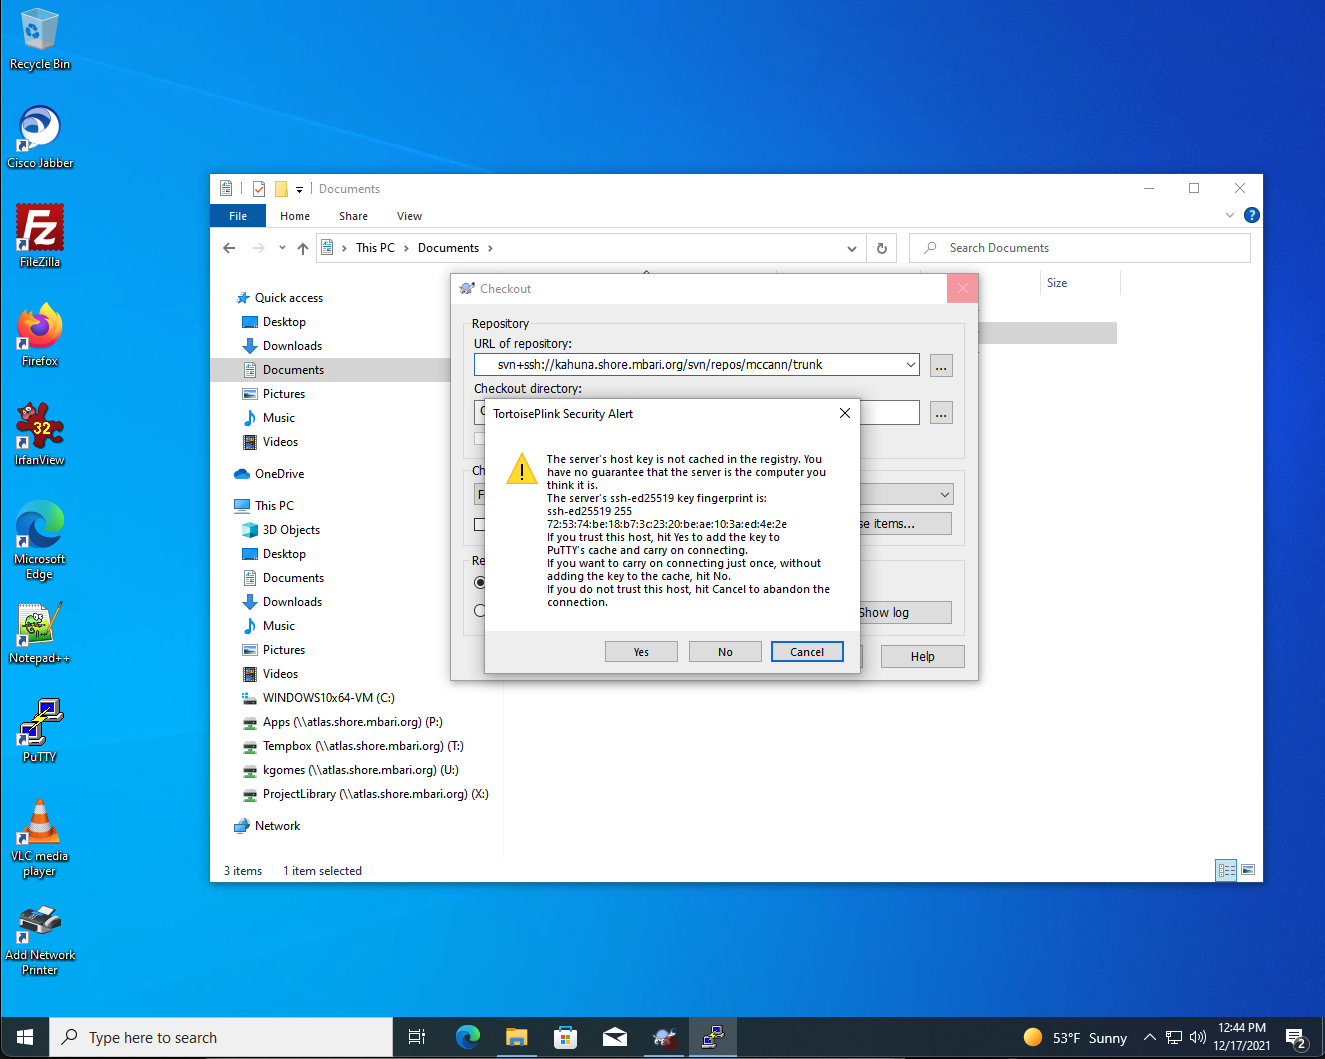
- Enter 'svn+ssh://kahuna.shore.mbari.org/svn/repos/mccann/trunk'
- Click 'Yes' on the security alert
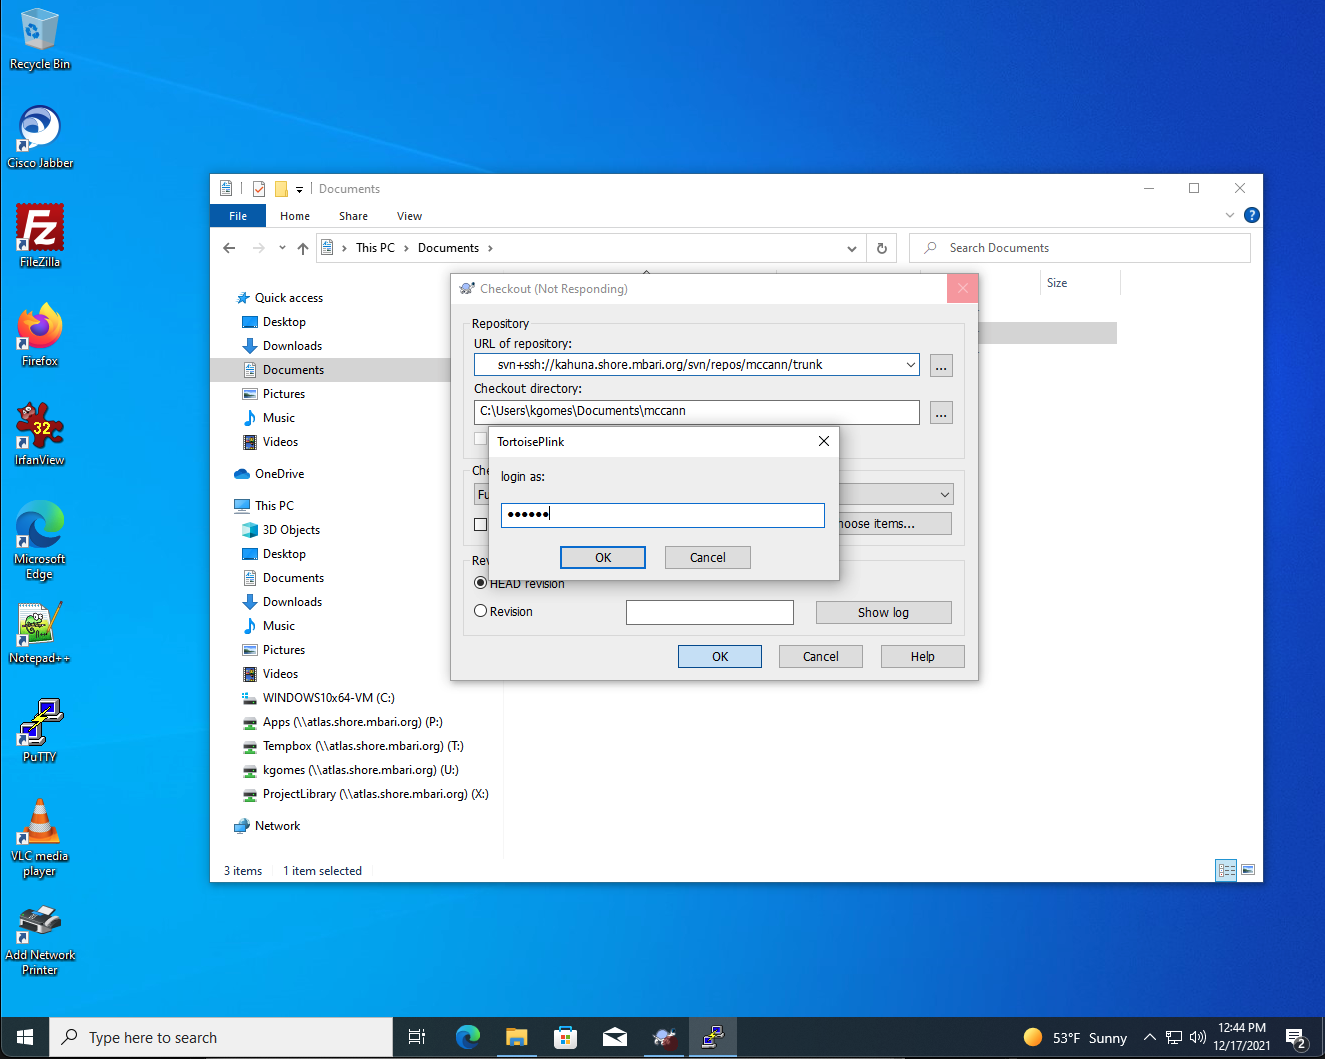
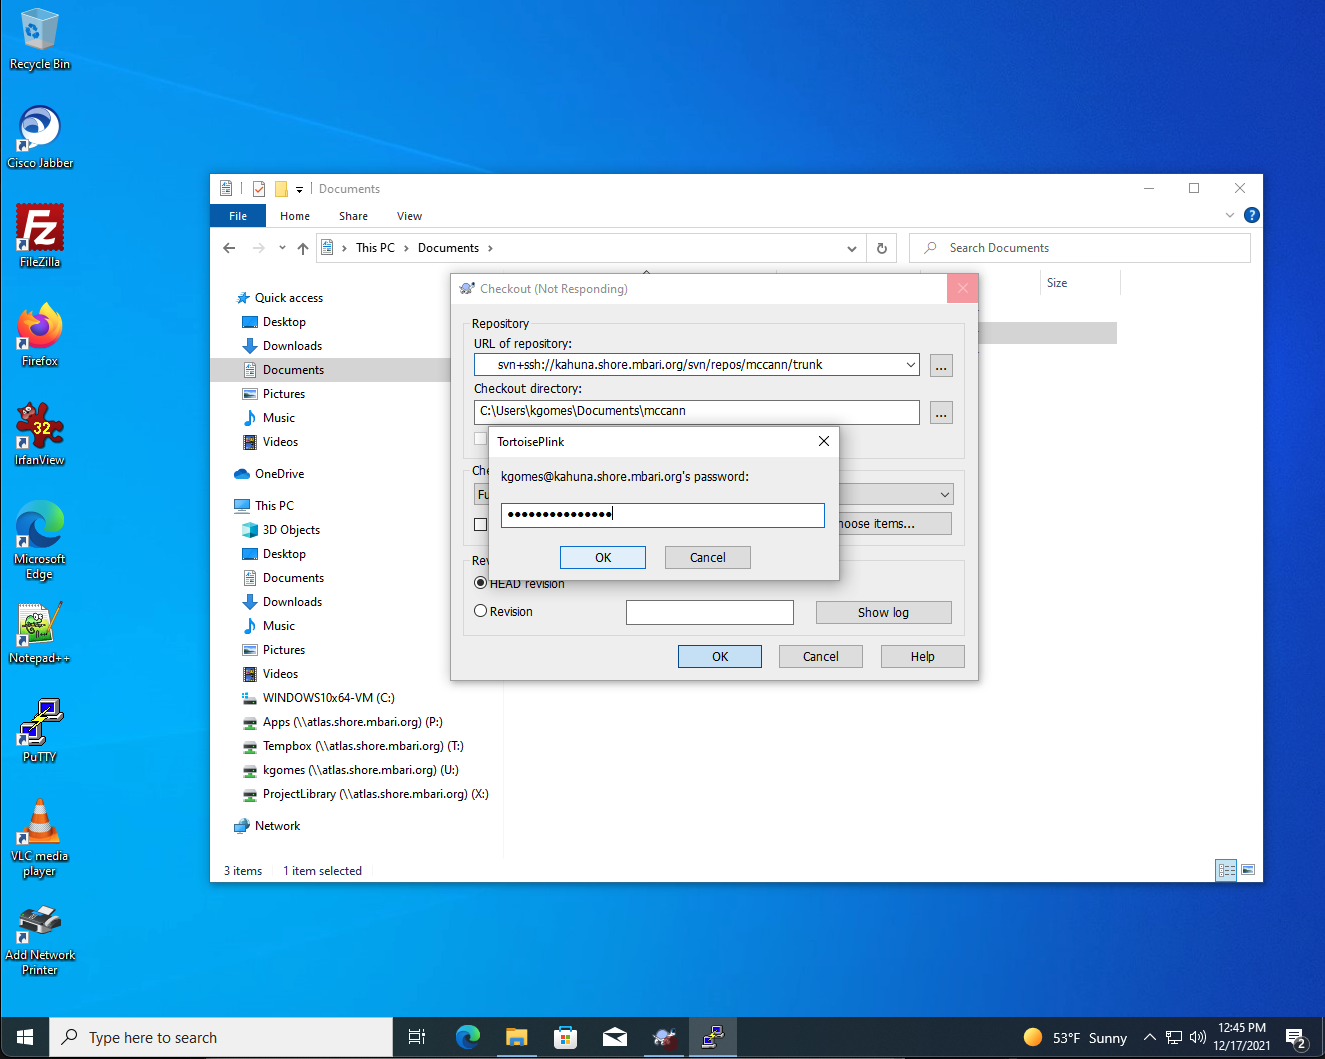
- Login (2x)
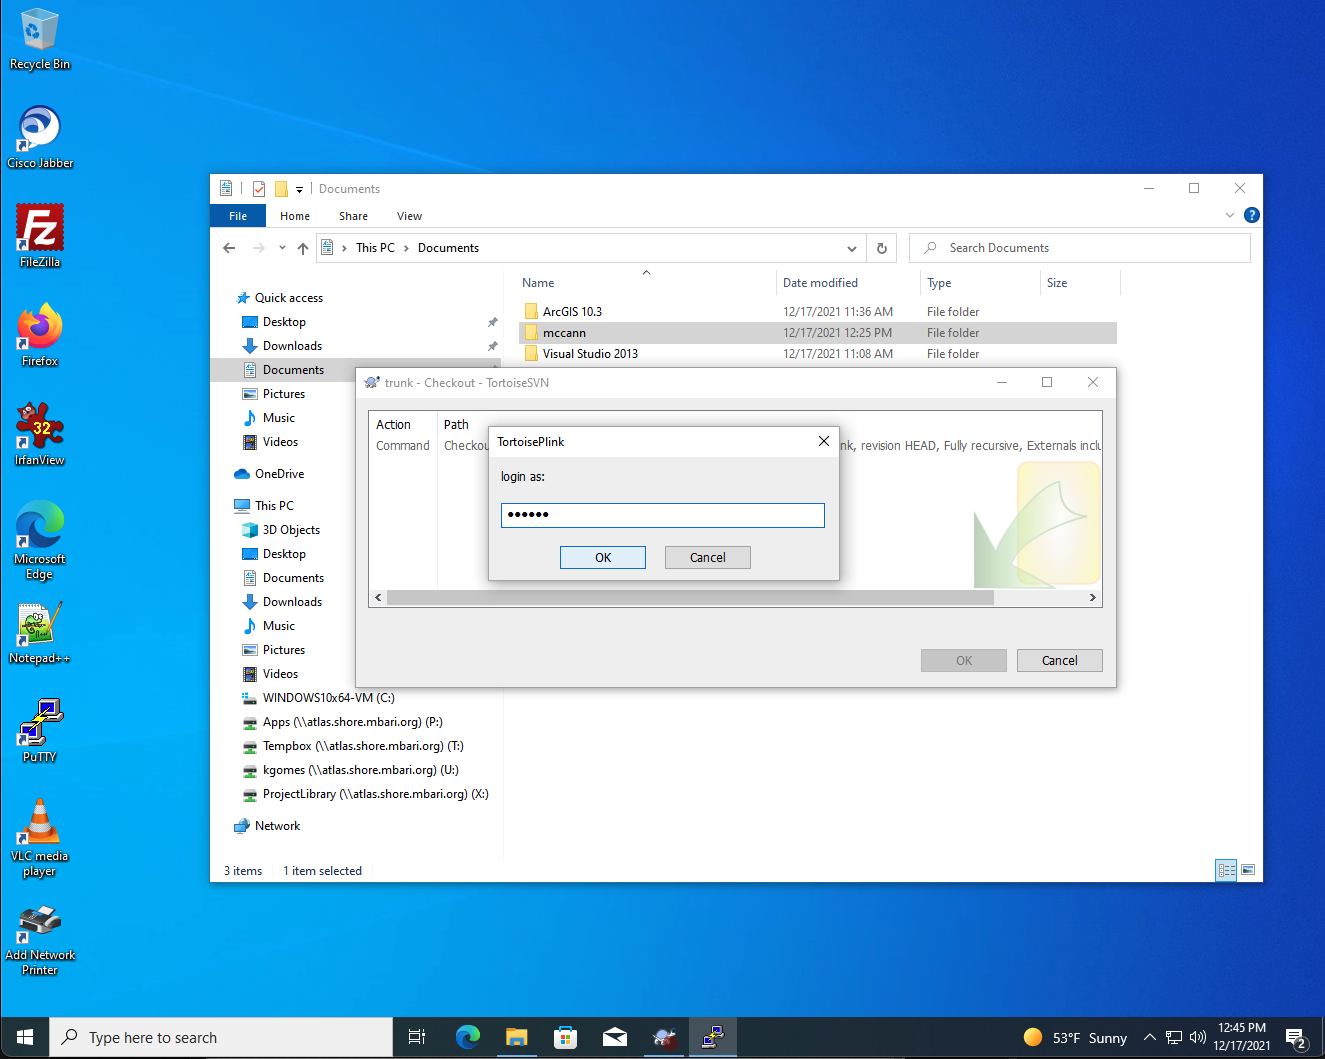
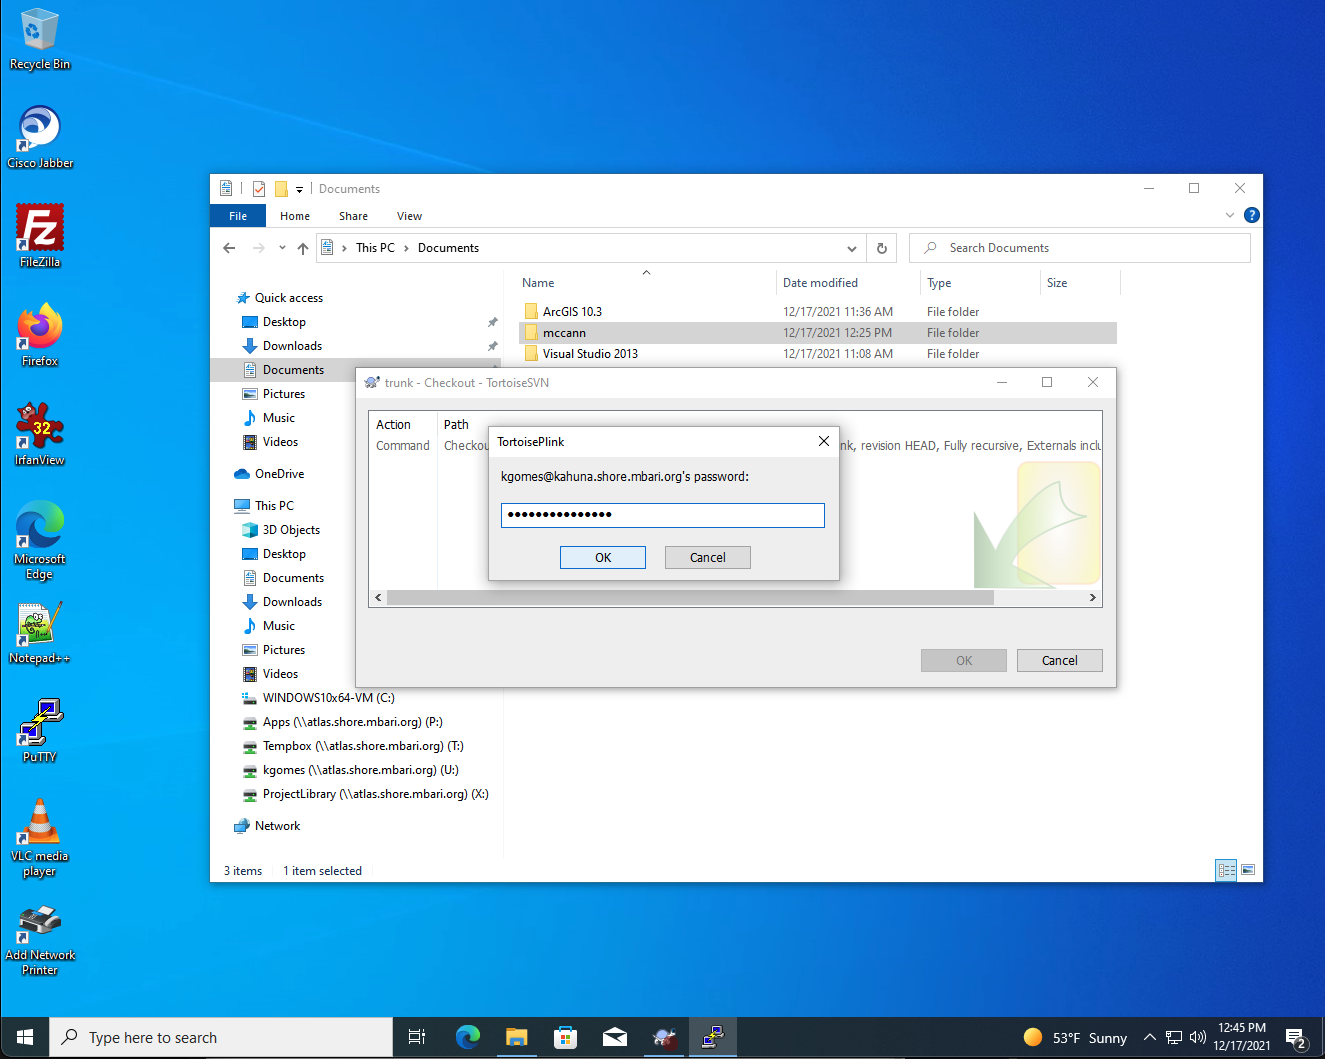
- Click OK when everything checked out
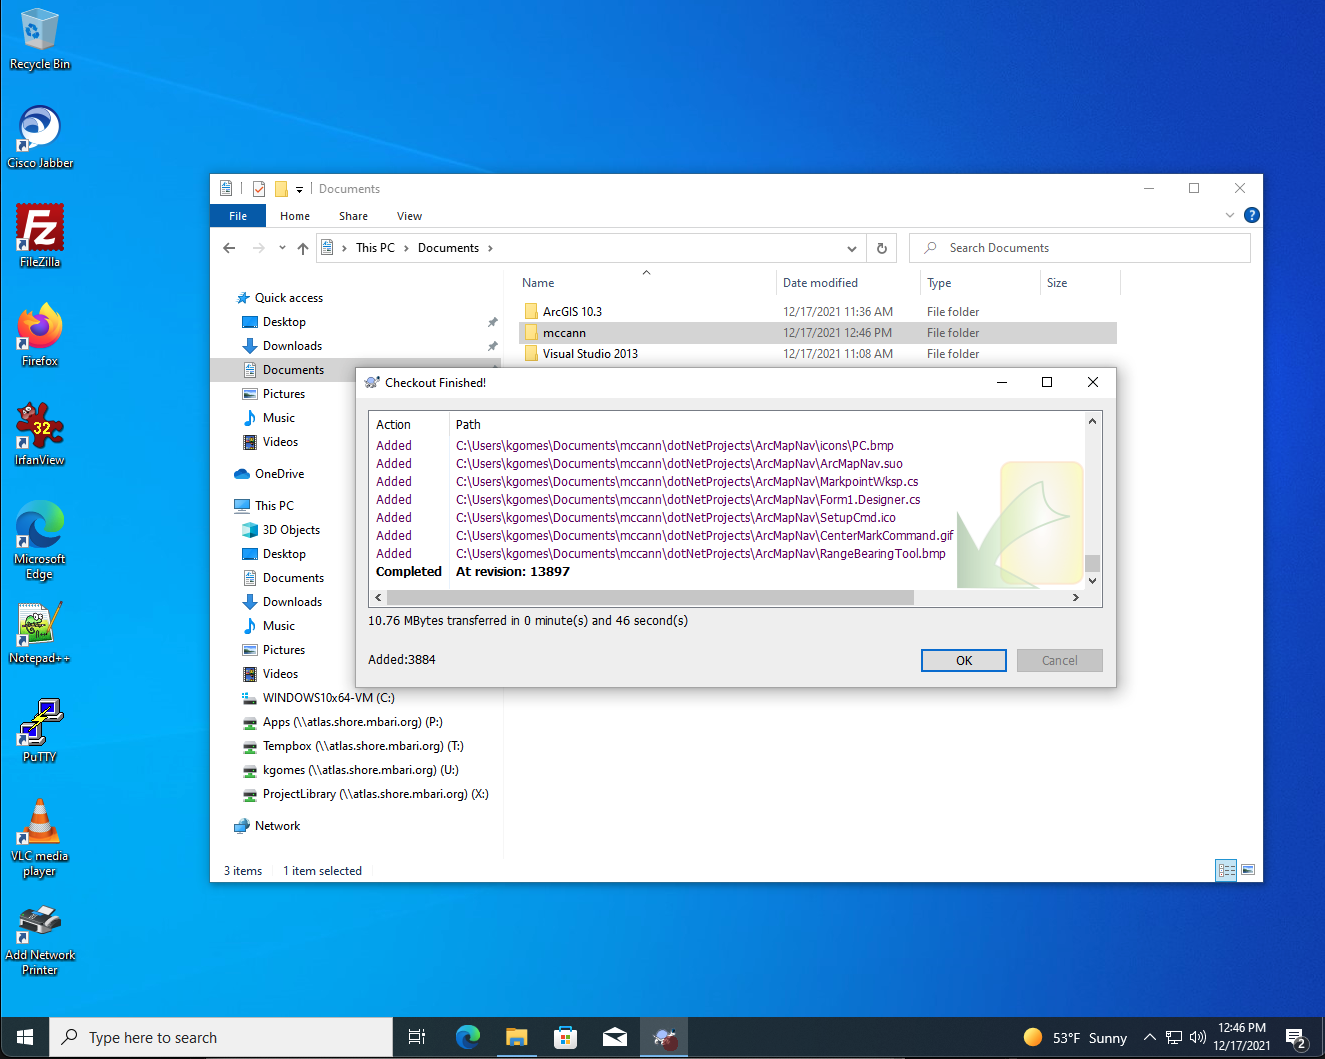
- Click on "Documents", Create new folder named mccann
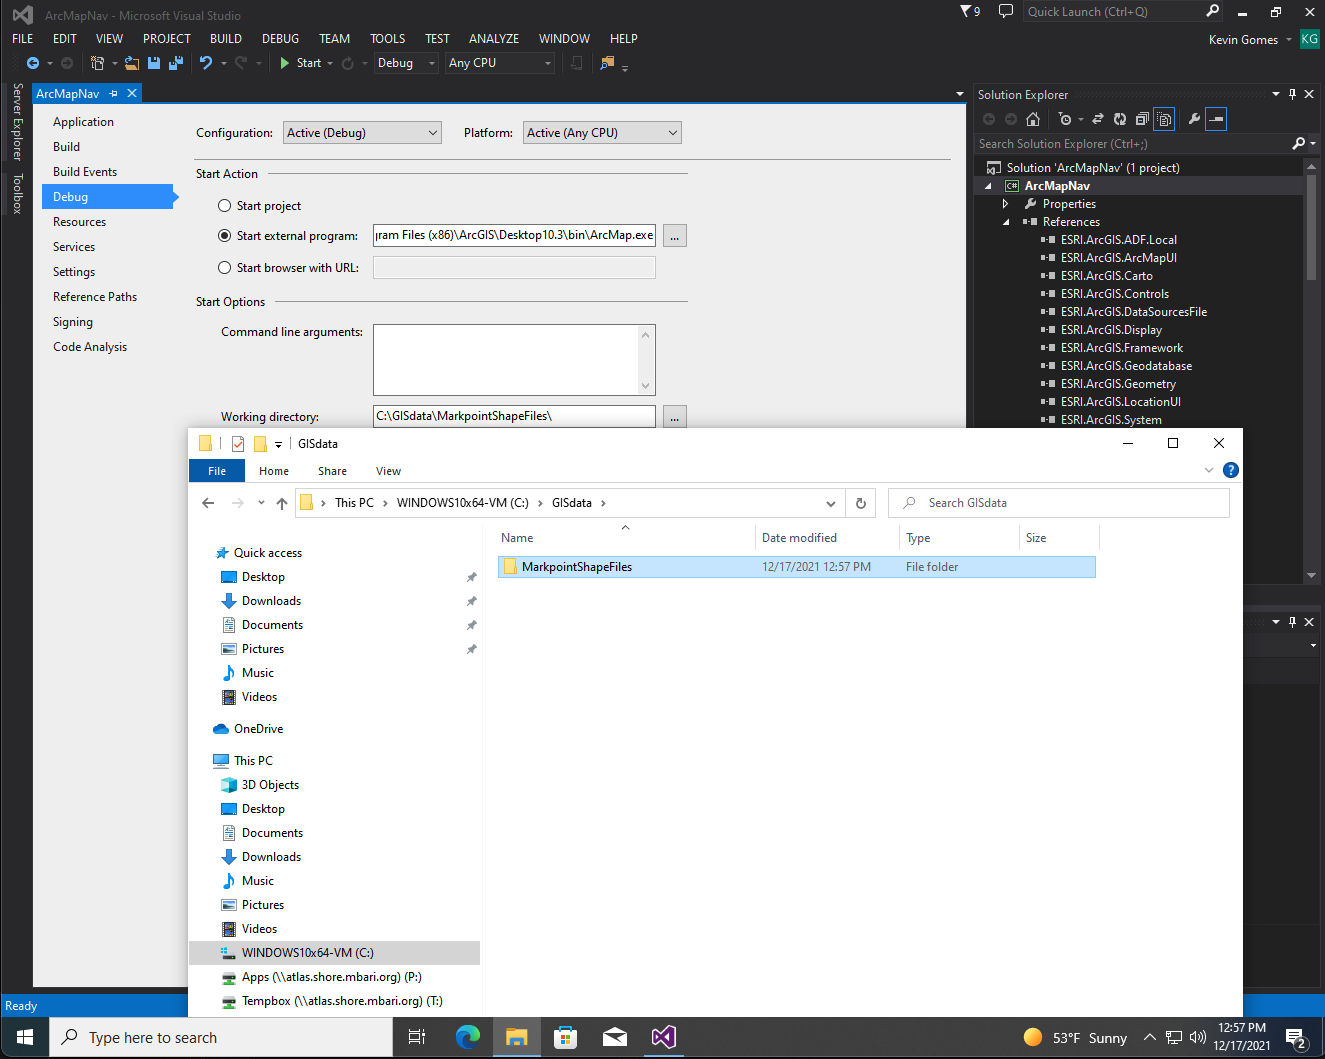
- Open Windows explorer and navigate to the C: drive and create the folder C:\GISdata\MarkpointShapeFiles.
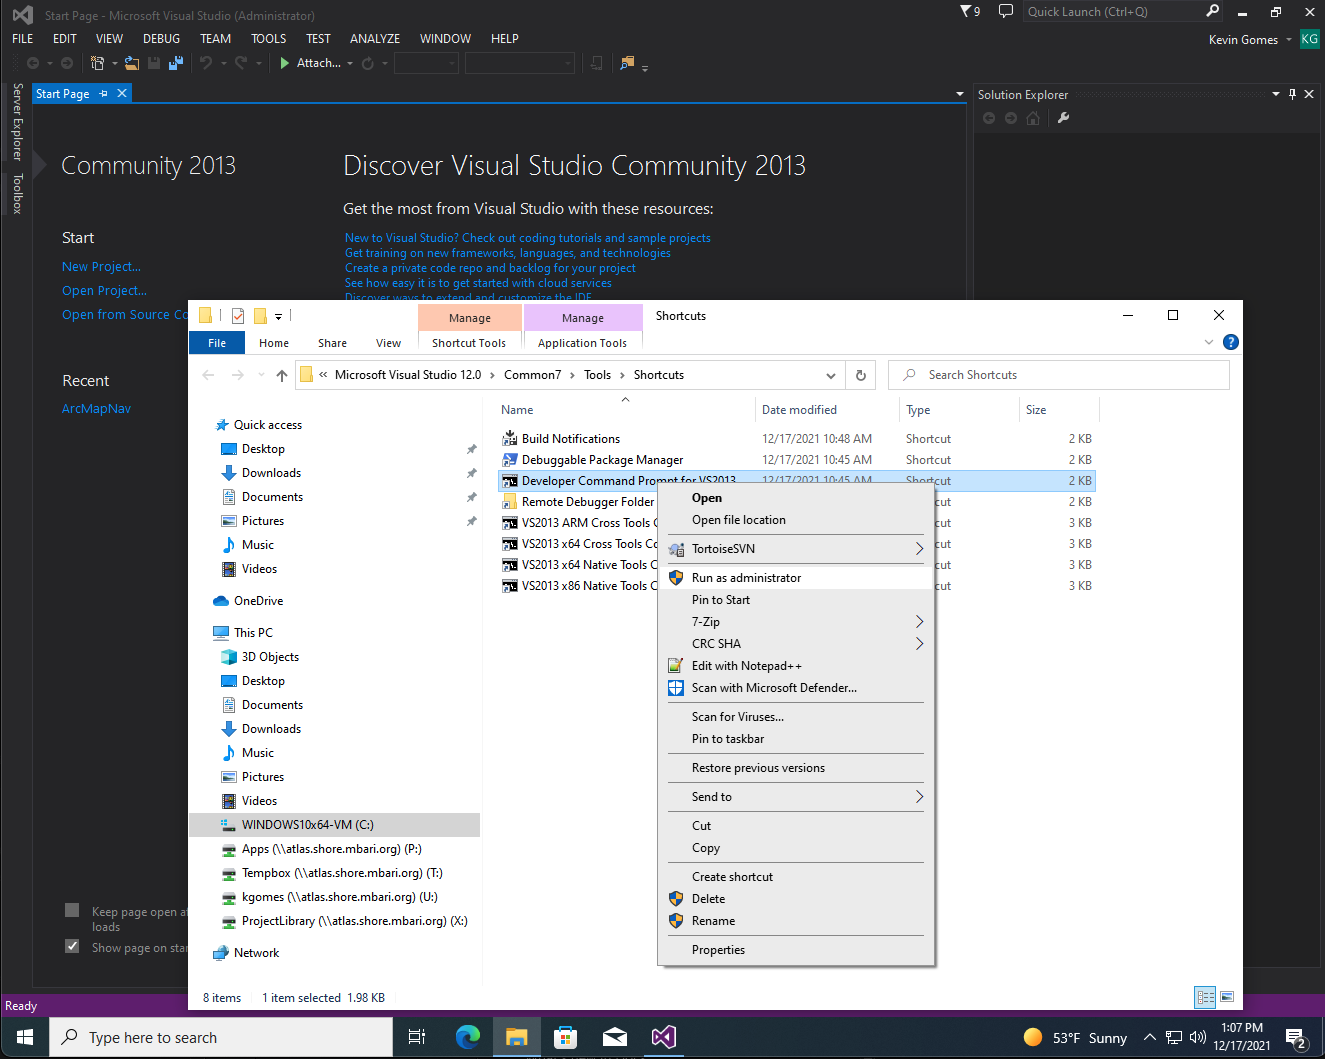
- Click on start menu, navigate to Visual Studio 2013 and click on the folder, then click on Visual Studio tools which will open an explorer window.
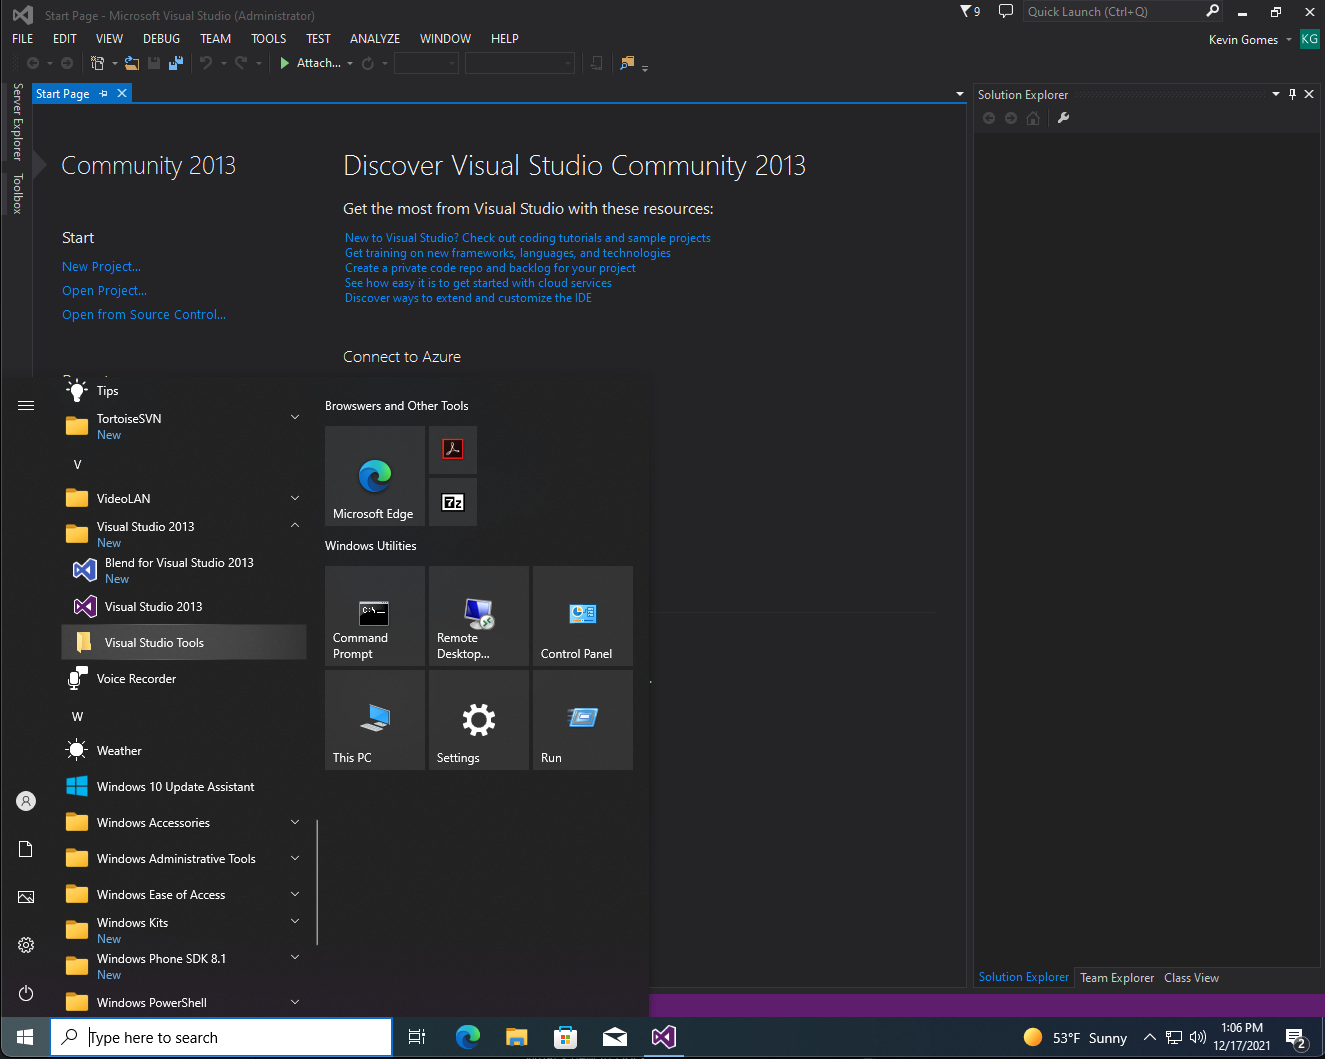
- Right click on Developer Command Prompt for VS2013 and then select 'Run as administrator'.
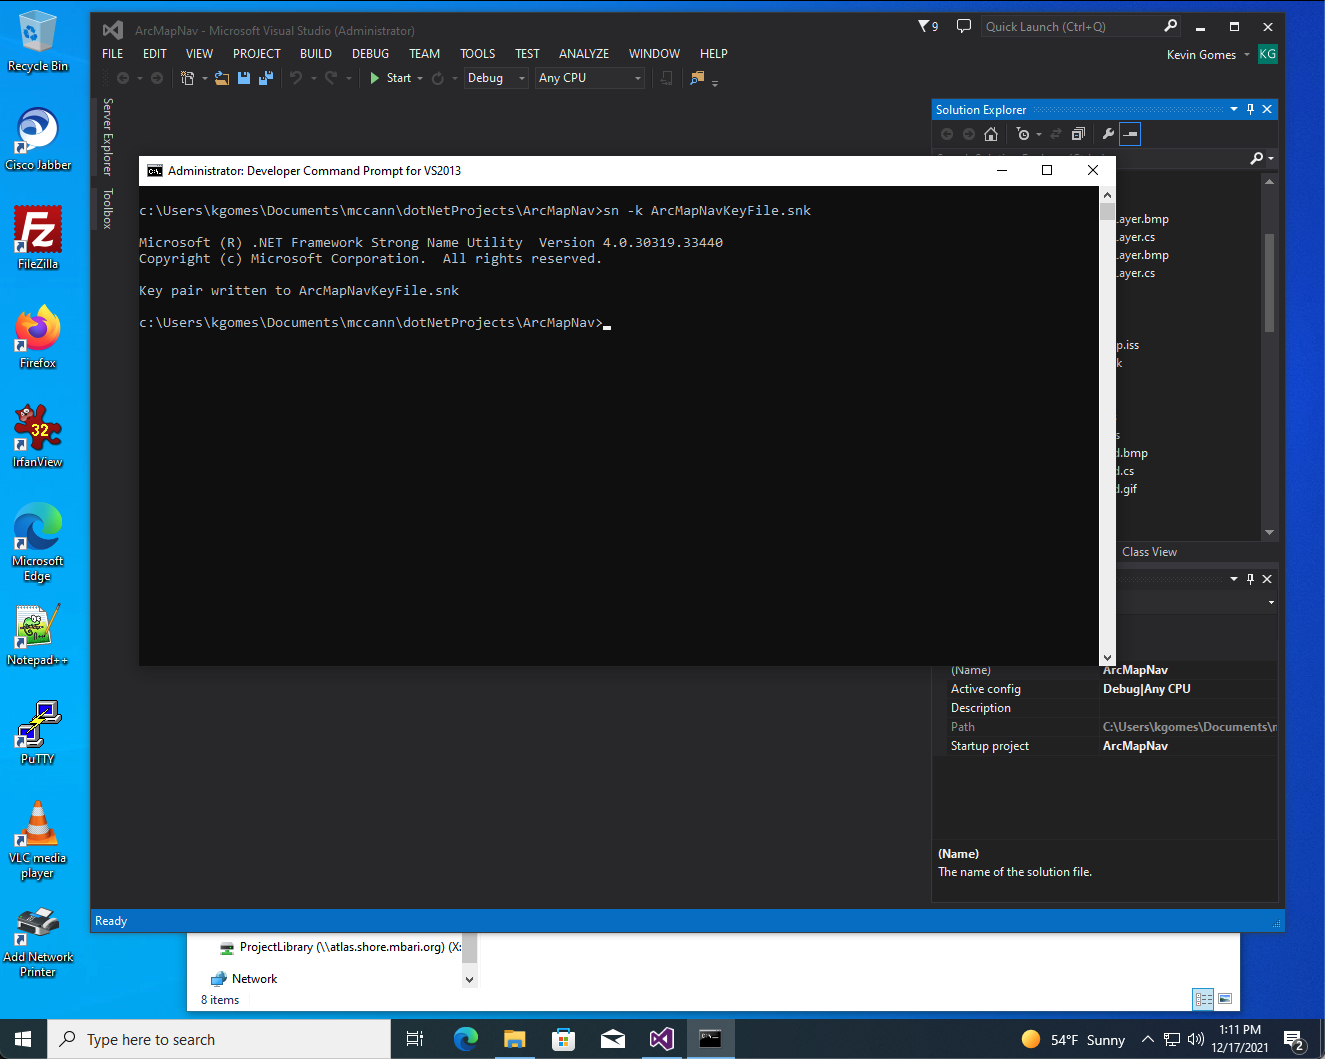
- In the command prompt type 'cd c:\Users\kgomes\Documents\mccann\dotNetProjects\ArcMapNav'
- Then run 'sn -k ArcMapNavKeyFile.snk' (then 'exit' to close the window).
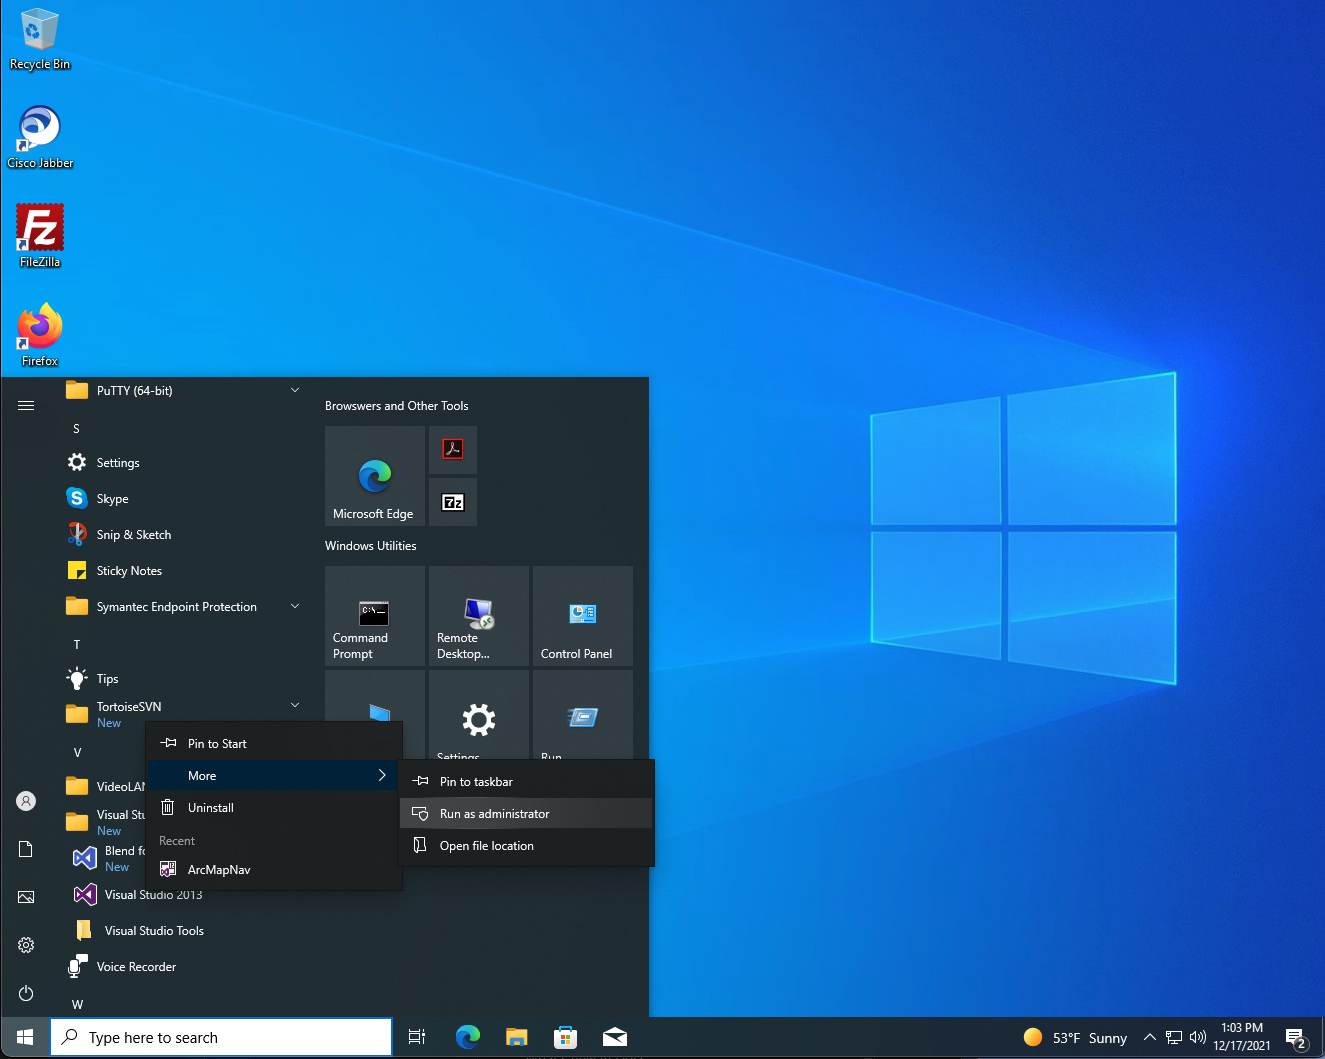
- Start Visual Studio 2013 by running as administrator (in the Windows menu, navigate to Visual Studio 2013, right click, click on More > Run as Administrator (it will prompt you for permissions))
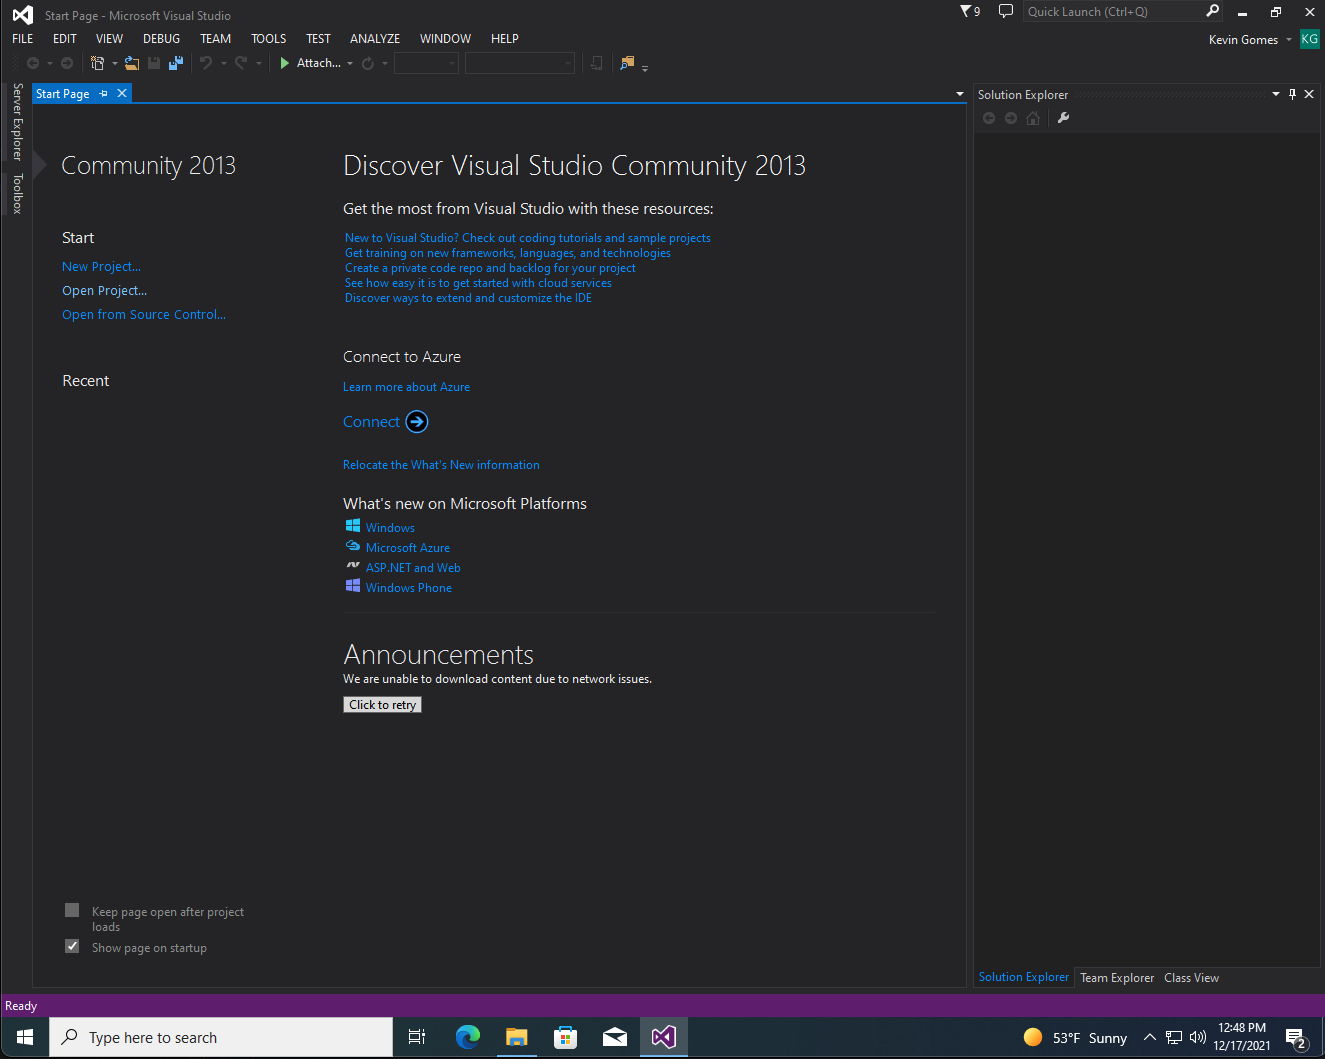
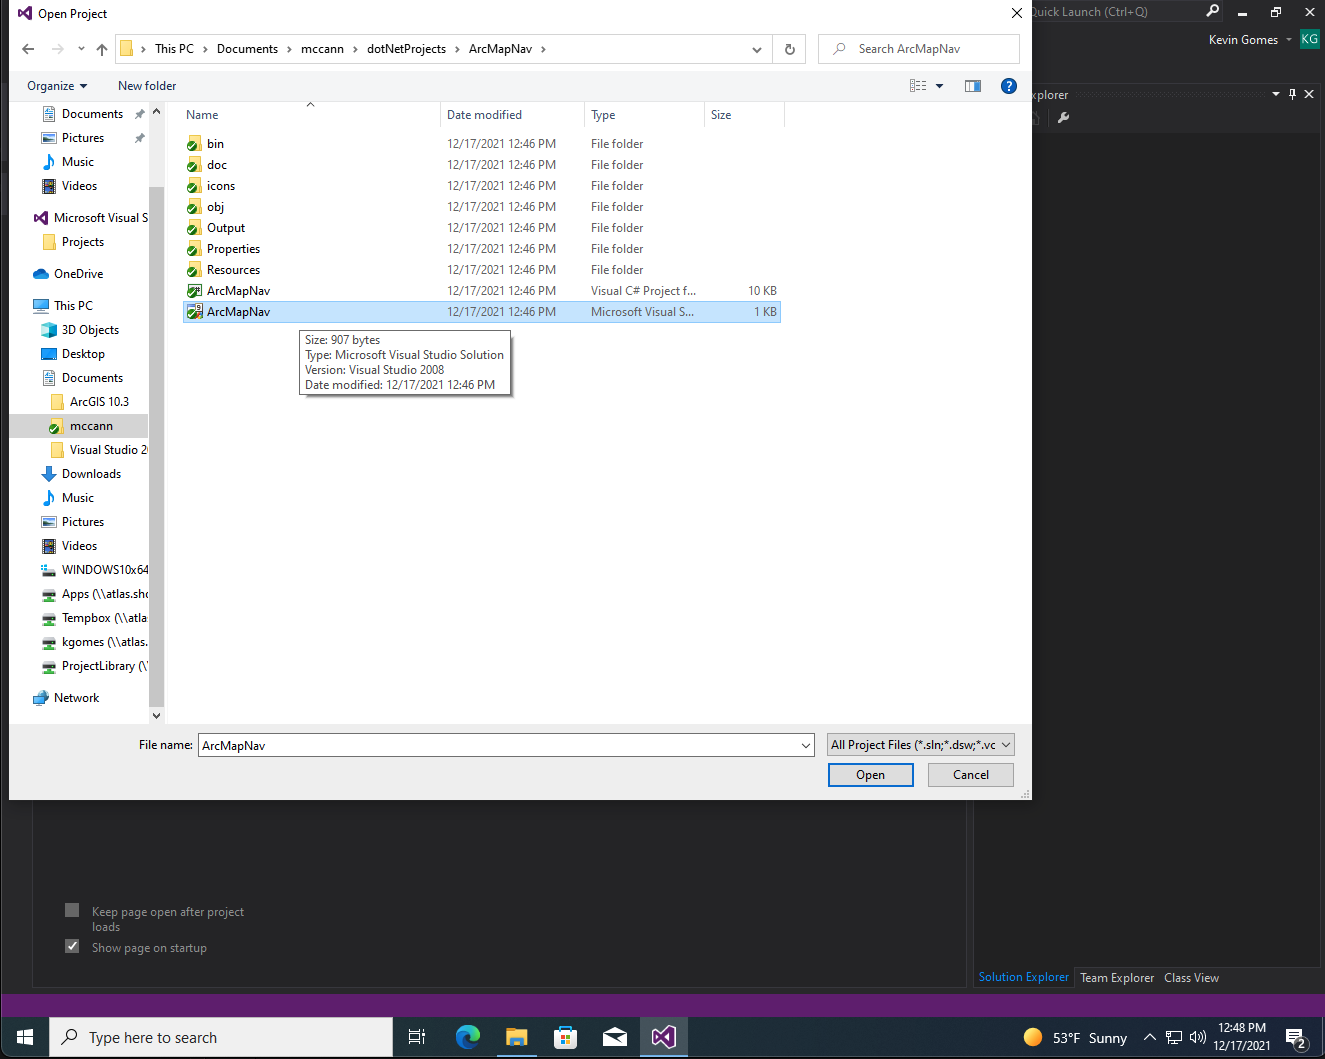
- Click on Open Project ...
- Navigate to the mccann/dotNetProjects/ArcMapNav and select the ArcMapNav.sln file and click Open
- I had to do these next steps, but you may not have to (or they may be slightly different) since, in theory these only needed to be done once.
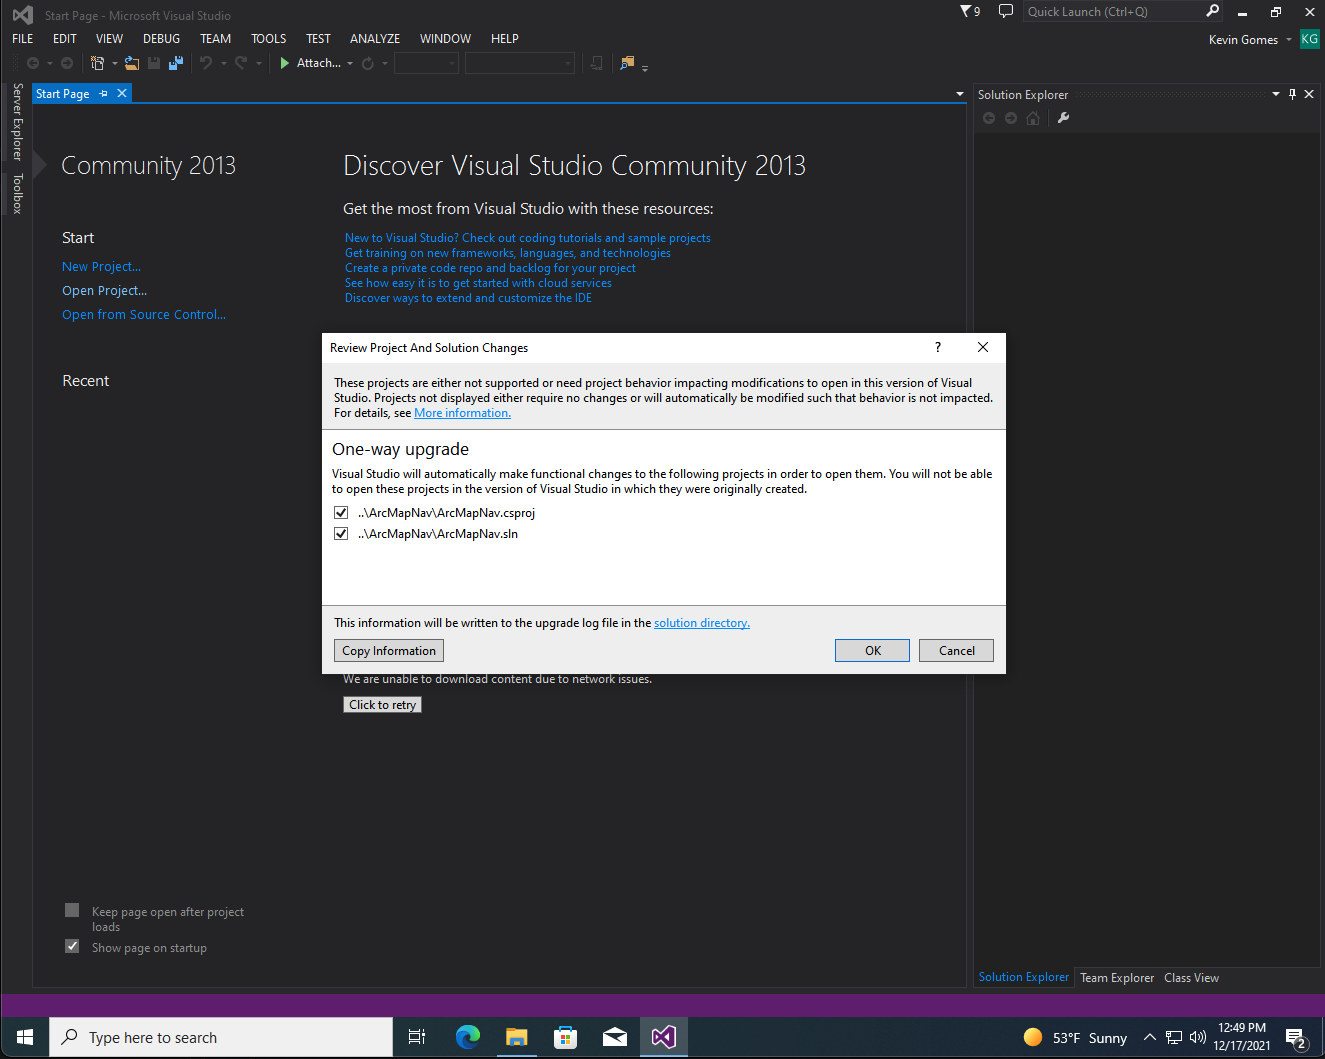
- It may ask you to upgrade components in project (shouldn't though as I did that already for the move from VS 2008 to 2013)
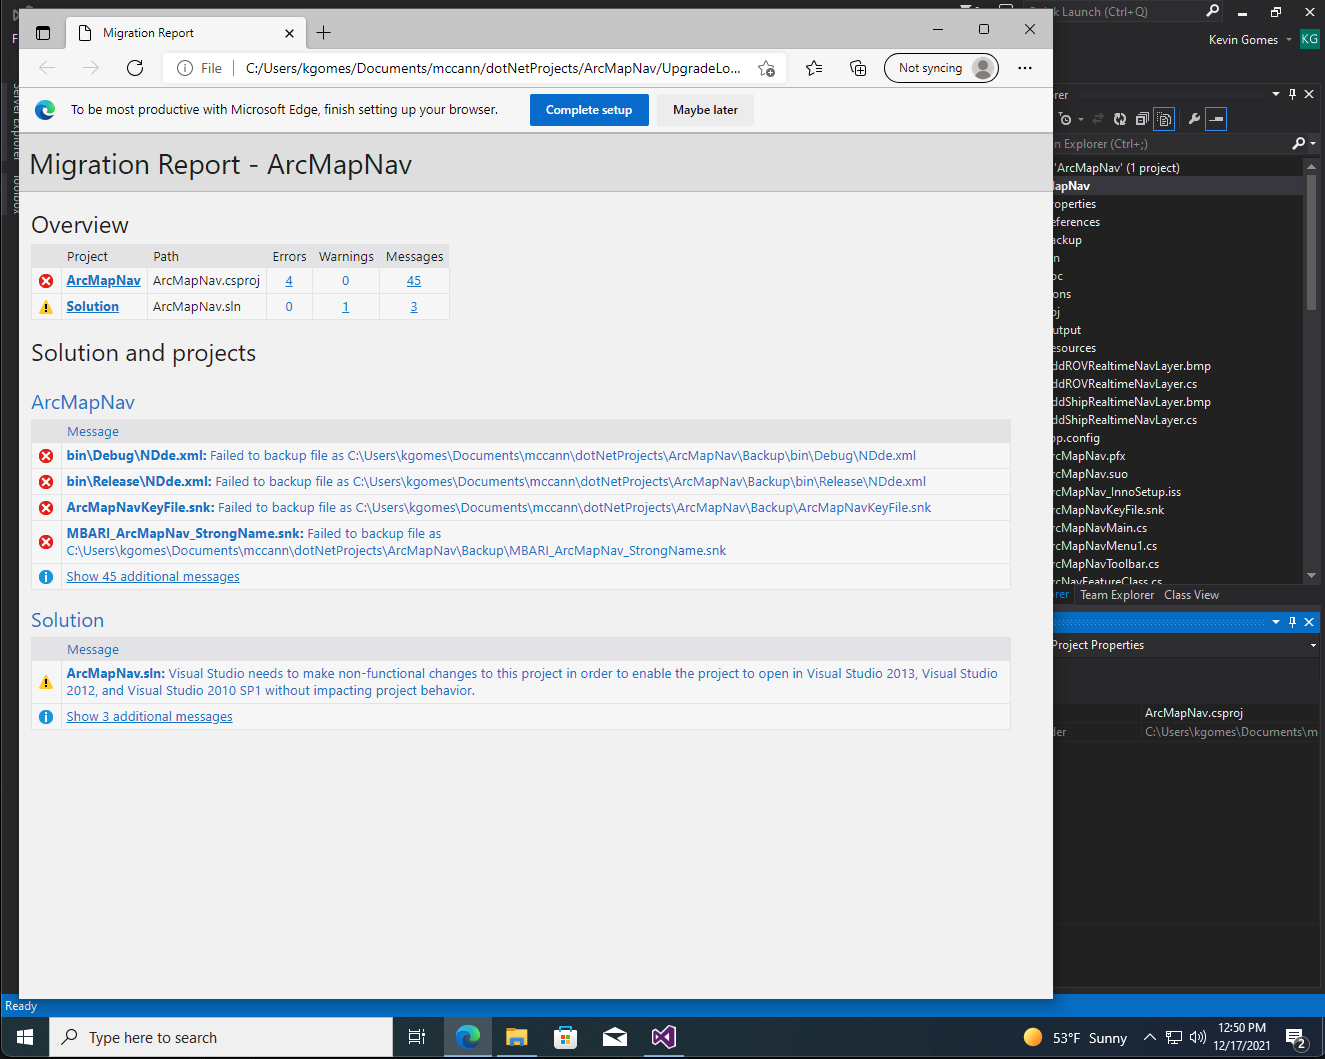
- A browser will open to show some errors, just close it. (It may still do this for some missing files)
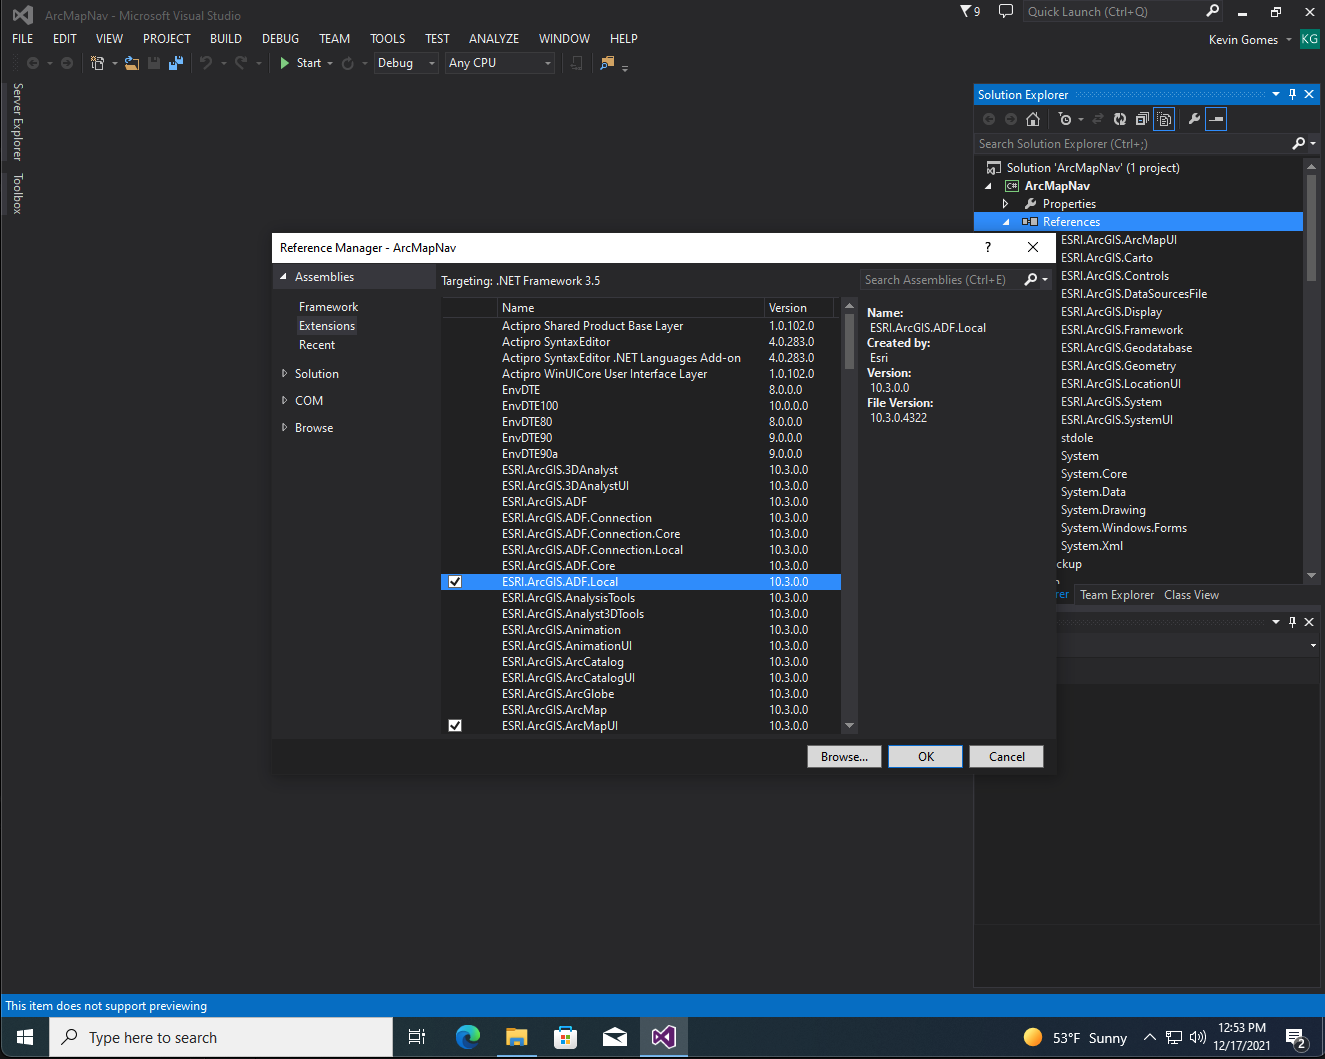
- In solution explorer, expand the 'References' item, right click on the 'ESRI.ArcGIS.ADF.Local' entry (which has a exclamation point on it) and remove it.
- Right click on the 'References' item and select 'Add reference'
- Click on 'Extensions' and select 'ESRI.ArcGIS.ADF.Local, then select checkbox to the left and click OK
- Right click on the 'ArcMapNav' item at the top of the tree and click on Properties
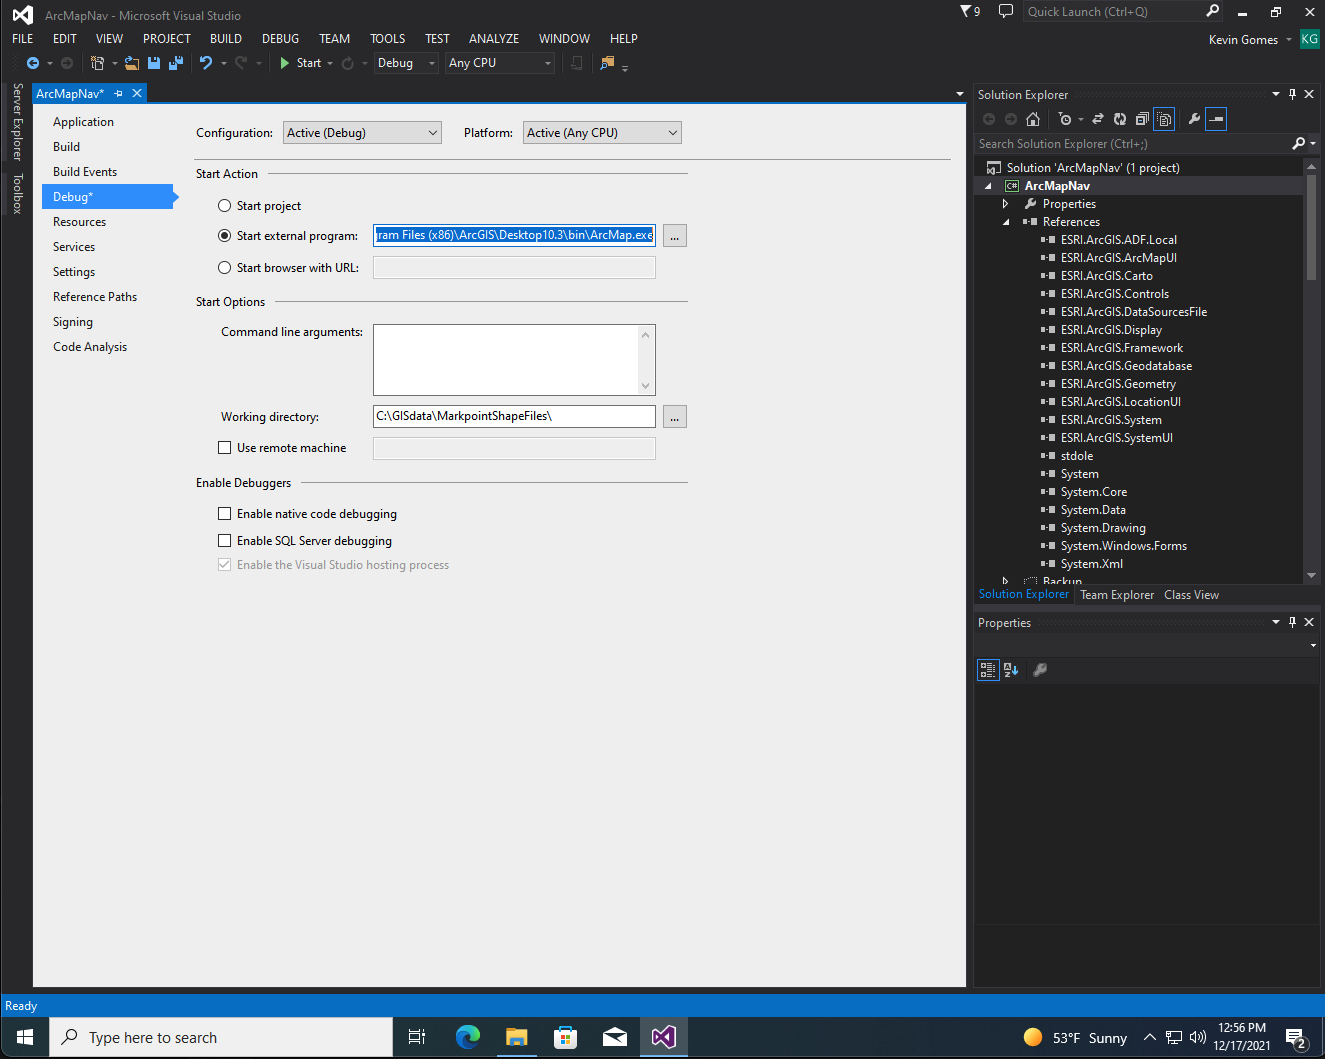
- Click on the 'Debug' item on the left and click on the ellipsis next to 'Start External Program' and navigate to "C:\Program Files (x86)\ArcGIS\Desktop10.3\bin\ArcMap.exe" and select the .exe, than OK. Then click Save (or Ctnl-S).
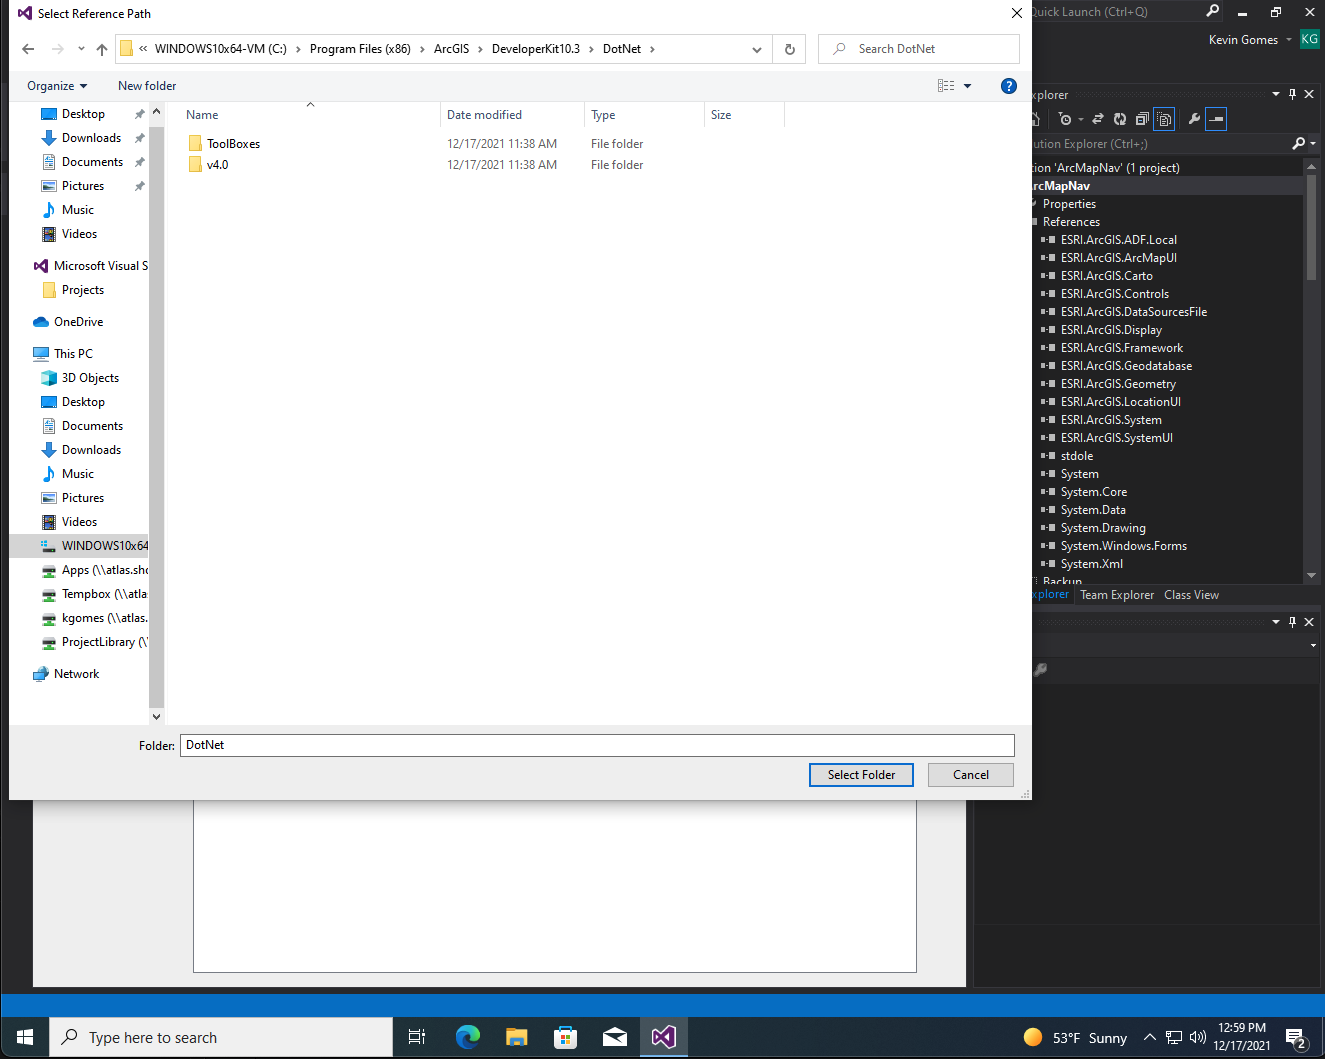
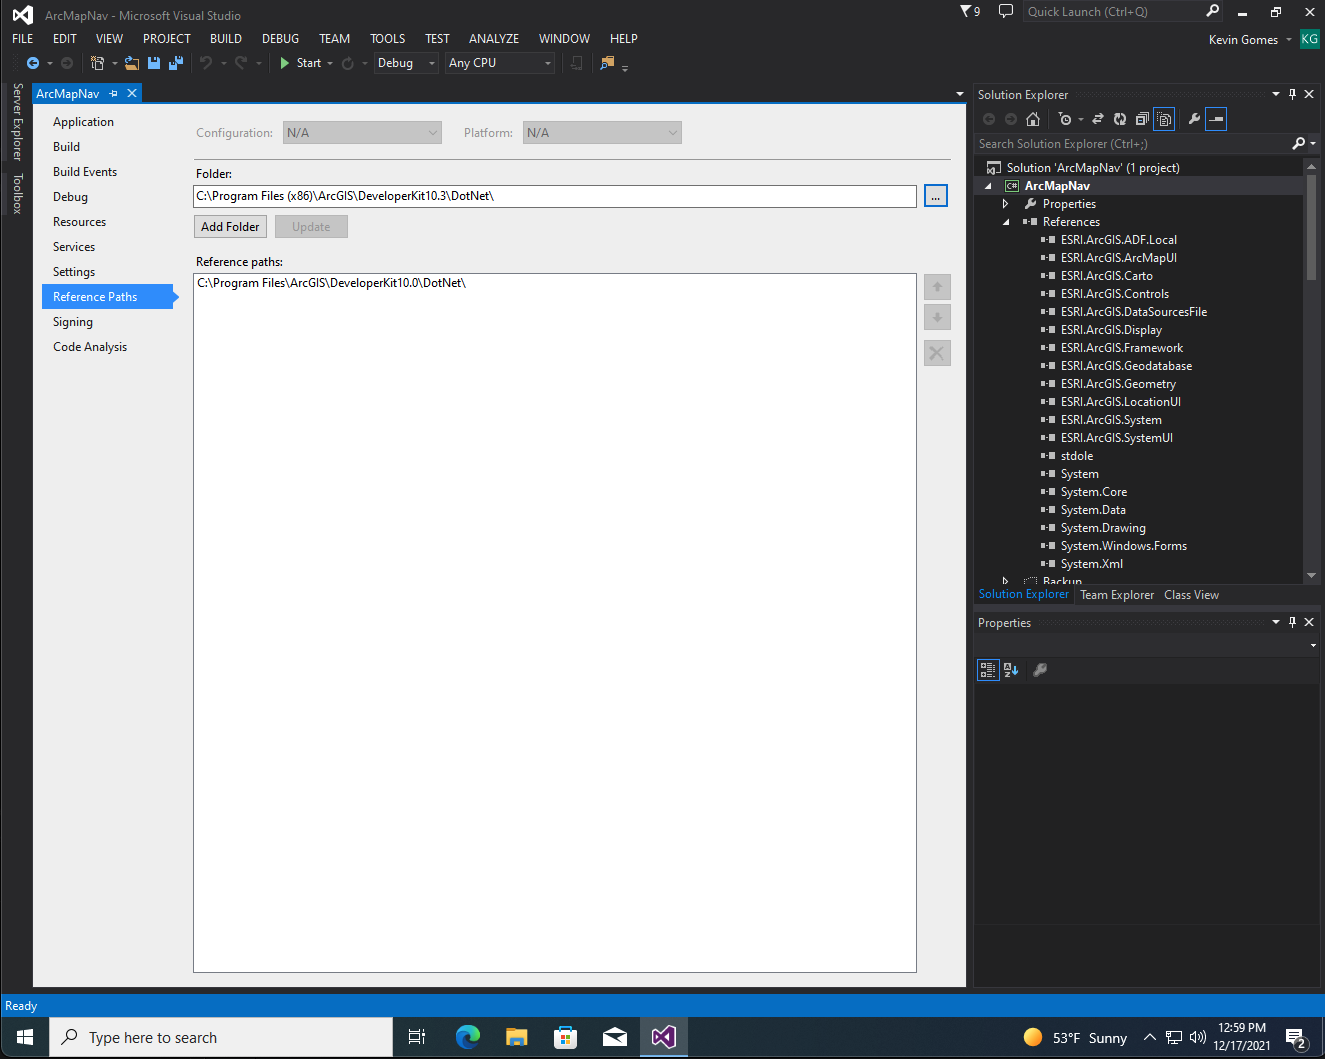
- Click on 'Reference Paths', then at the top, click on the ellipsis next to the folder text box and navigate to the C:\Program Files (x86)\ArcGIS\DeveloperKit10.3\DotNet\ folder, then select it and then click on Add Folder to add it to reference paths. If there is another folder under reference paths, remove it.
- It may ask you to upgrade components in project (shouldn't though as I did that already for the move from VS 2008 to 2013)
- Now right click on 'ArcMapNav' at the top in Visual Studio and click on Build
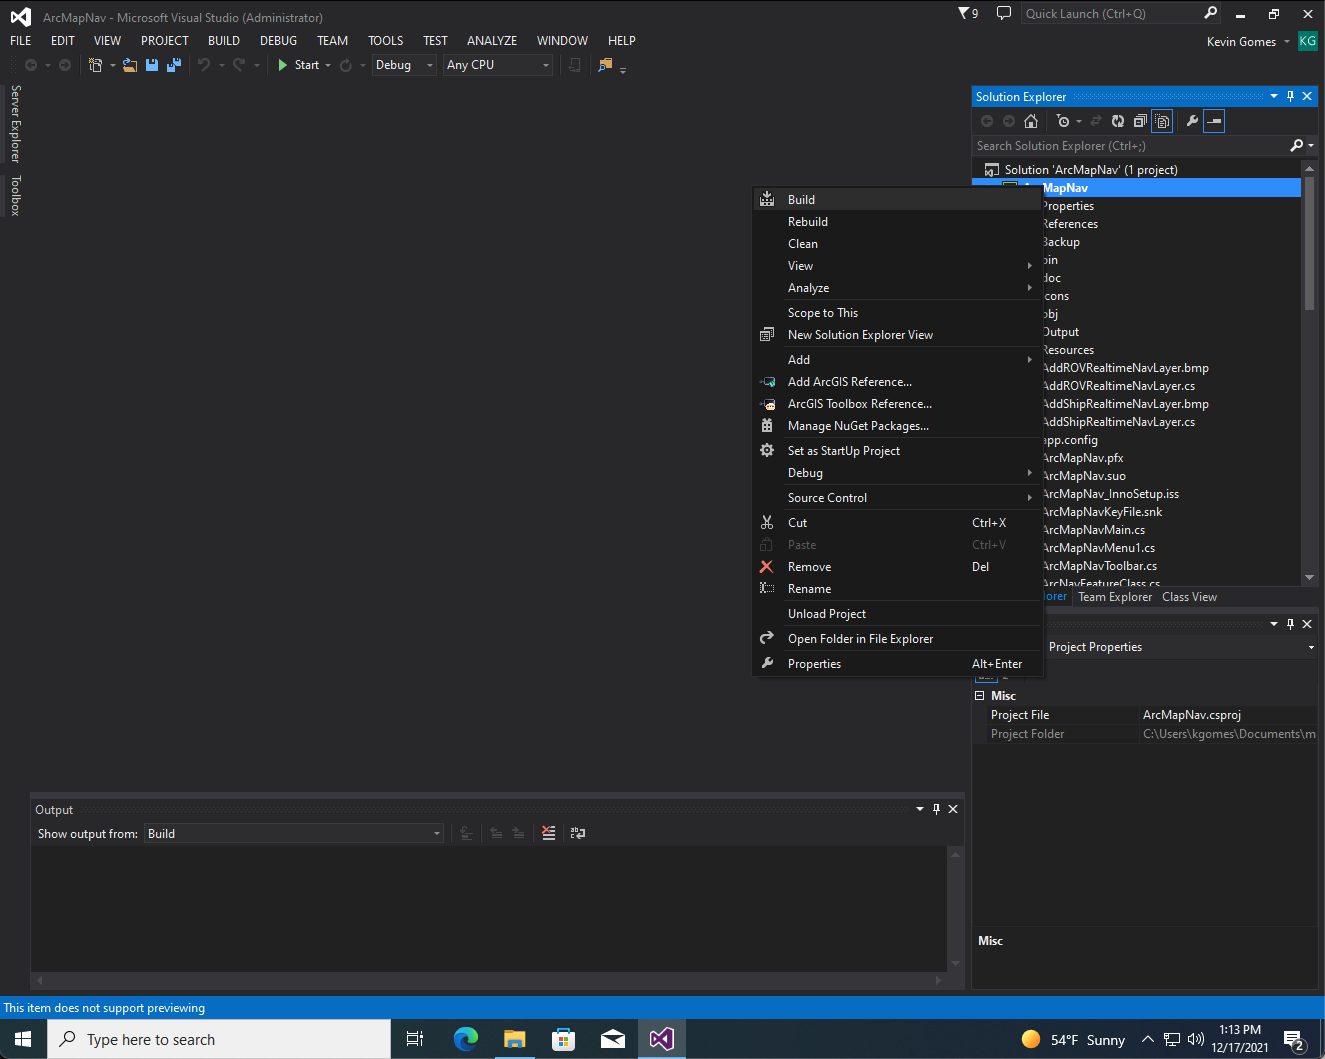
- In the window at the bottom, you should see that it build the ArcMapNav.dll file in the project's bin\Debug folder.
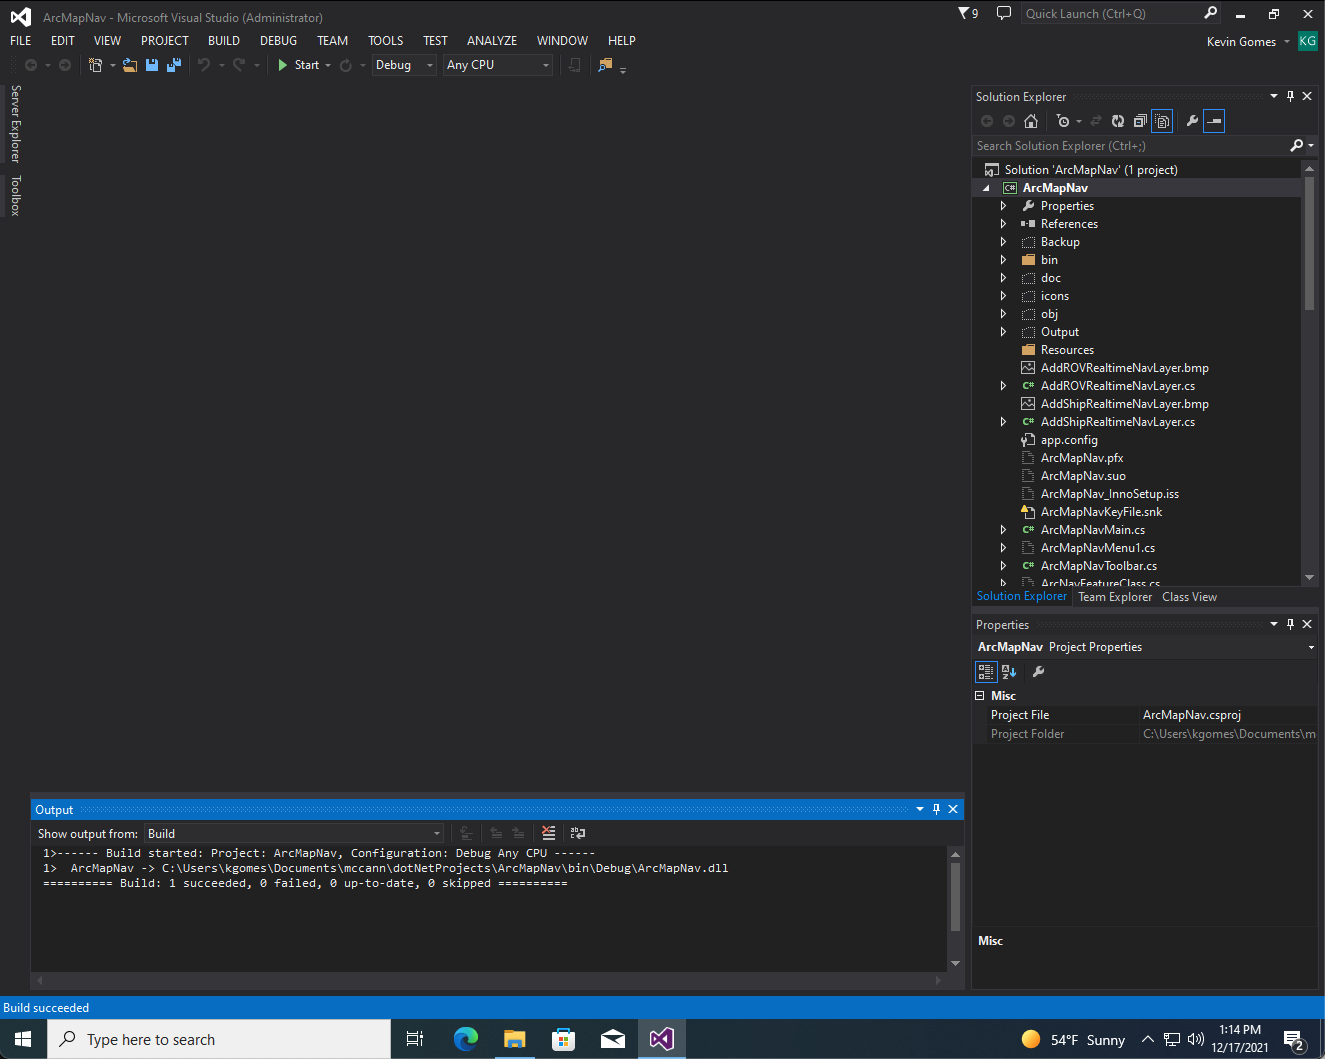
- Open a command prompt
- Run "C:\Program Files (x86)\Common Files\ArcGIS\bin\ESRIRegAsm" "C:\Users\kgomes\Documents\mccann\dotNetProjects\ArcMapNav\bin\Debug\ArcMapNav.dll" which will pop up a permissions prompt (click Yes), then it will ask which component to register with and make sure 'Desktop' is selected, then click 'Register'.
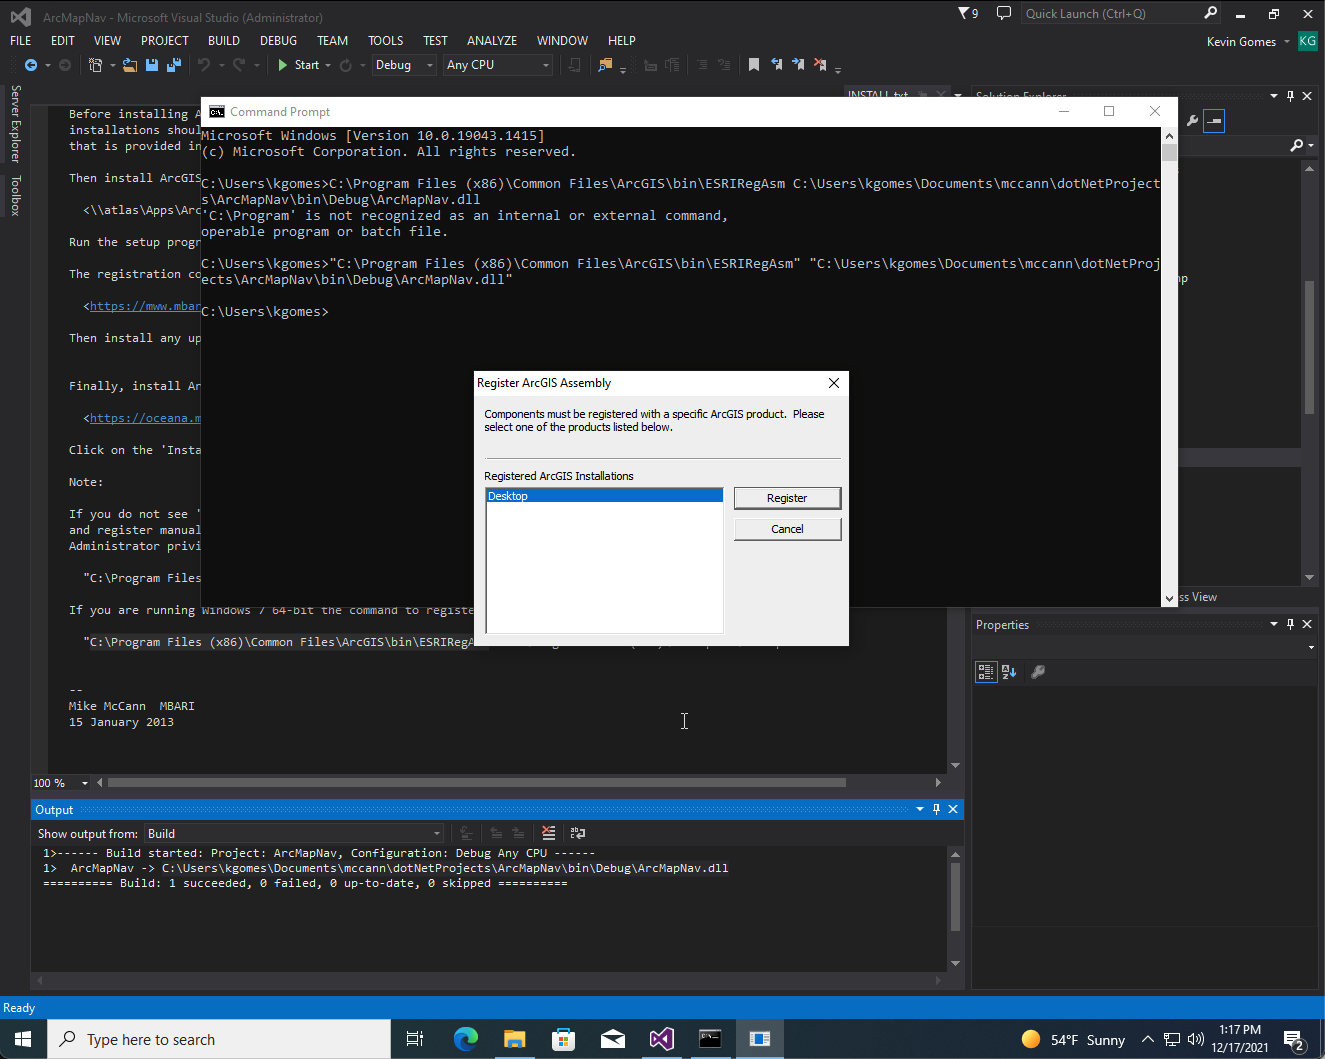
- Type 'exit' in command prompt to close window.
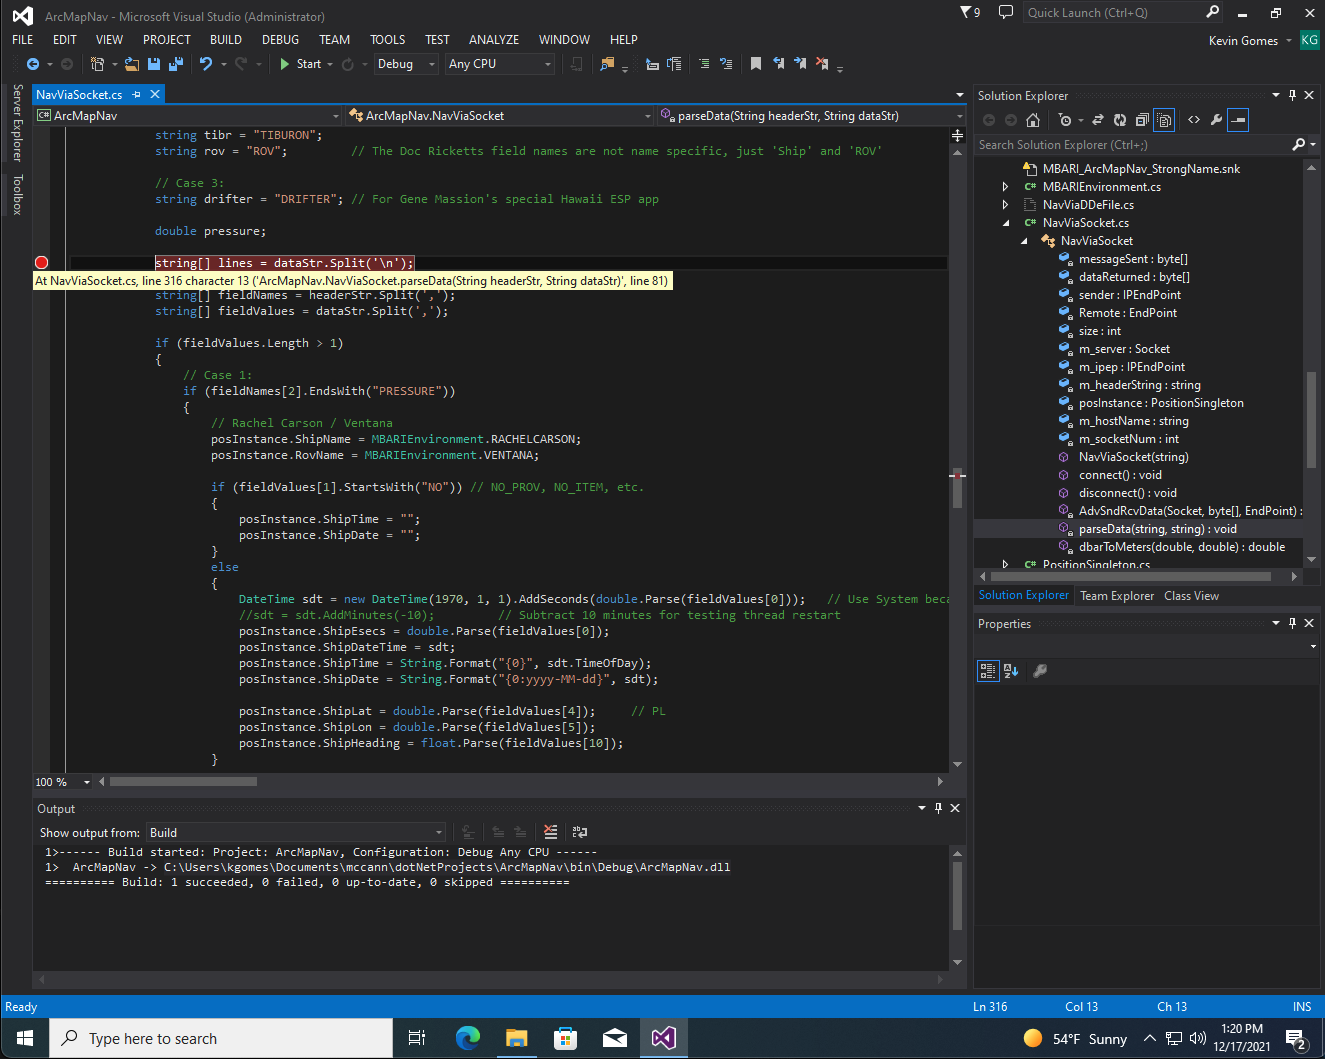
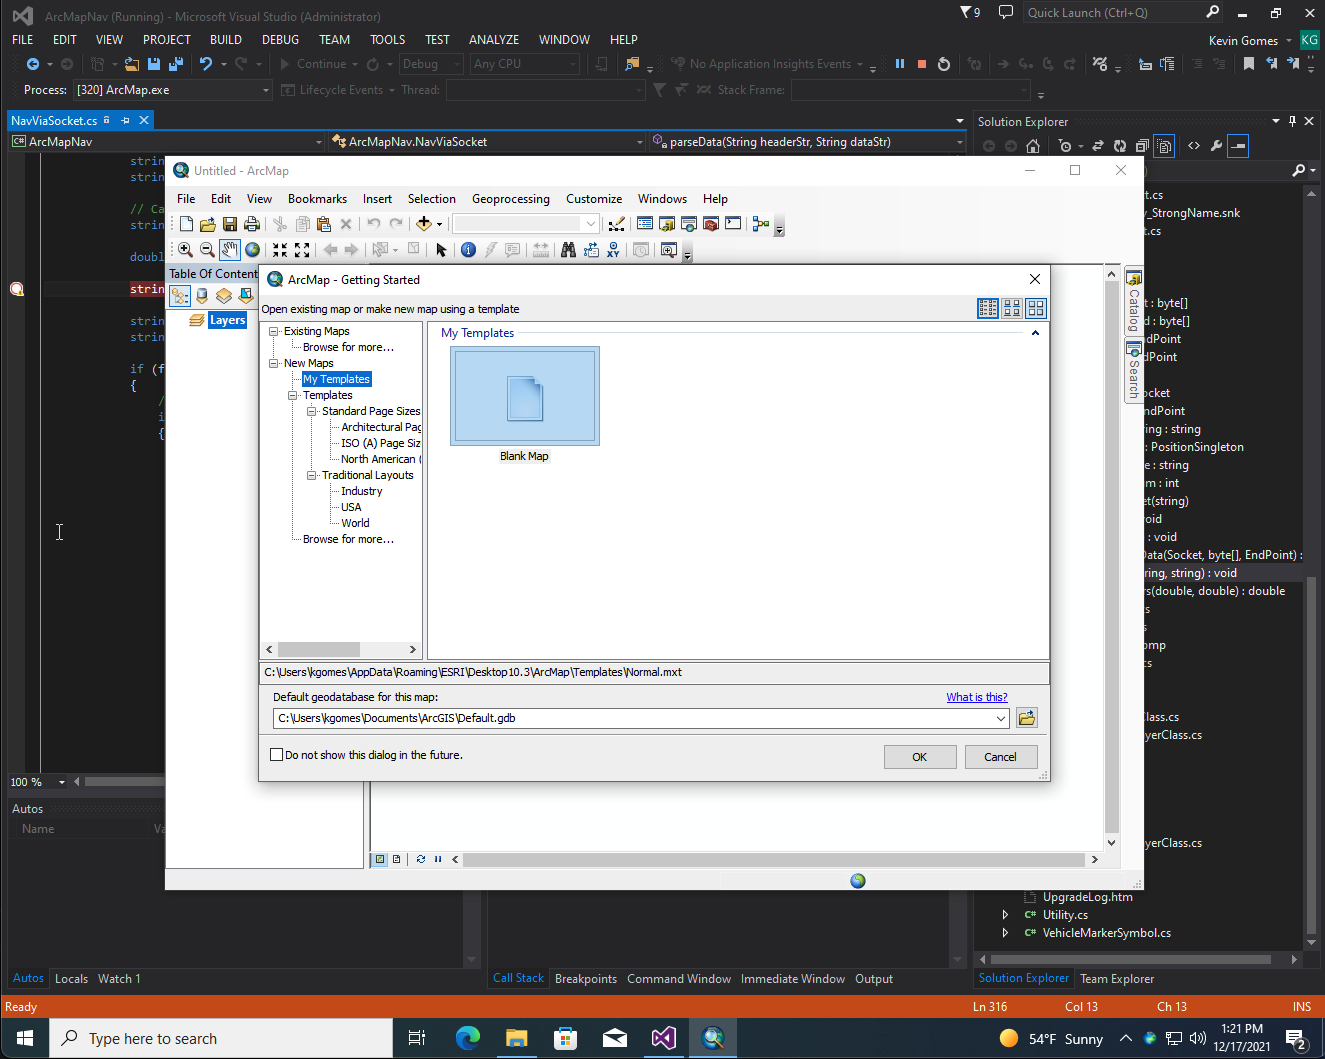
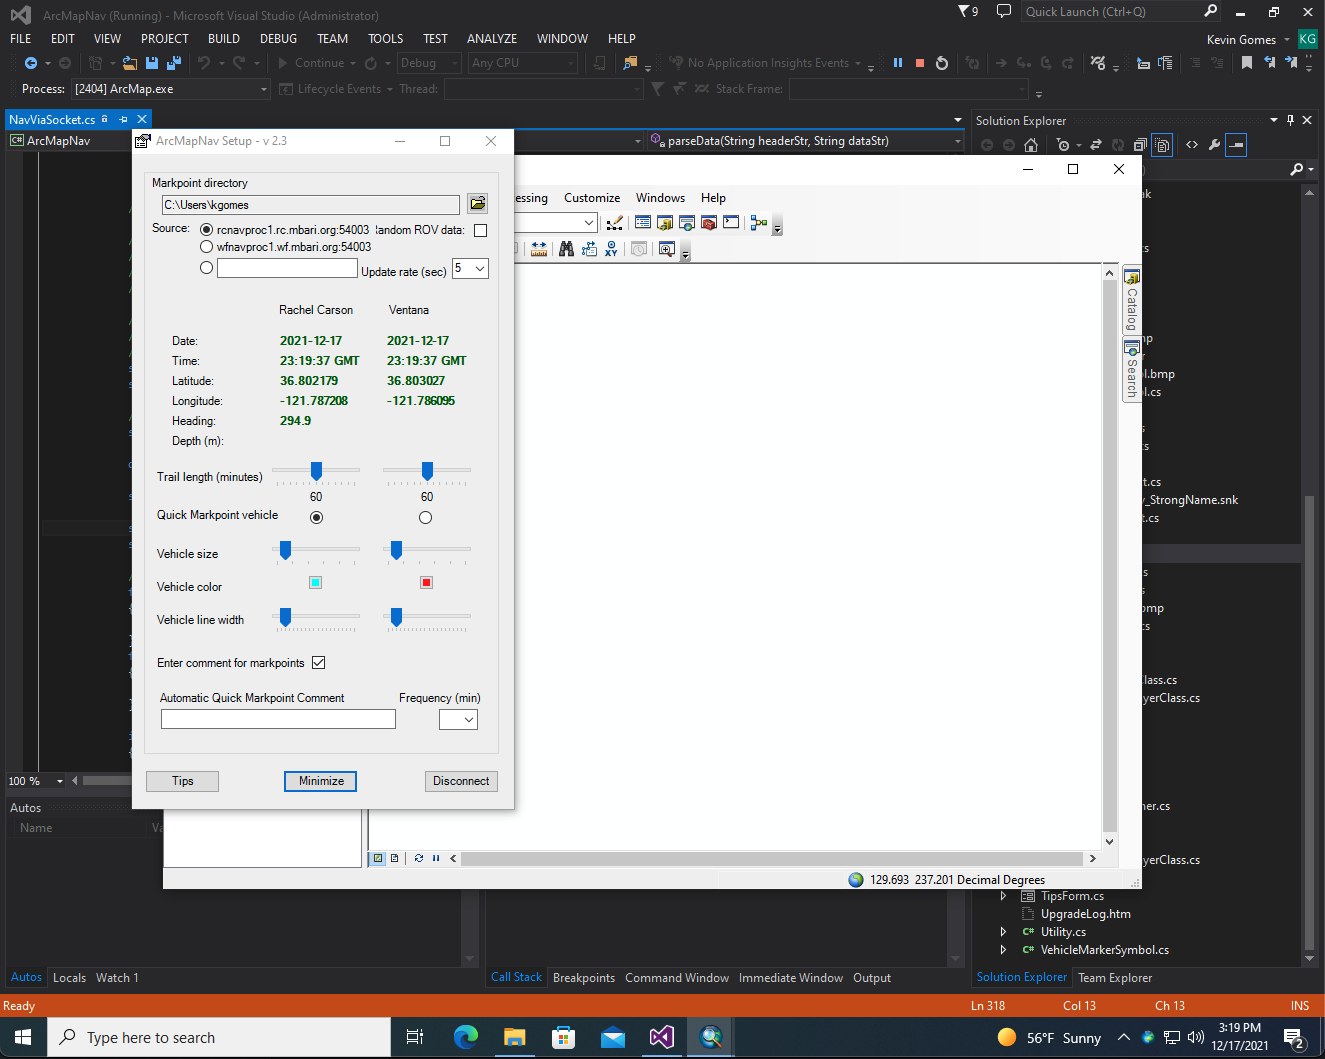
- Now, you can debug the project. For example, if you open NavViaSocket.cs file and add a breakpoint in the parseData method, then click on Start at the top, this will launch ArcMap
- Click OK to create blank project.
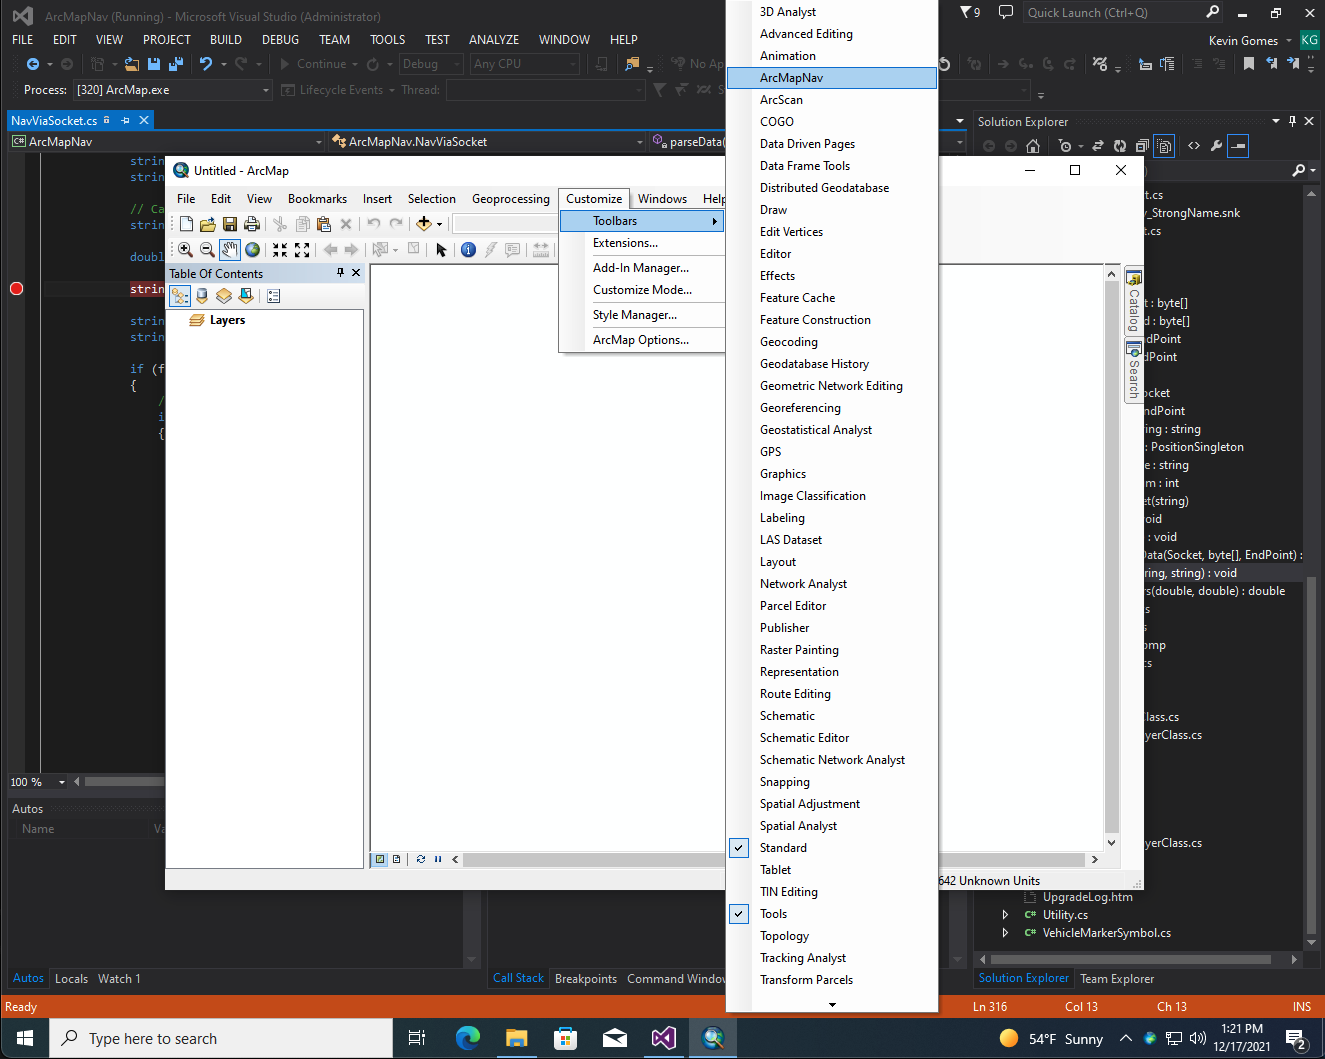
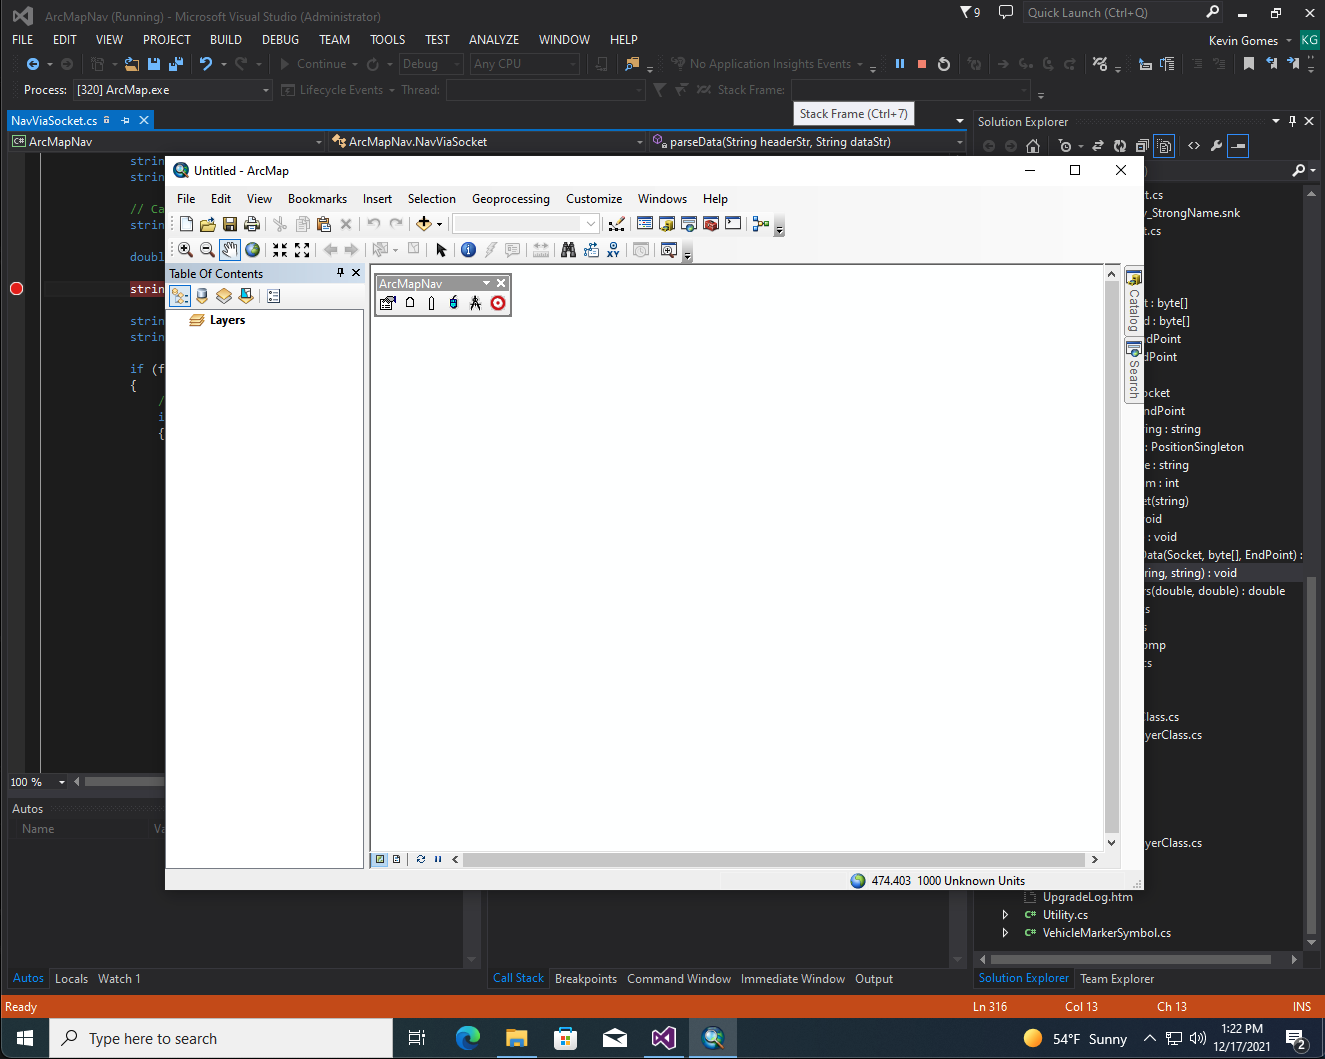
- Click on Customize > Toolbars > ArcMapNav and the ArcMapNav toolbar will show up.
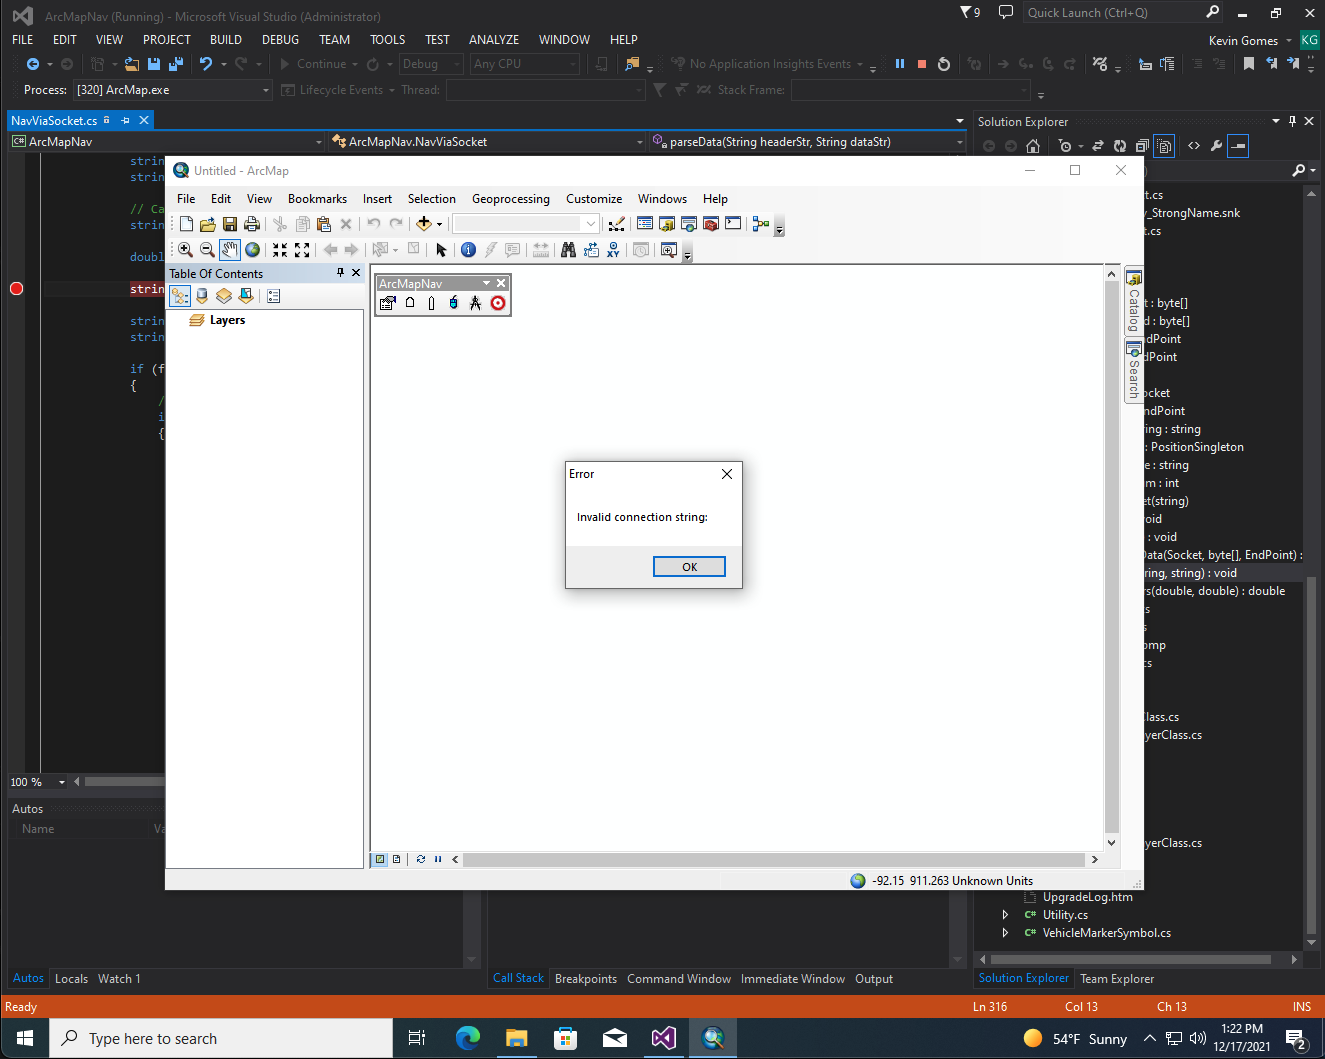
- If you click on the first icon in the toolbar it will pop up a box stating 'Invalid Connection String', just click OK.
- You can clear the 'Show these tips on start up' box, then click on OK
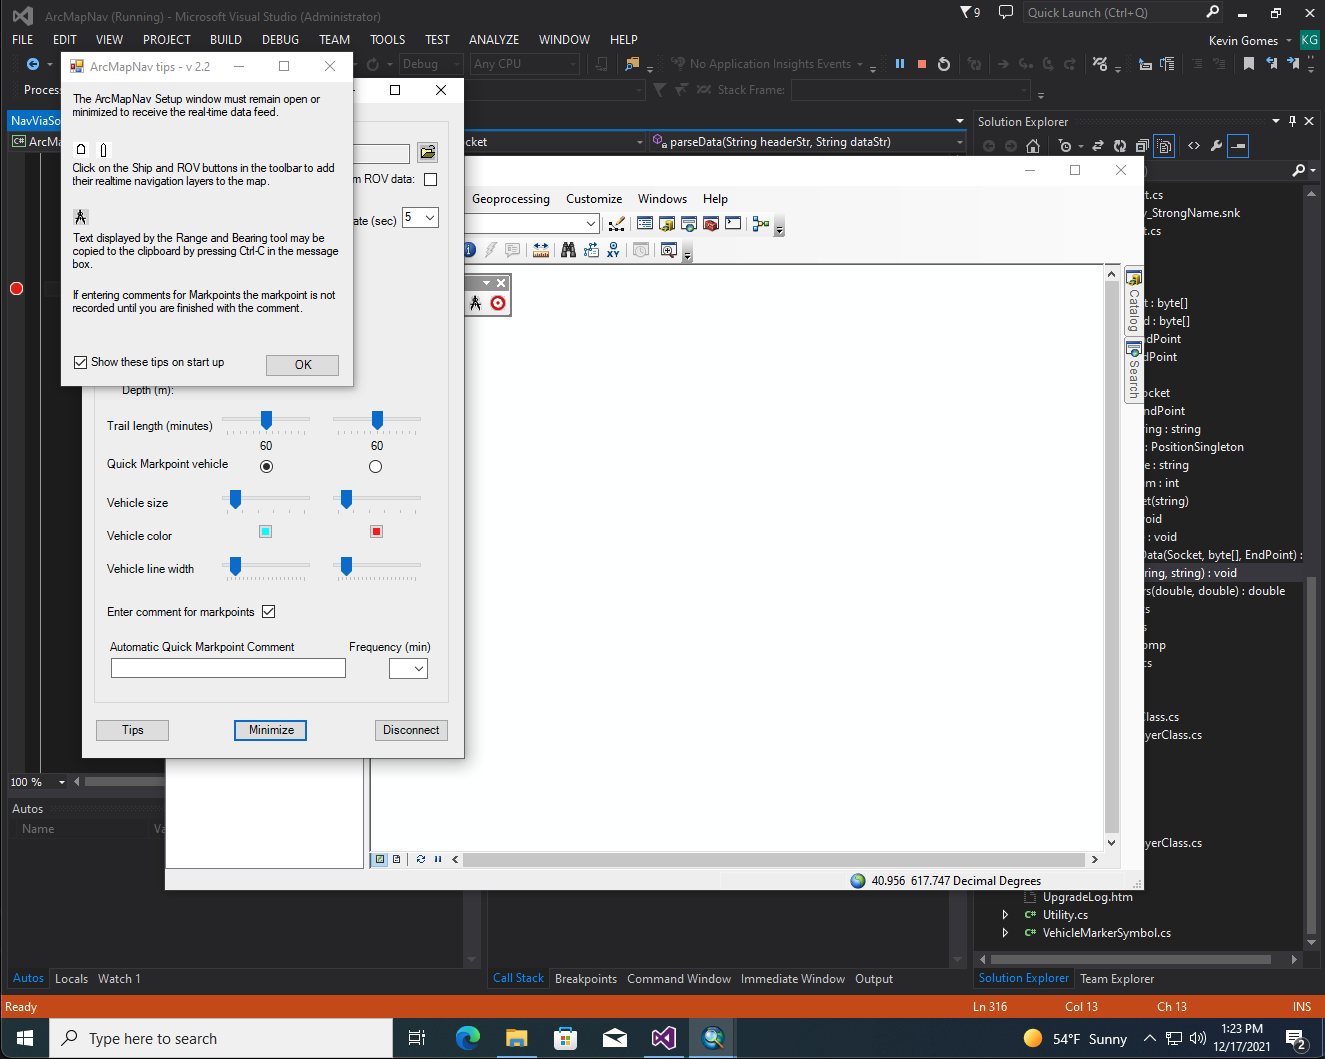
- If you want to use it on the Rachel Carson, click on the 'rcnavproc1.rc.mbari.org:5300' radio button or click on 'wfnavproc1.wf.mbari.org:54003' to get WF data
Building For Installation
Once you have all the changes you want to make completed and debugged and you are ready to build the installation executable, follow these instructions.
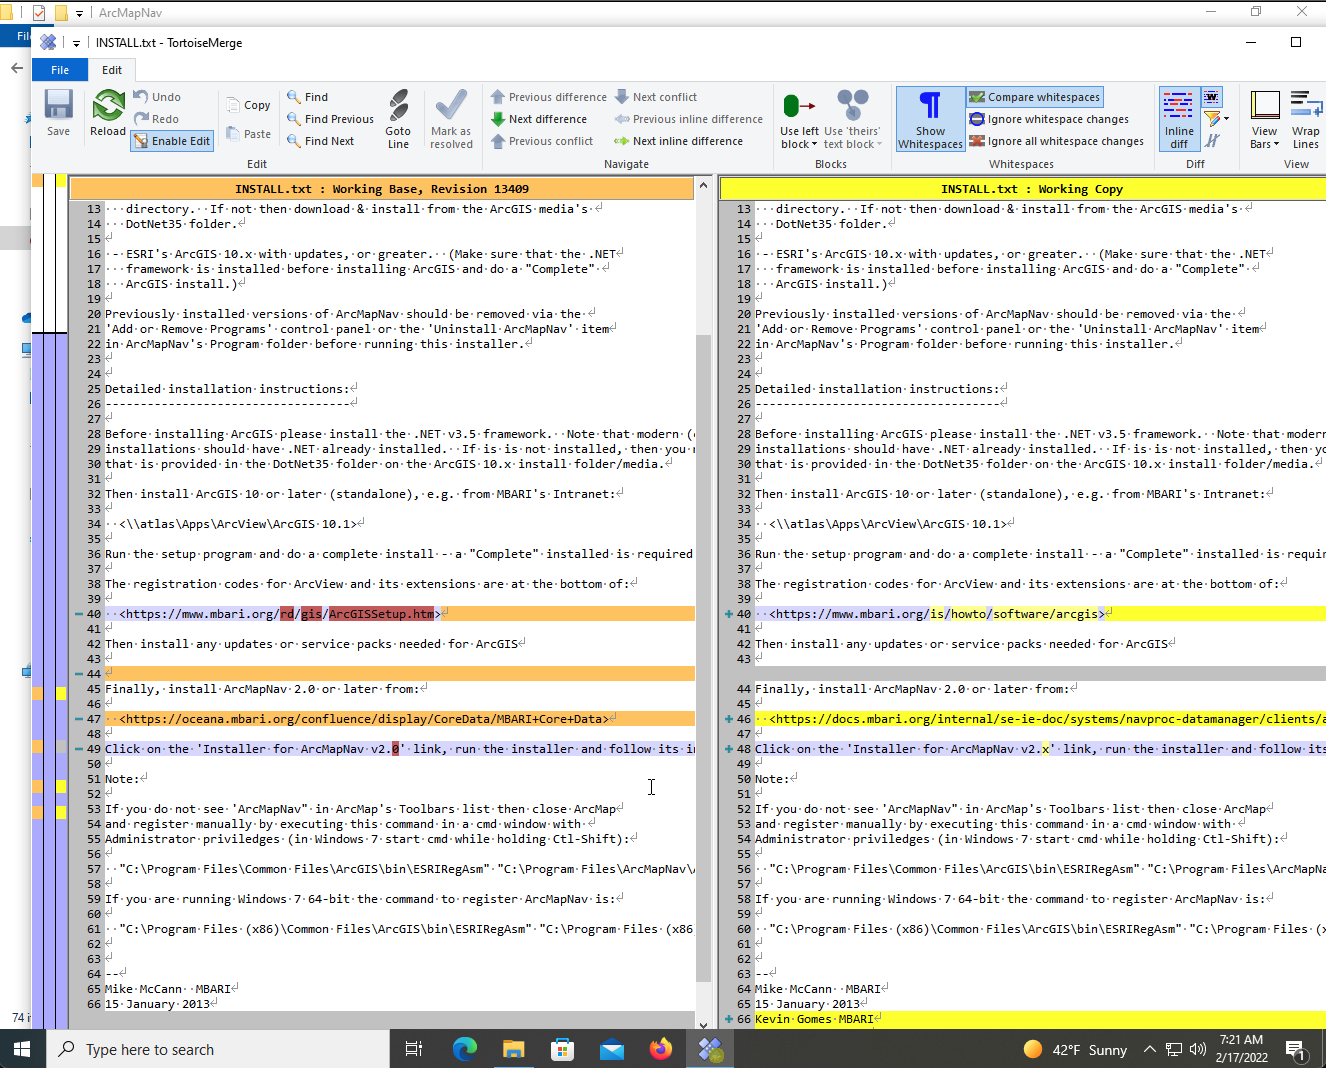
- Before you build the application installer, please make sure you update the CHANGELOG.txt, INSTALL.txt, and README.txt files to reflect the new version number and the changes that were made.
- The first thing you need to do is make sure you build the updated ArcMapNav.dll file so that when you create the installer .exe, it will have the most recent code. To do this, if you haven't done this already, make sure you start Visual Studio 2013 as administrator because it will need to change the registry.
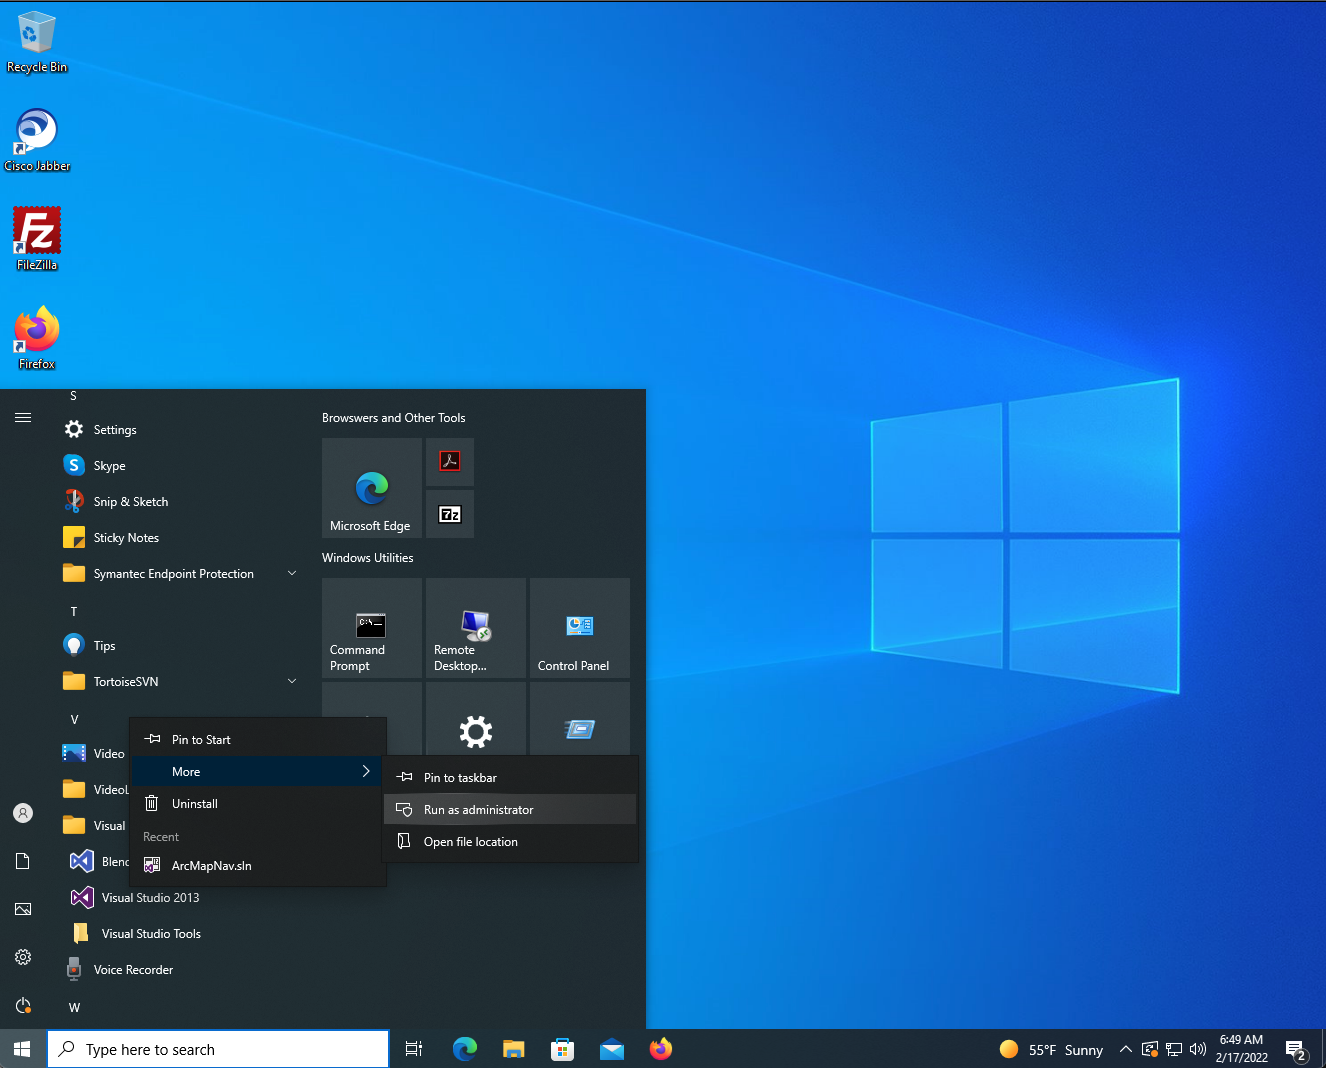
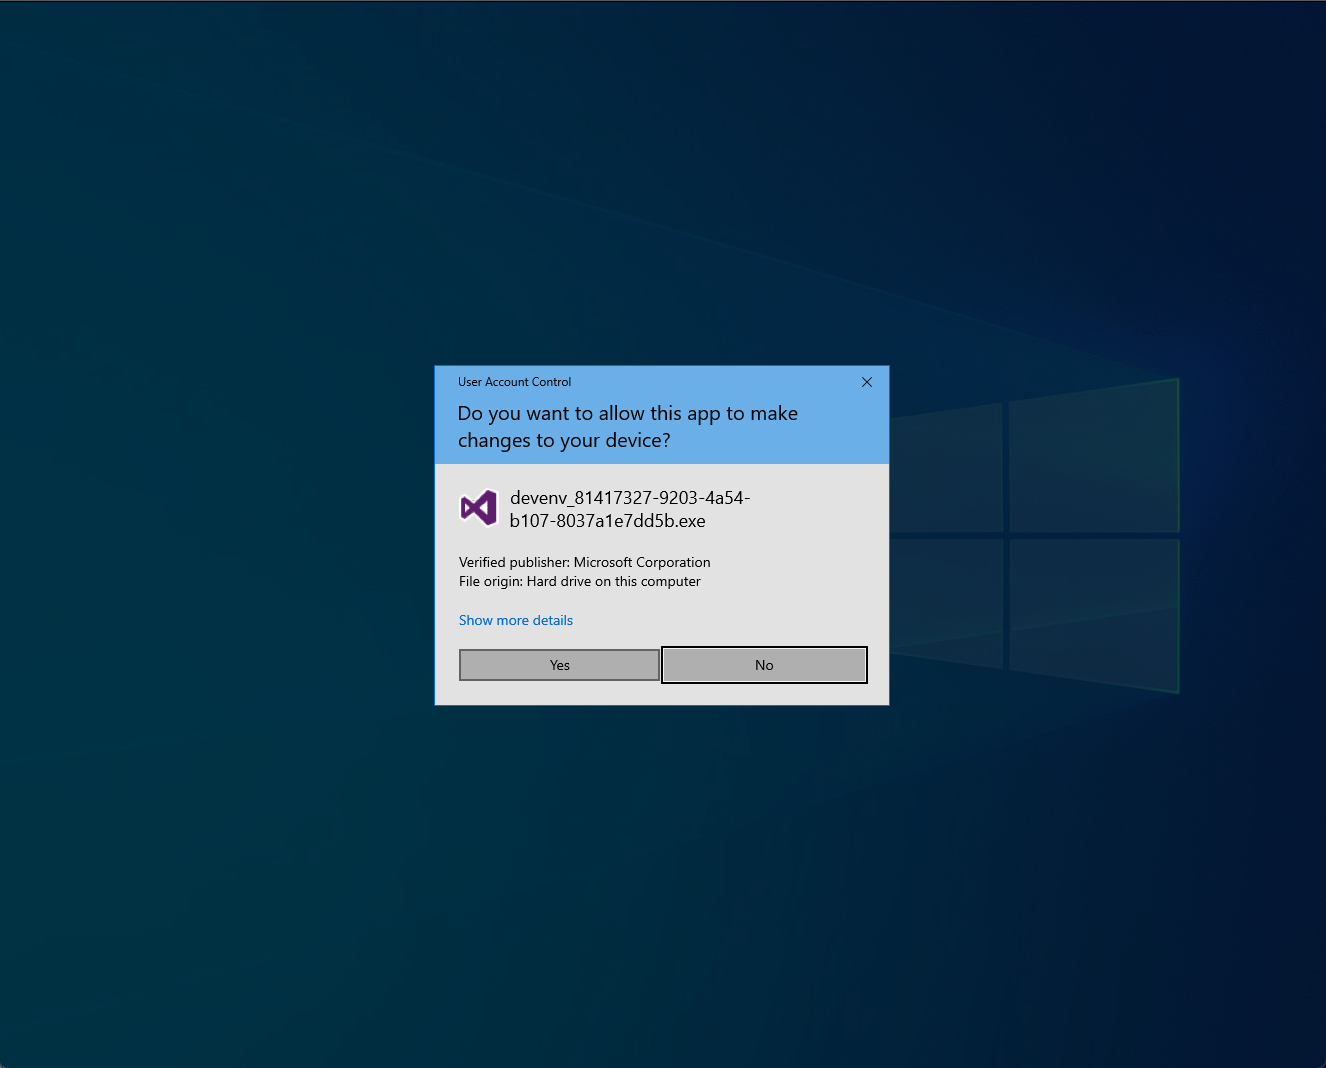
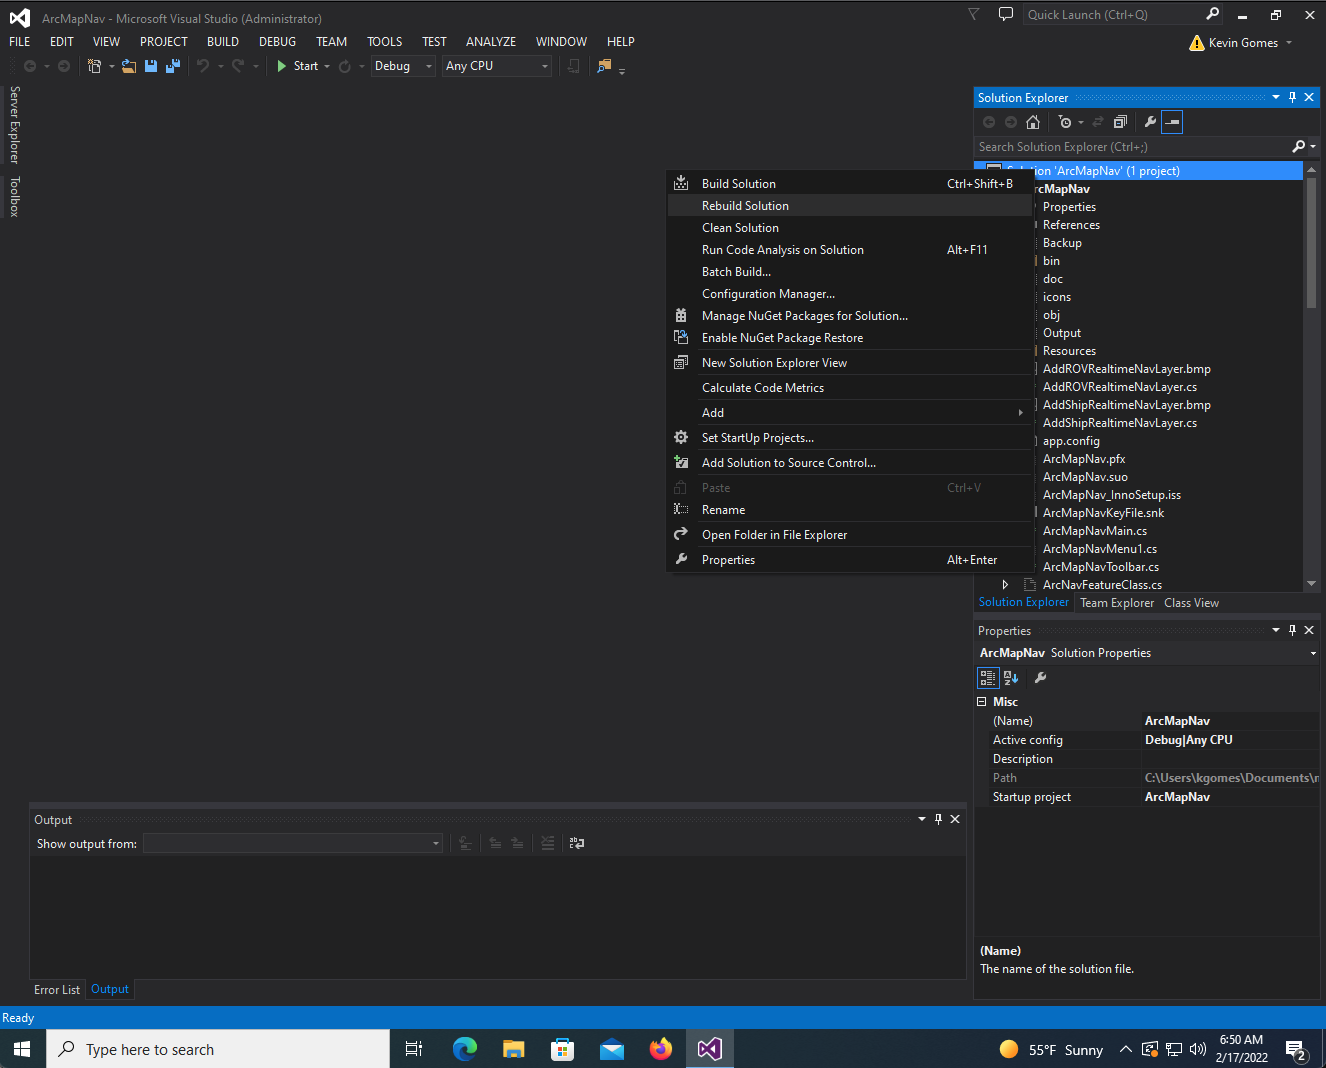
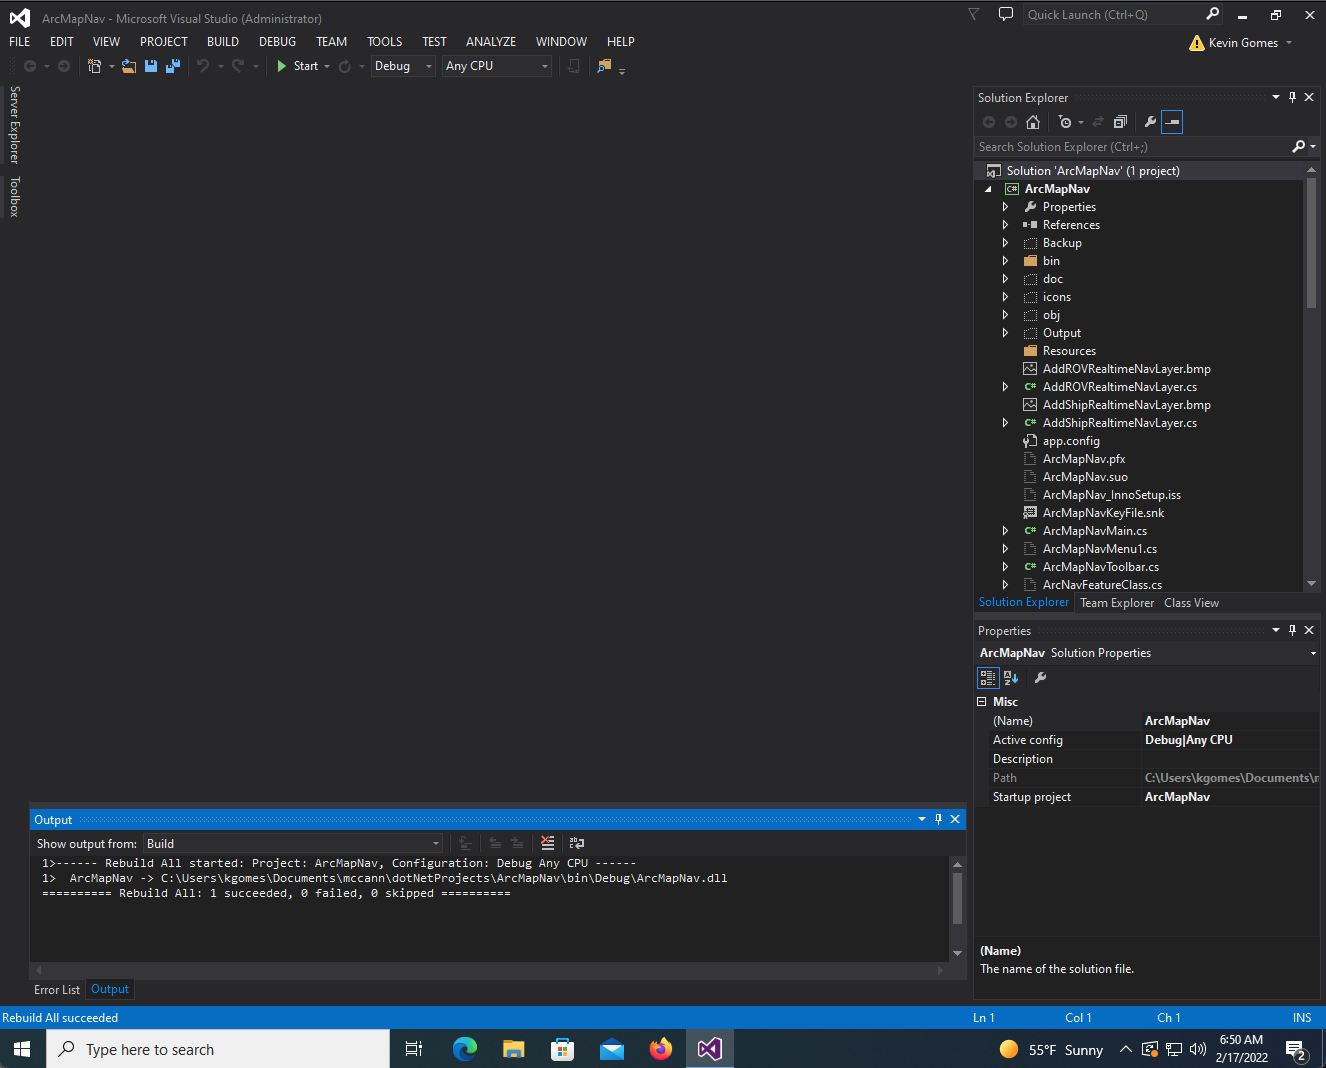
- Once Visual Studio is up and running as administrator and you have opened the ArcMapNav project, you can then rebuild the .dll by right clicking on the 'Solution' in the project browser and selecting 'Rebuild Solution'. This should complete succesfully and let you know (in the console at the bottom) that the bin\Debug\ArcMapNav.dll was built successfully (you can check the date and time of that file in Windows Explorer just to confirm).
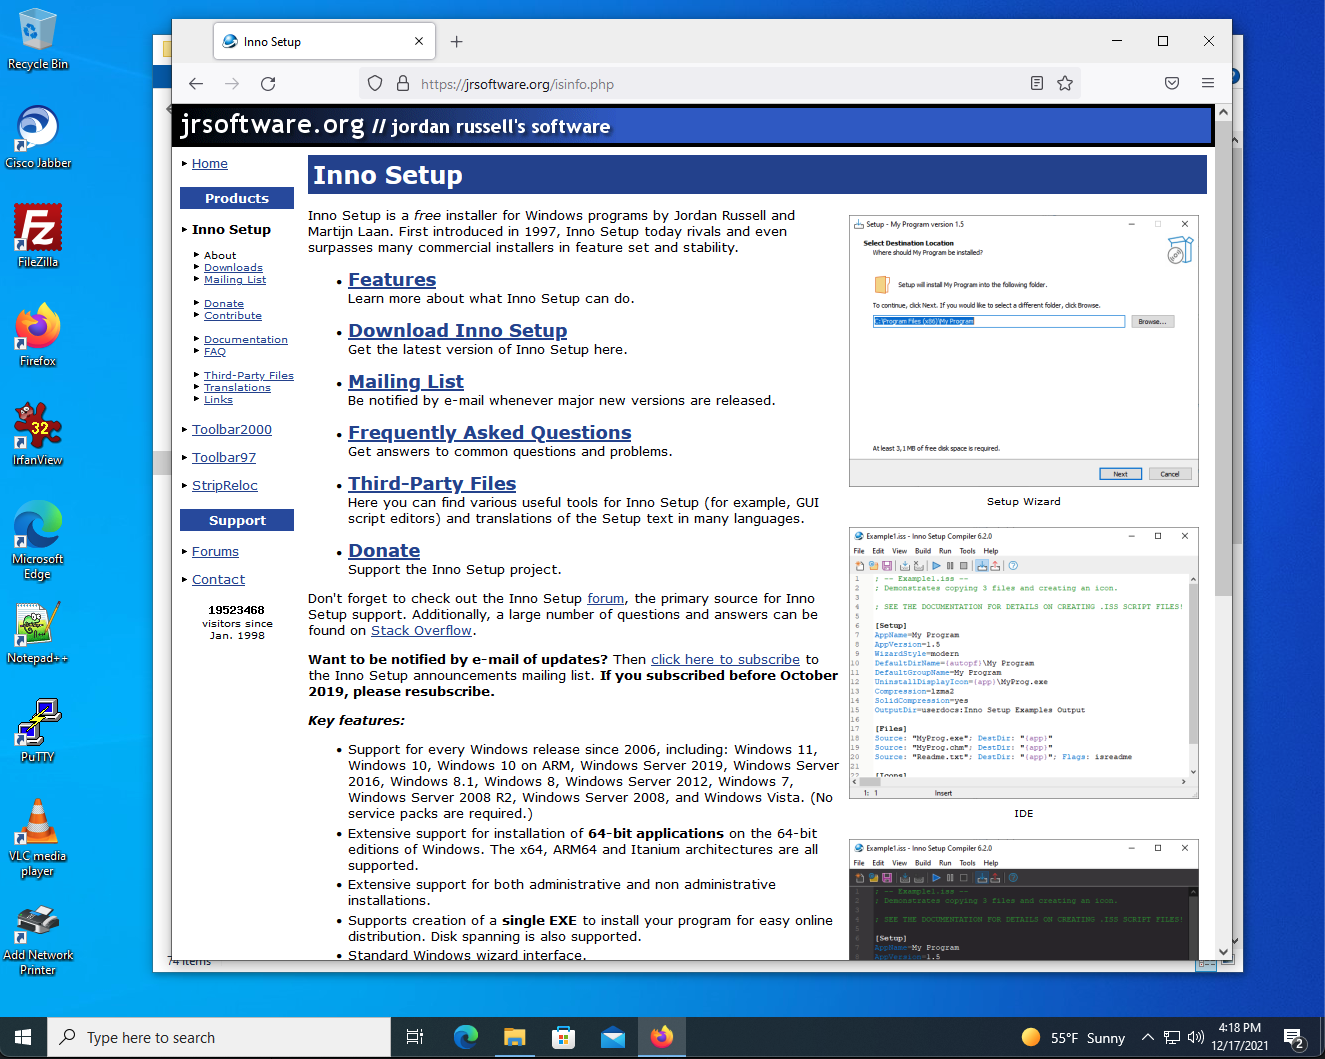
- Now, in order to build the installation executable package, you will need a utility called Inno Setup by JR Software. Go to the website and download the application.
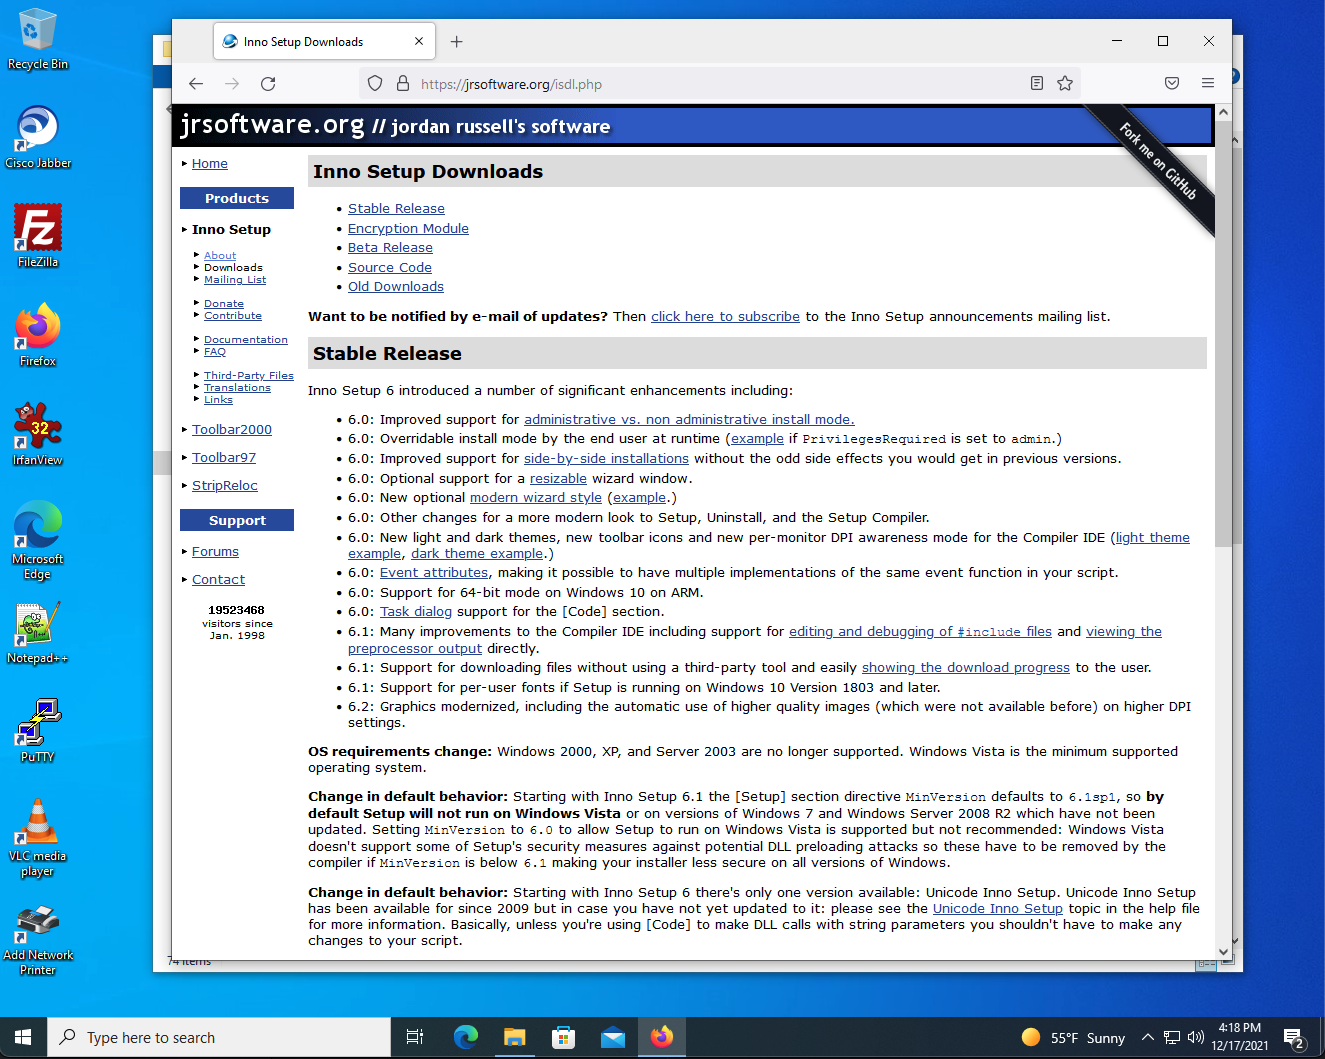
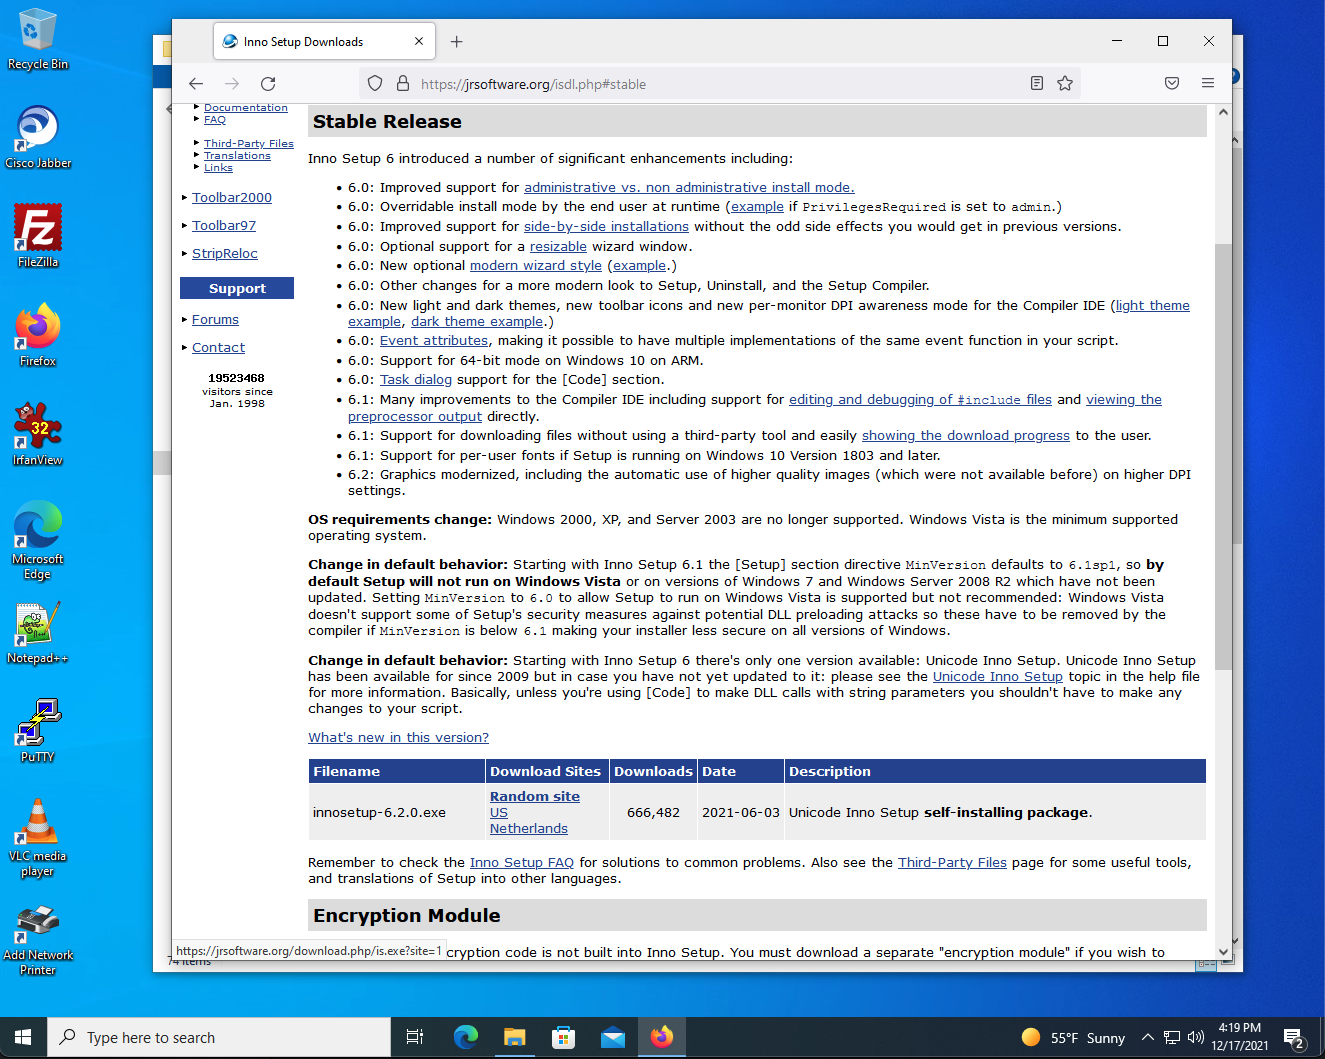
- Once the installer has been downloaded, run the installation .exe and accept all the defaults (shown in screen grabs below)
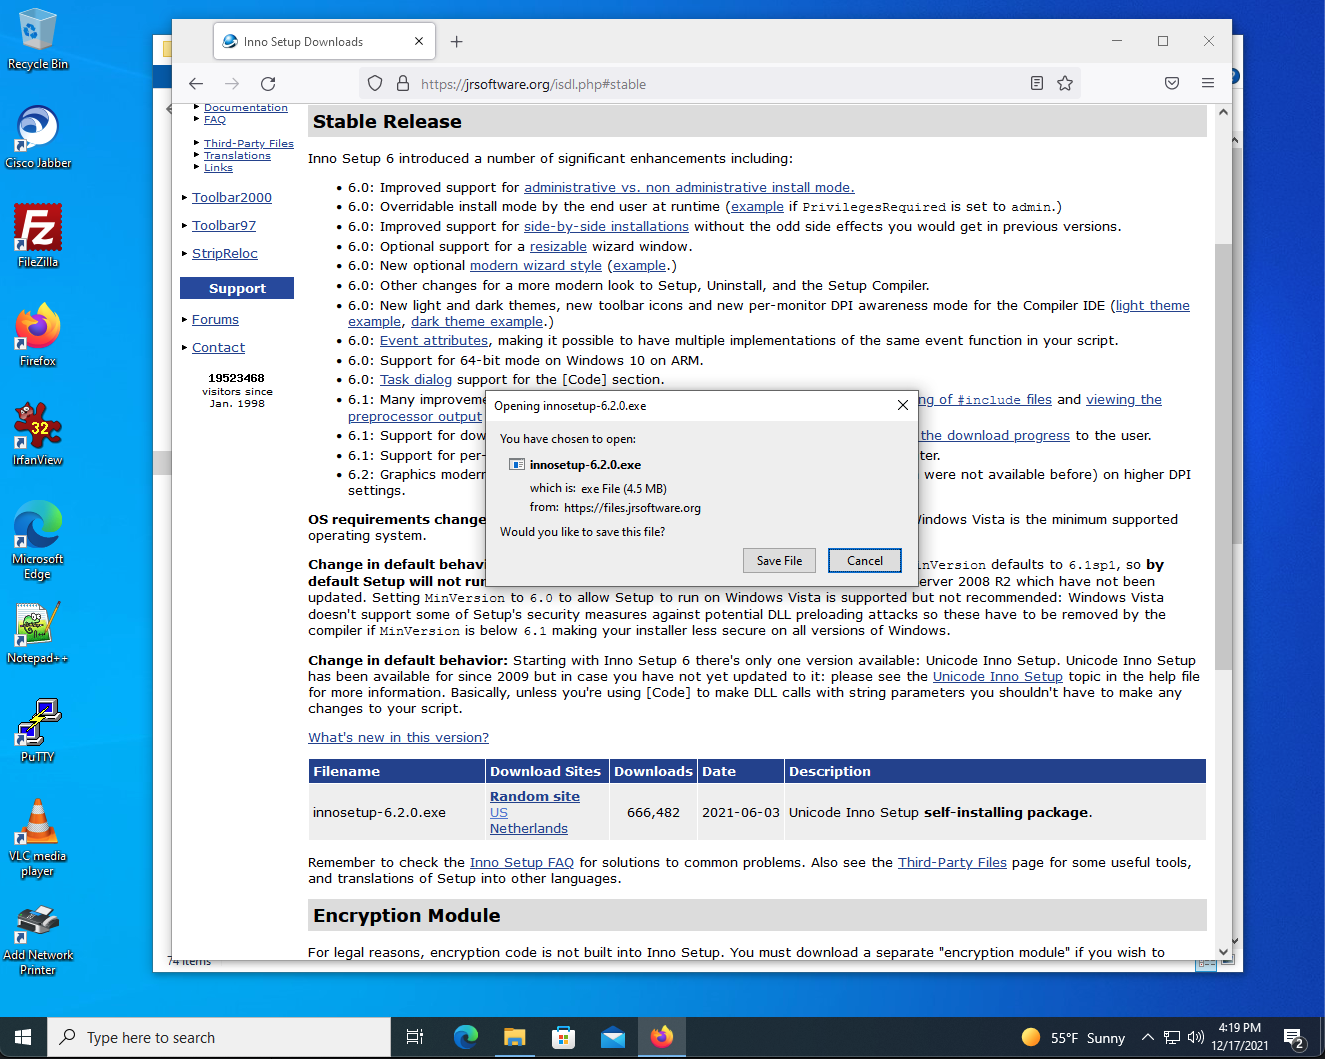
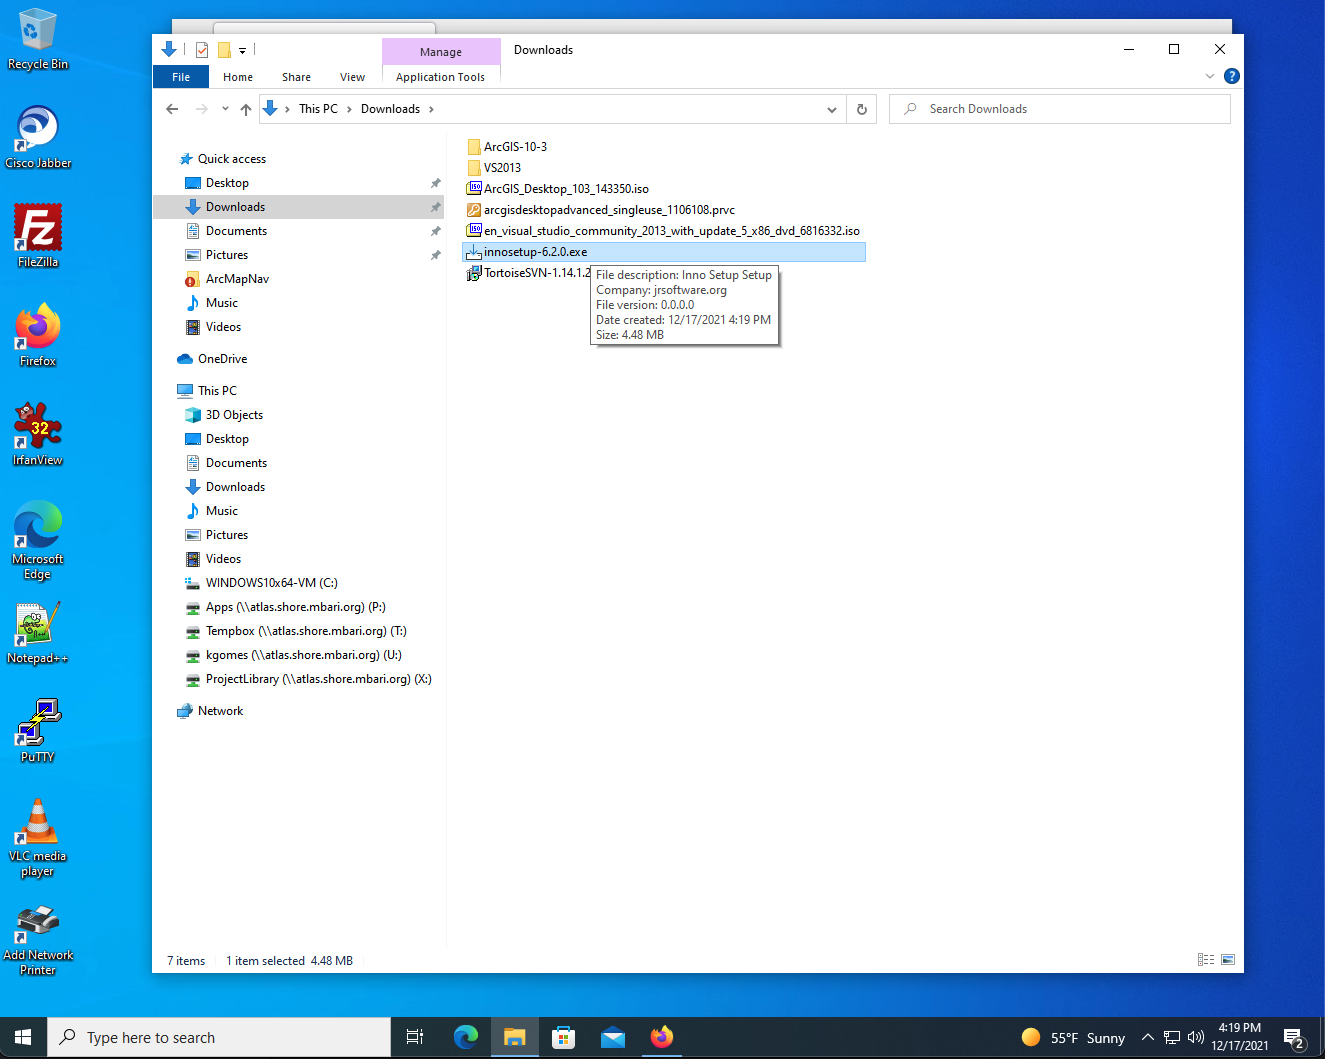
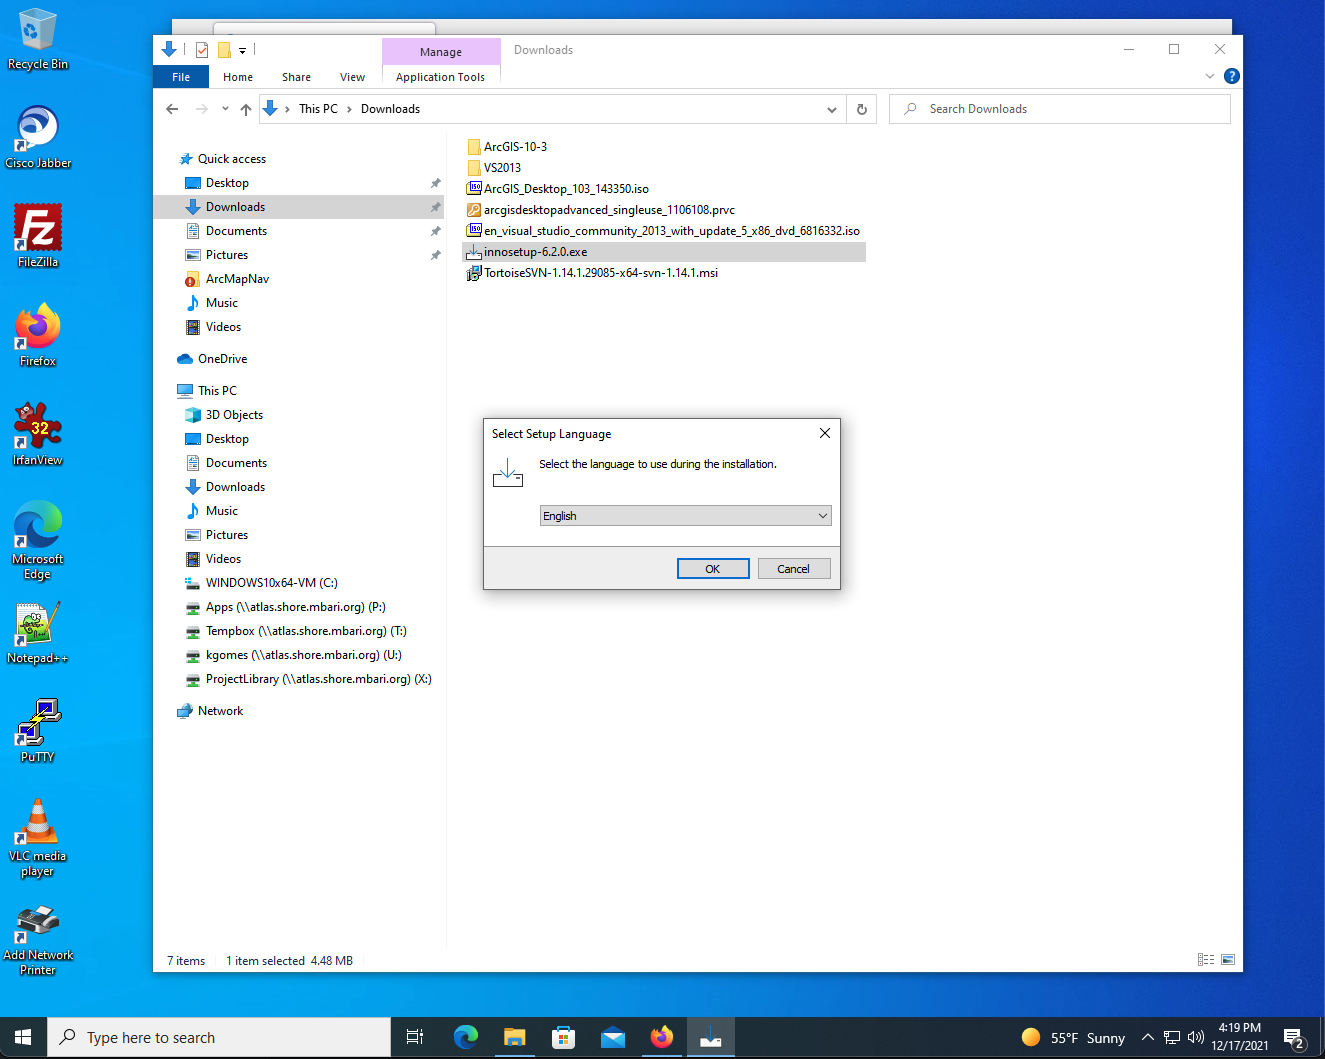
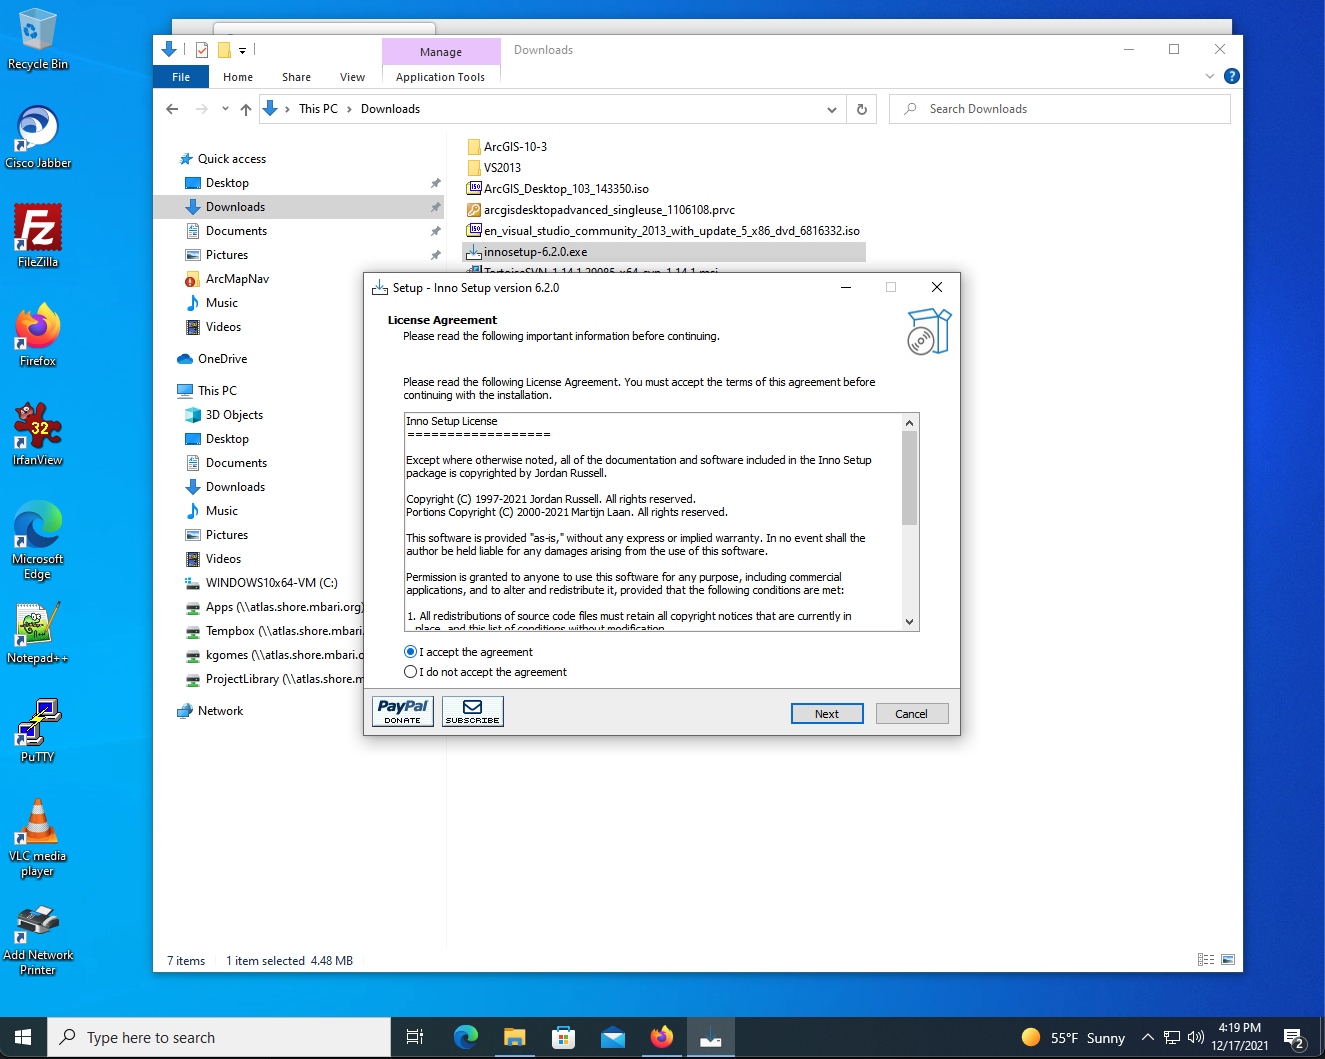
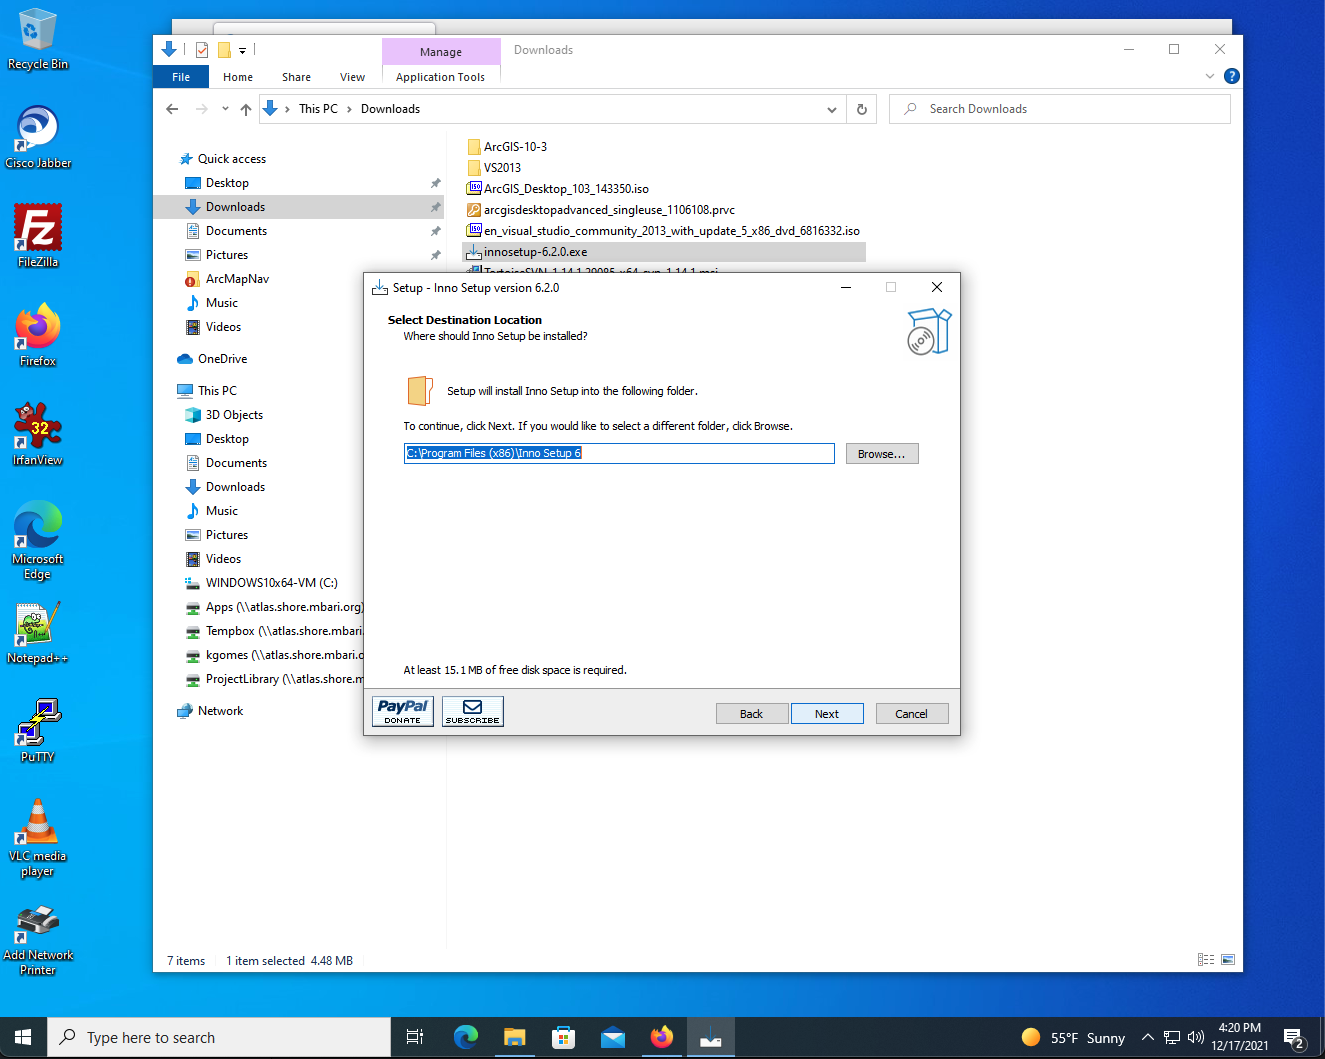
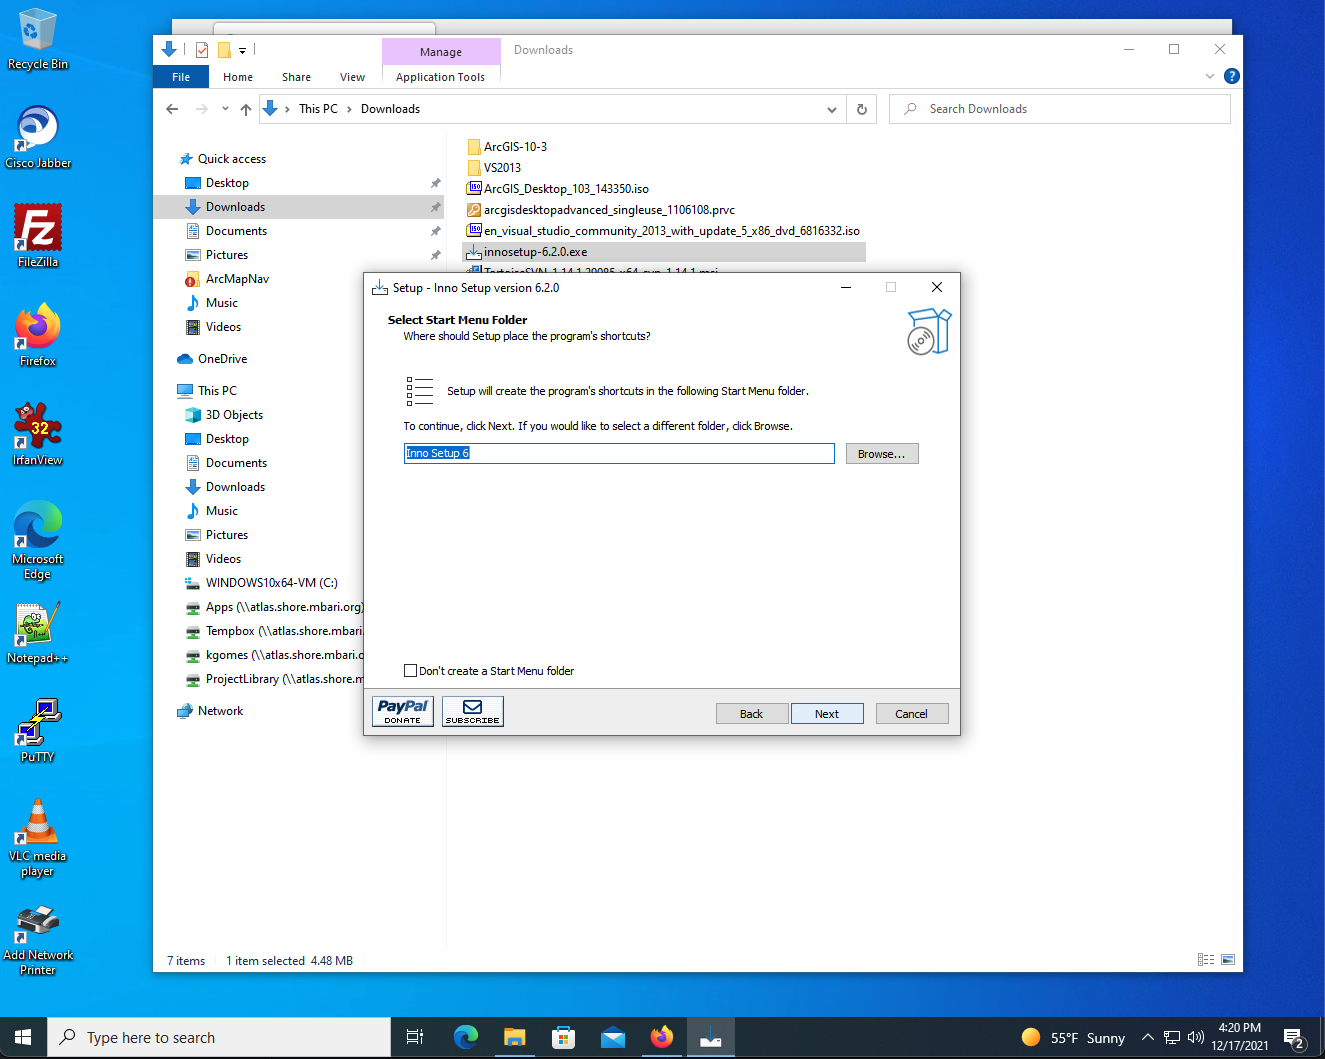
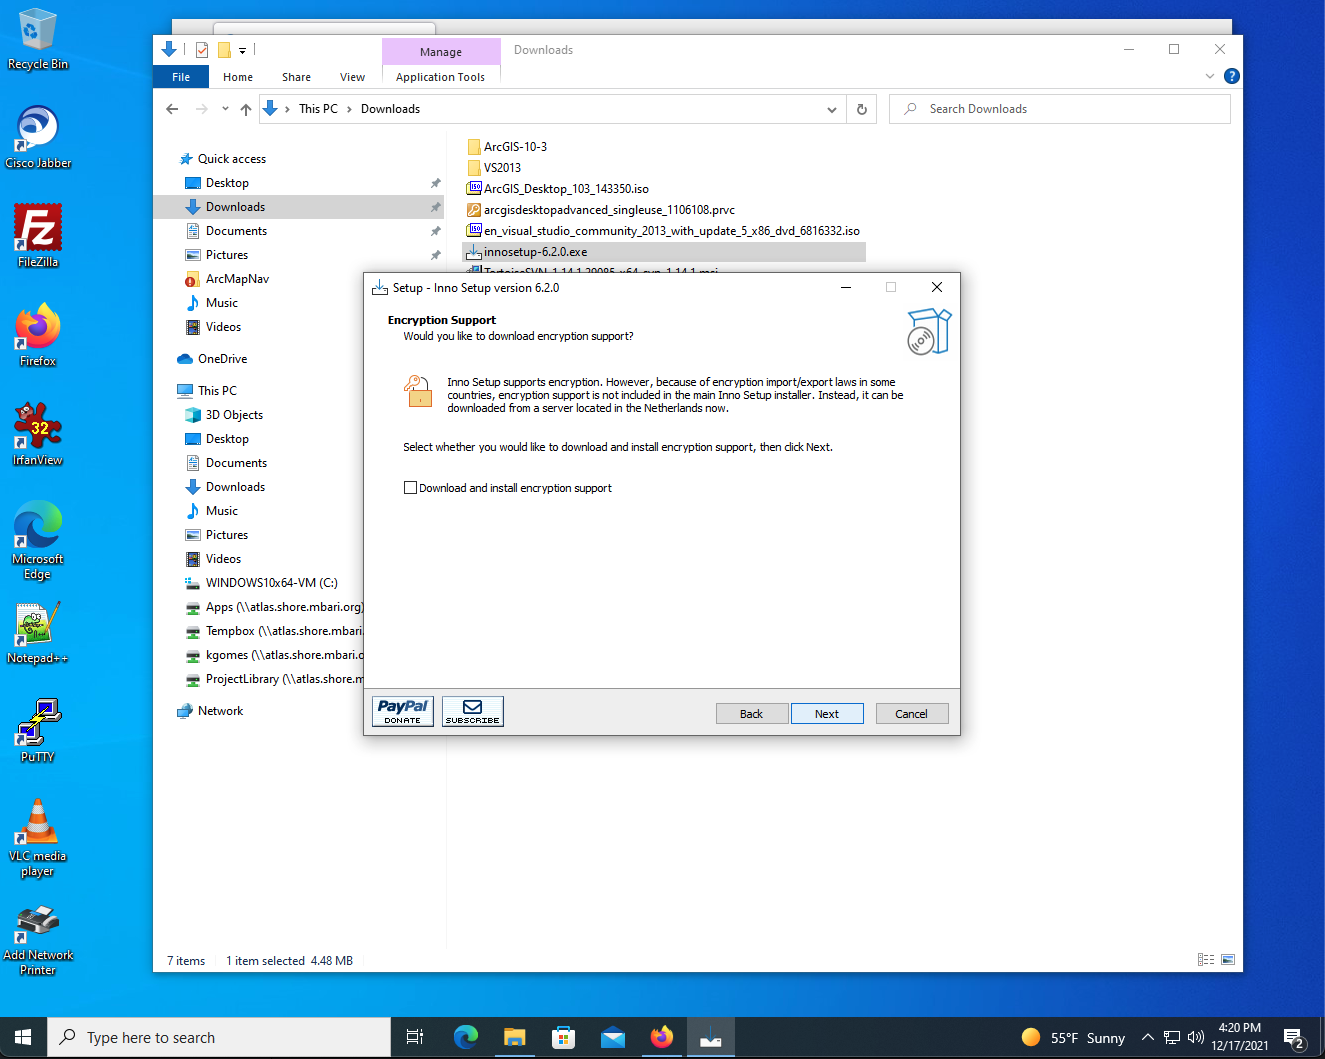
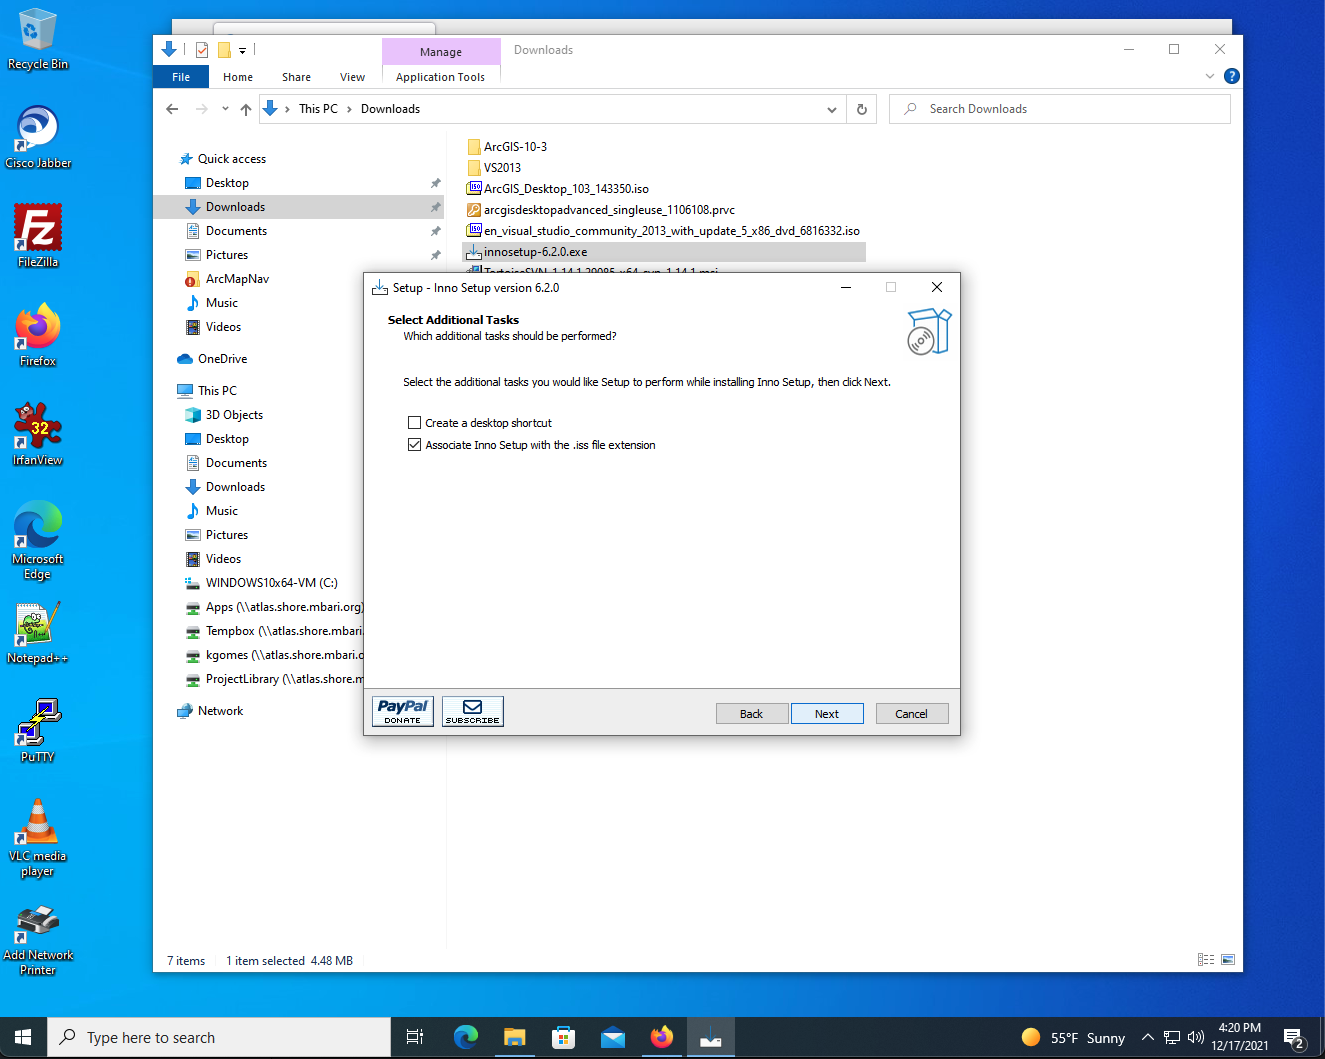
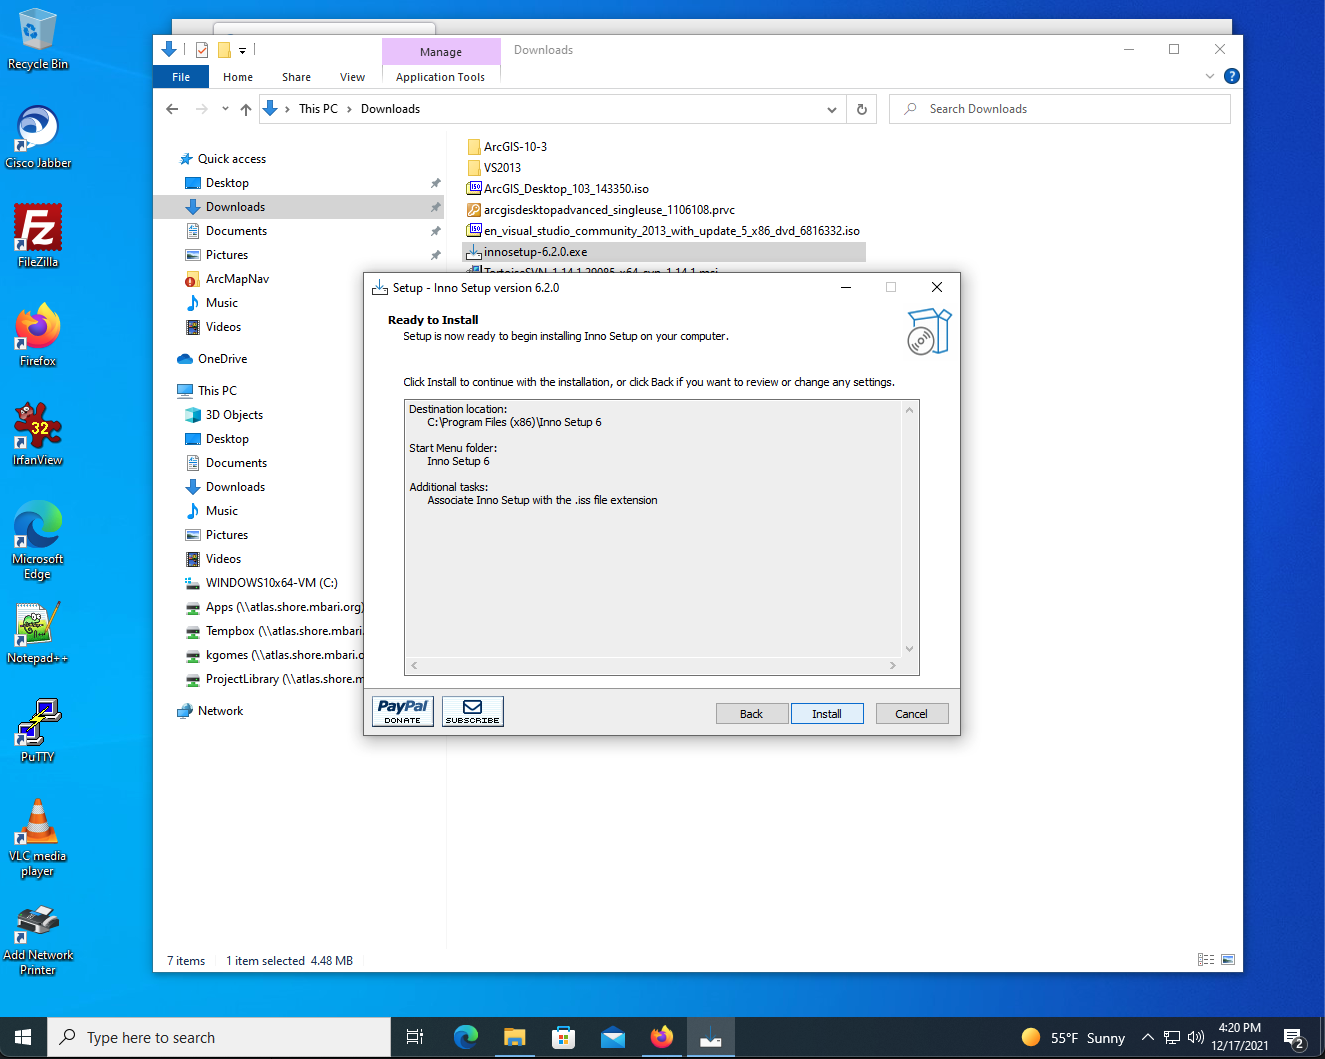
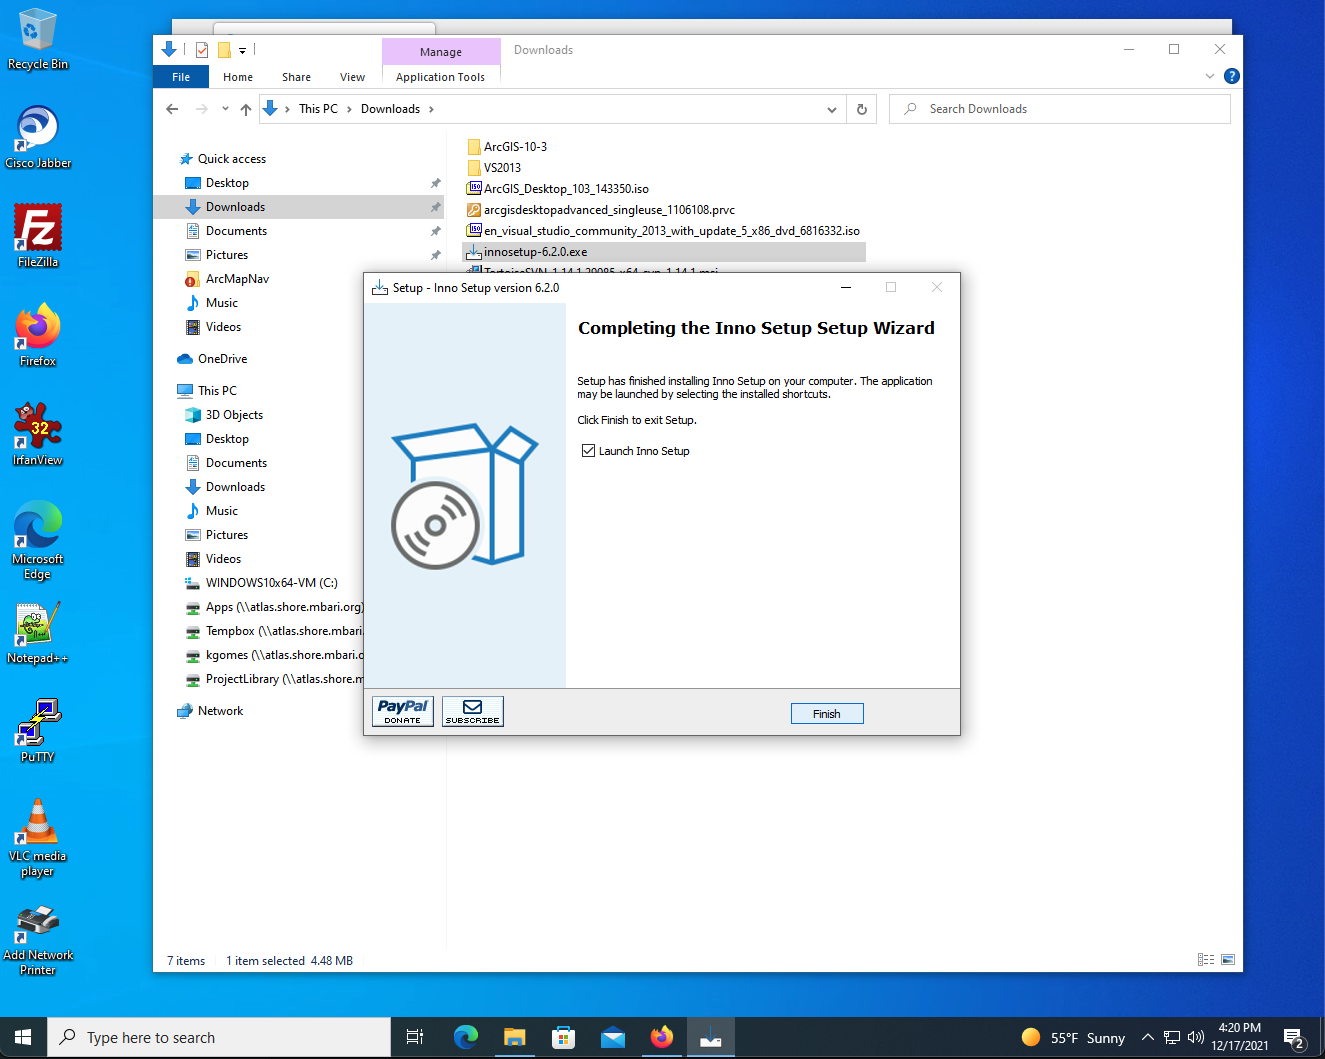
- Now you can launch the Inno Setup application and it will prompt you to open a .iss file. Select 'More Files...' and then click on OK and then browse to the ArcMapNav_InnoSetup.iss file in the top of the project files
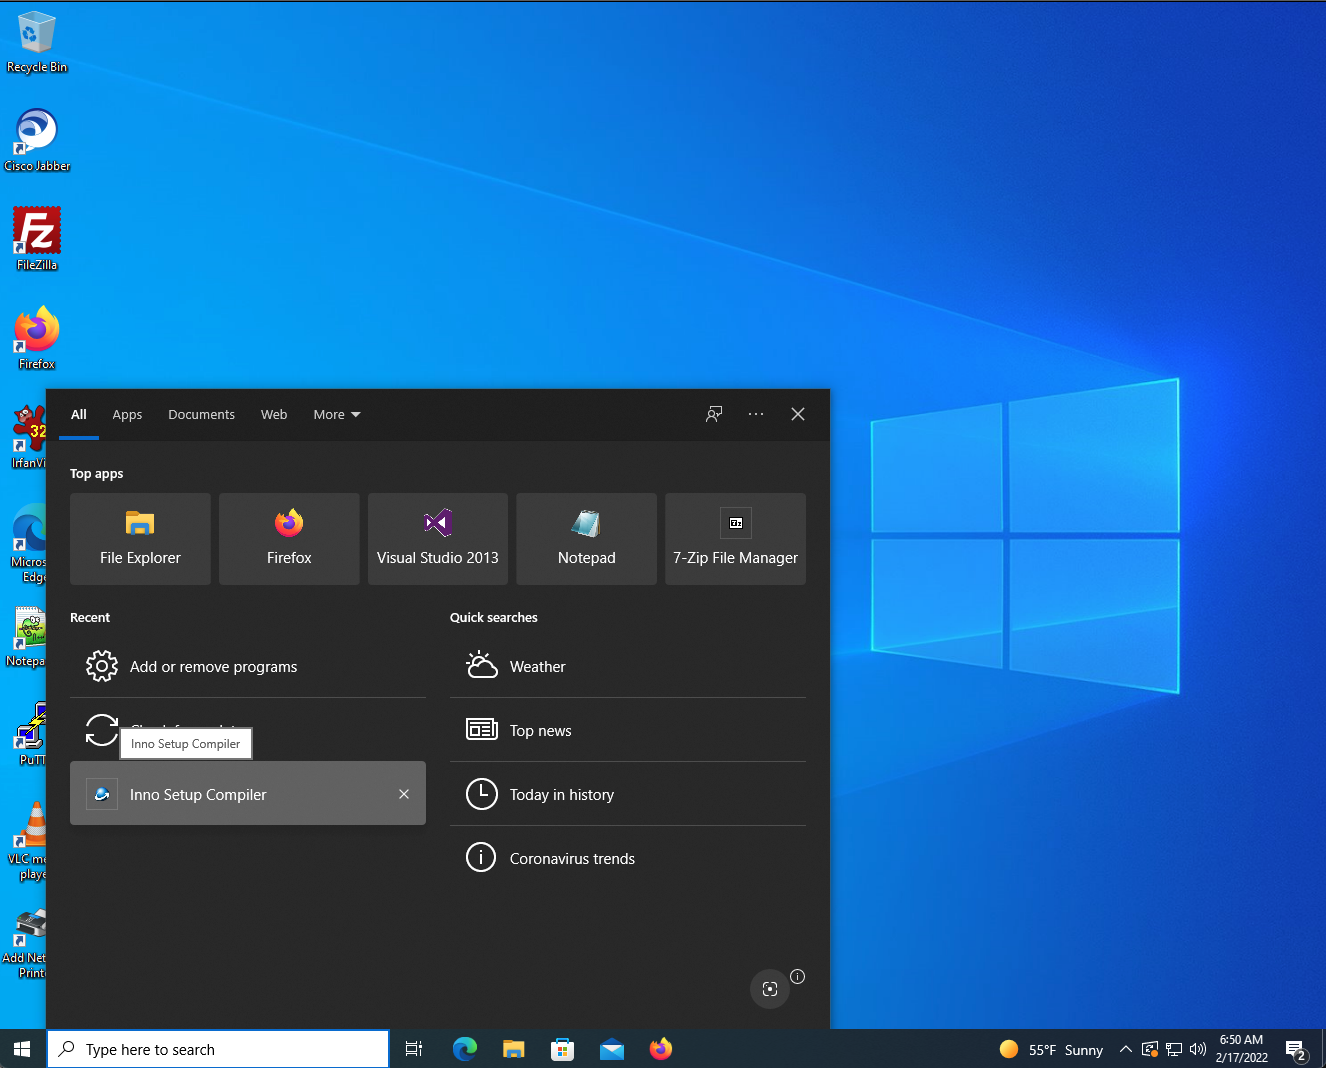
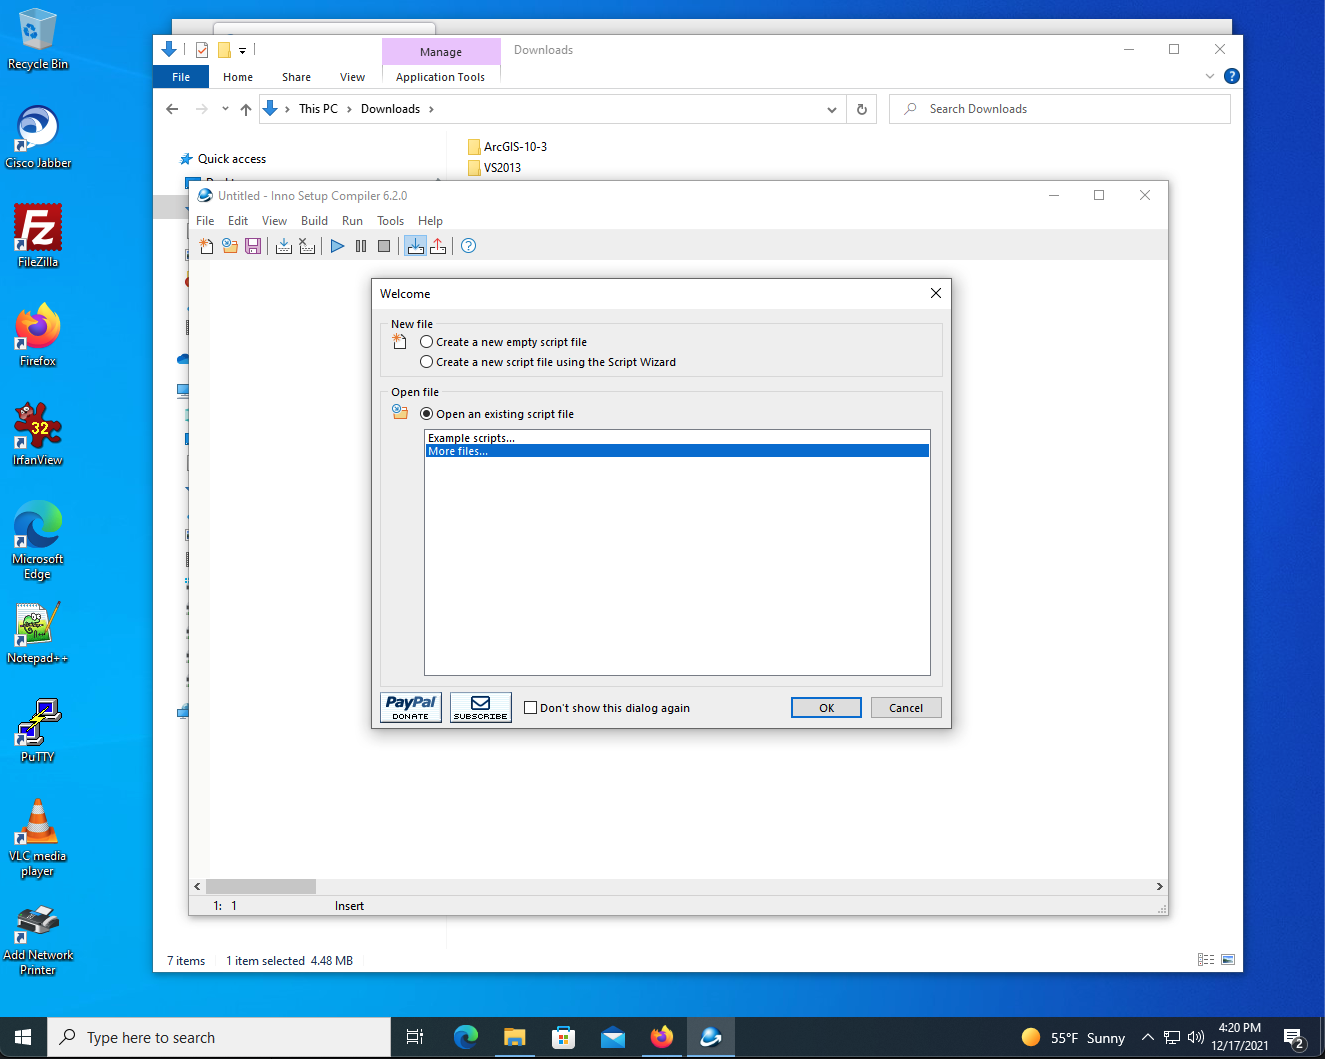
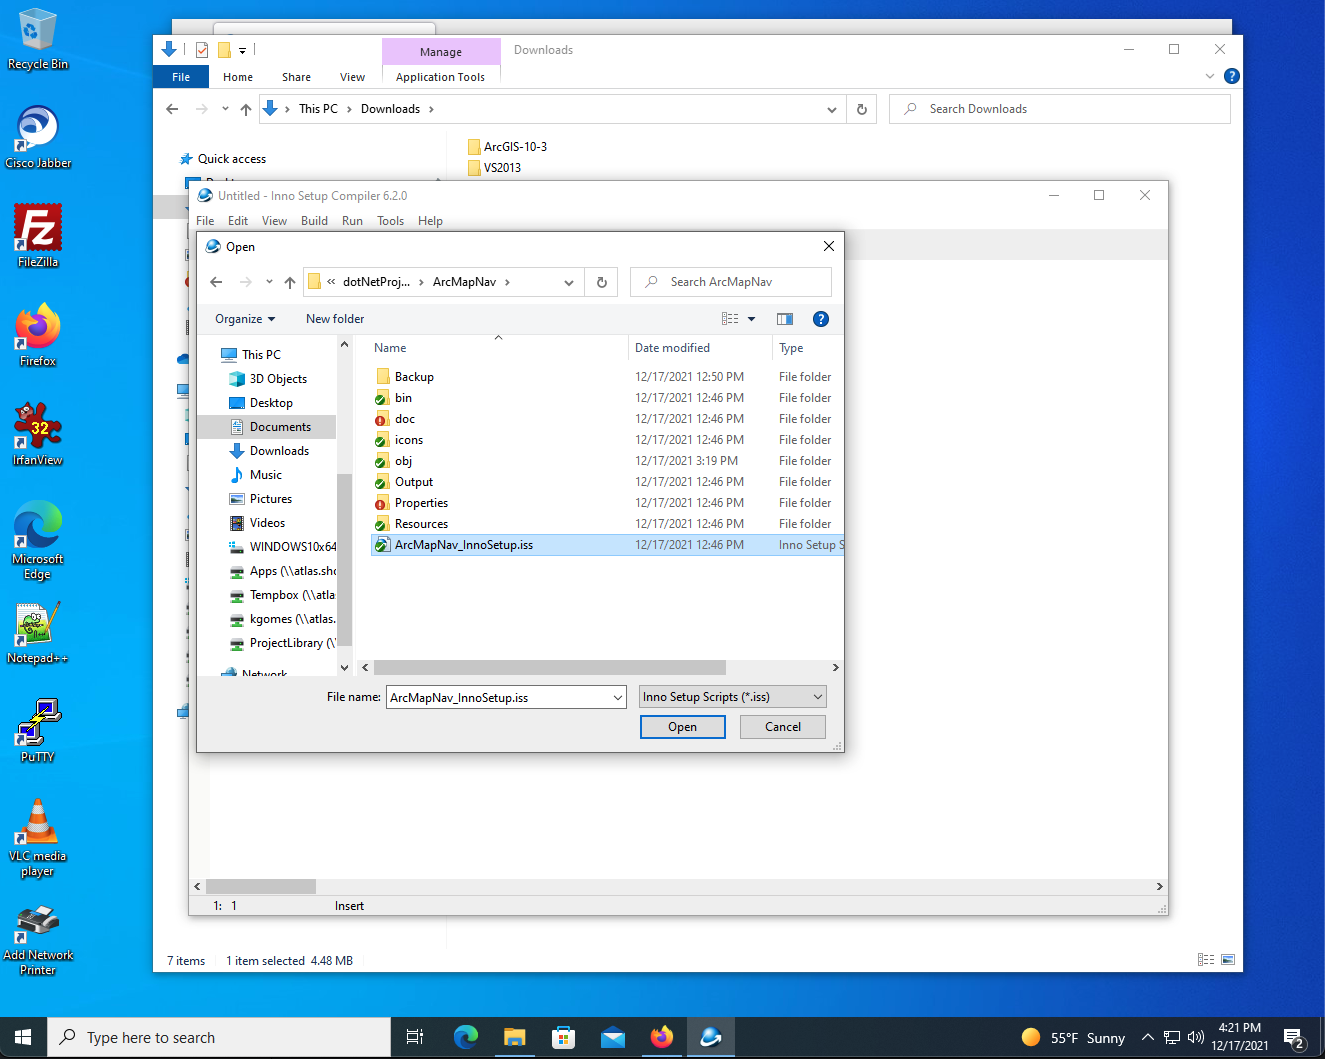
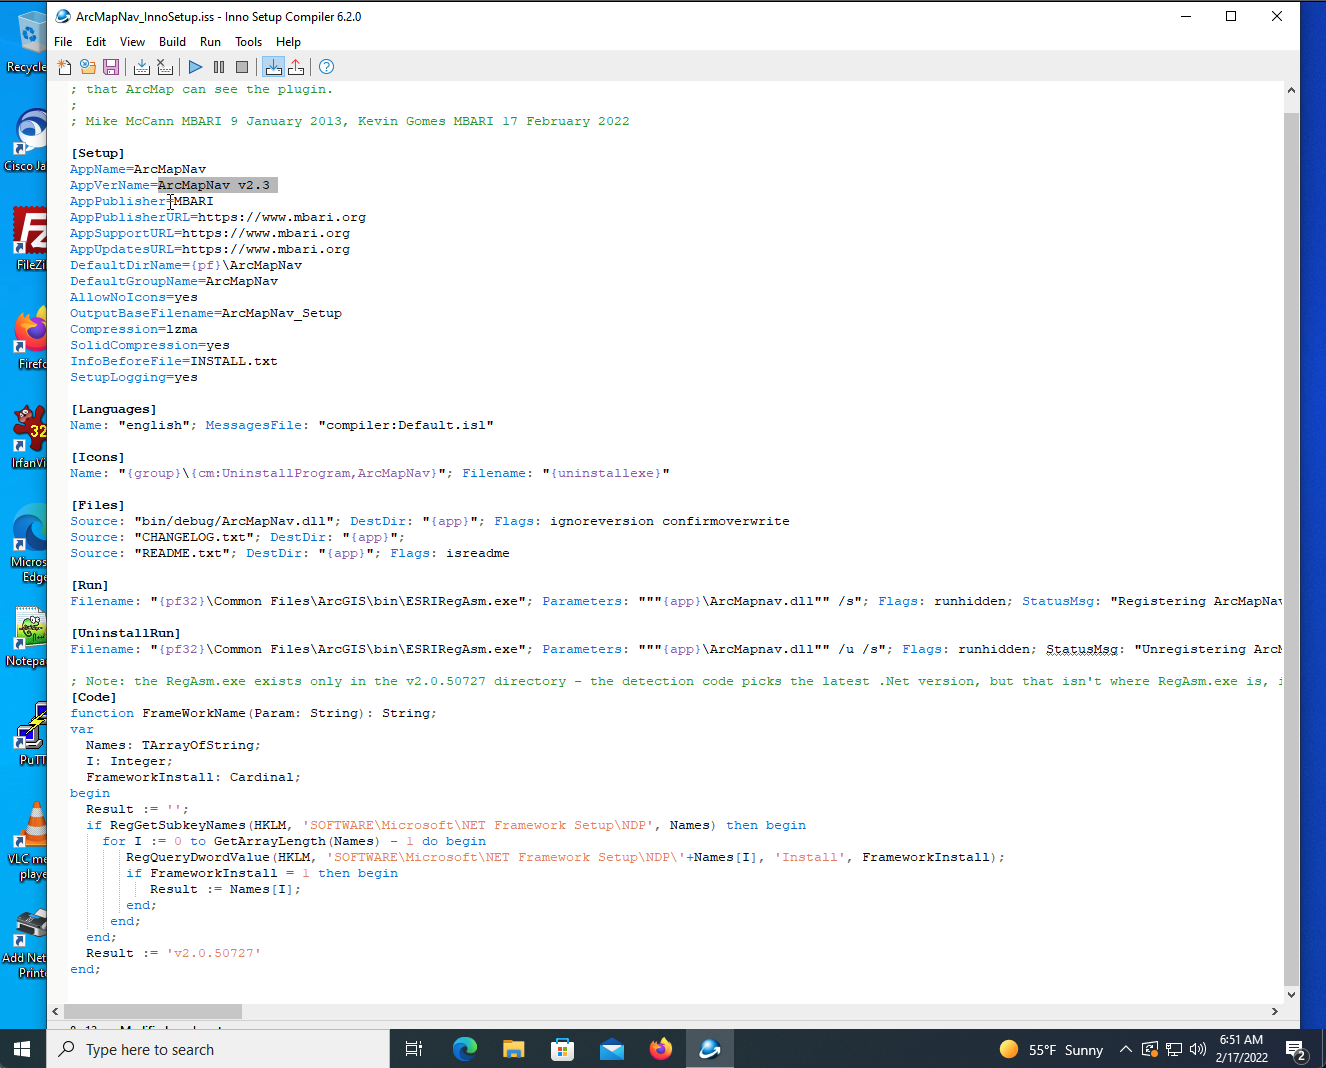
- Update the .iss file with any changes you need to make (likely just the version number) and then save the file.
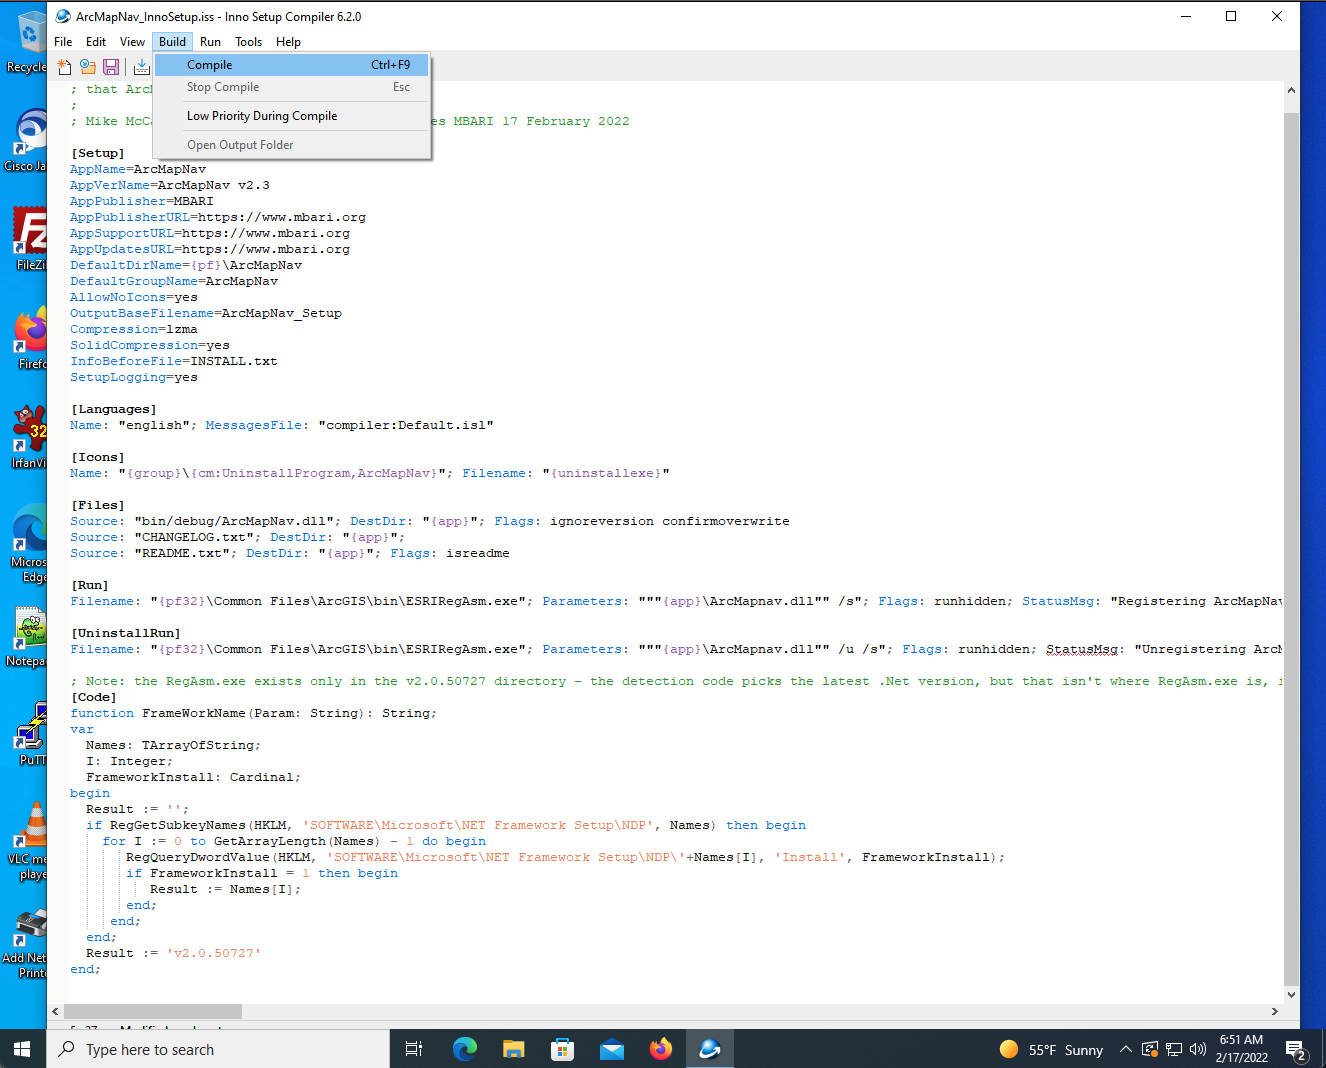
- Now you are ready to build the executable by clicking on 'Build->Compile'.
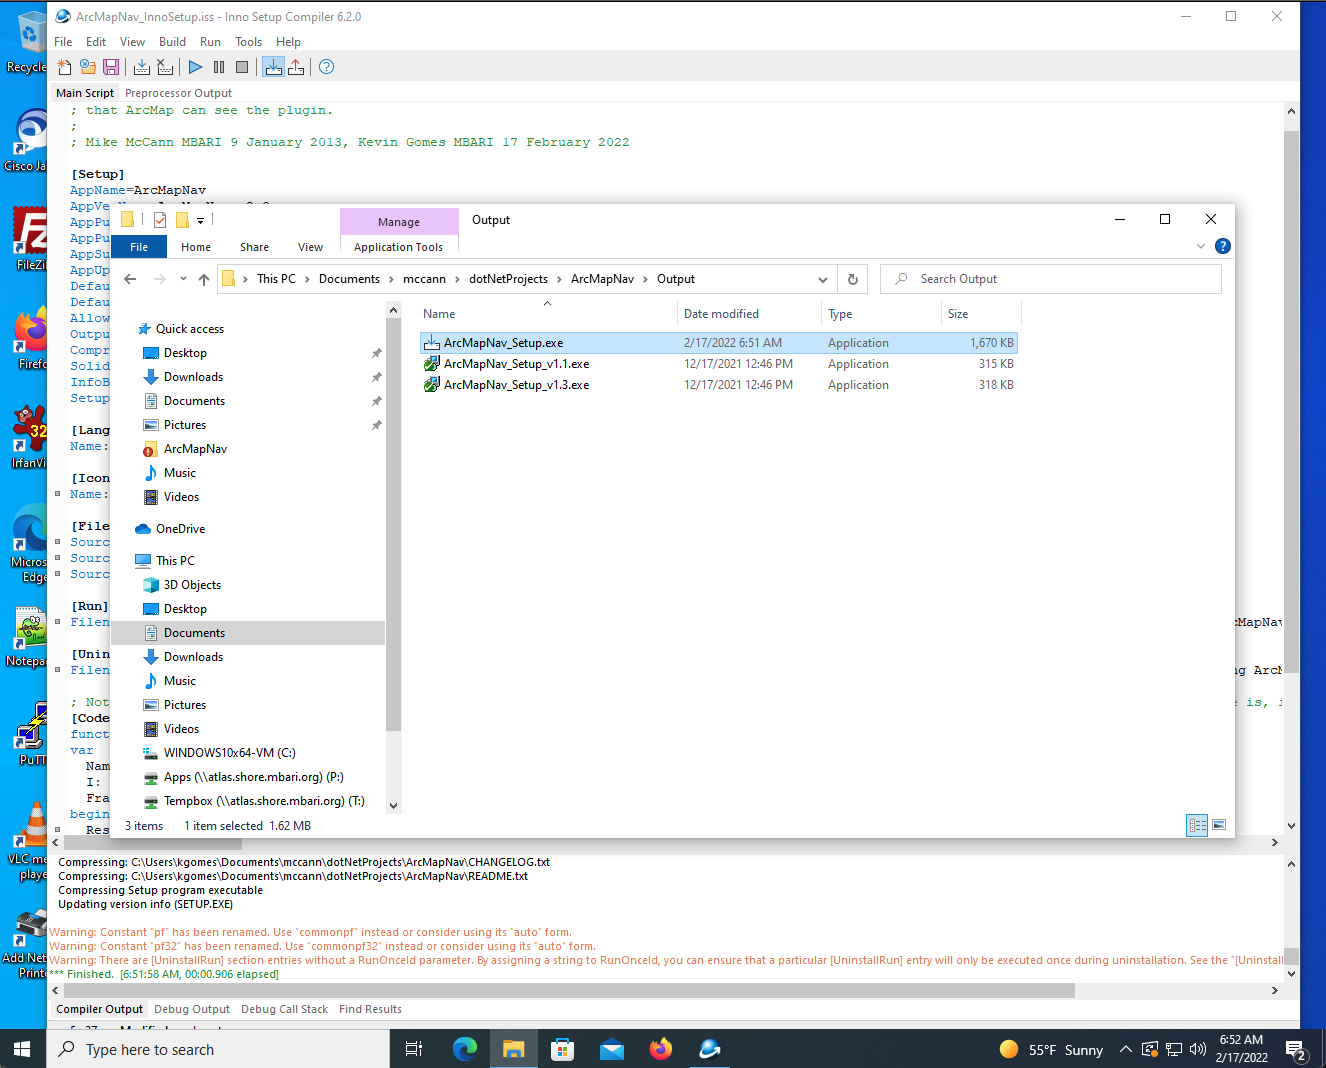
- Once complete, you will find the new executable in the 'Output' folder which you can rename by attaching the version number to the end of the name of the file (before the .exe)
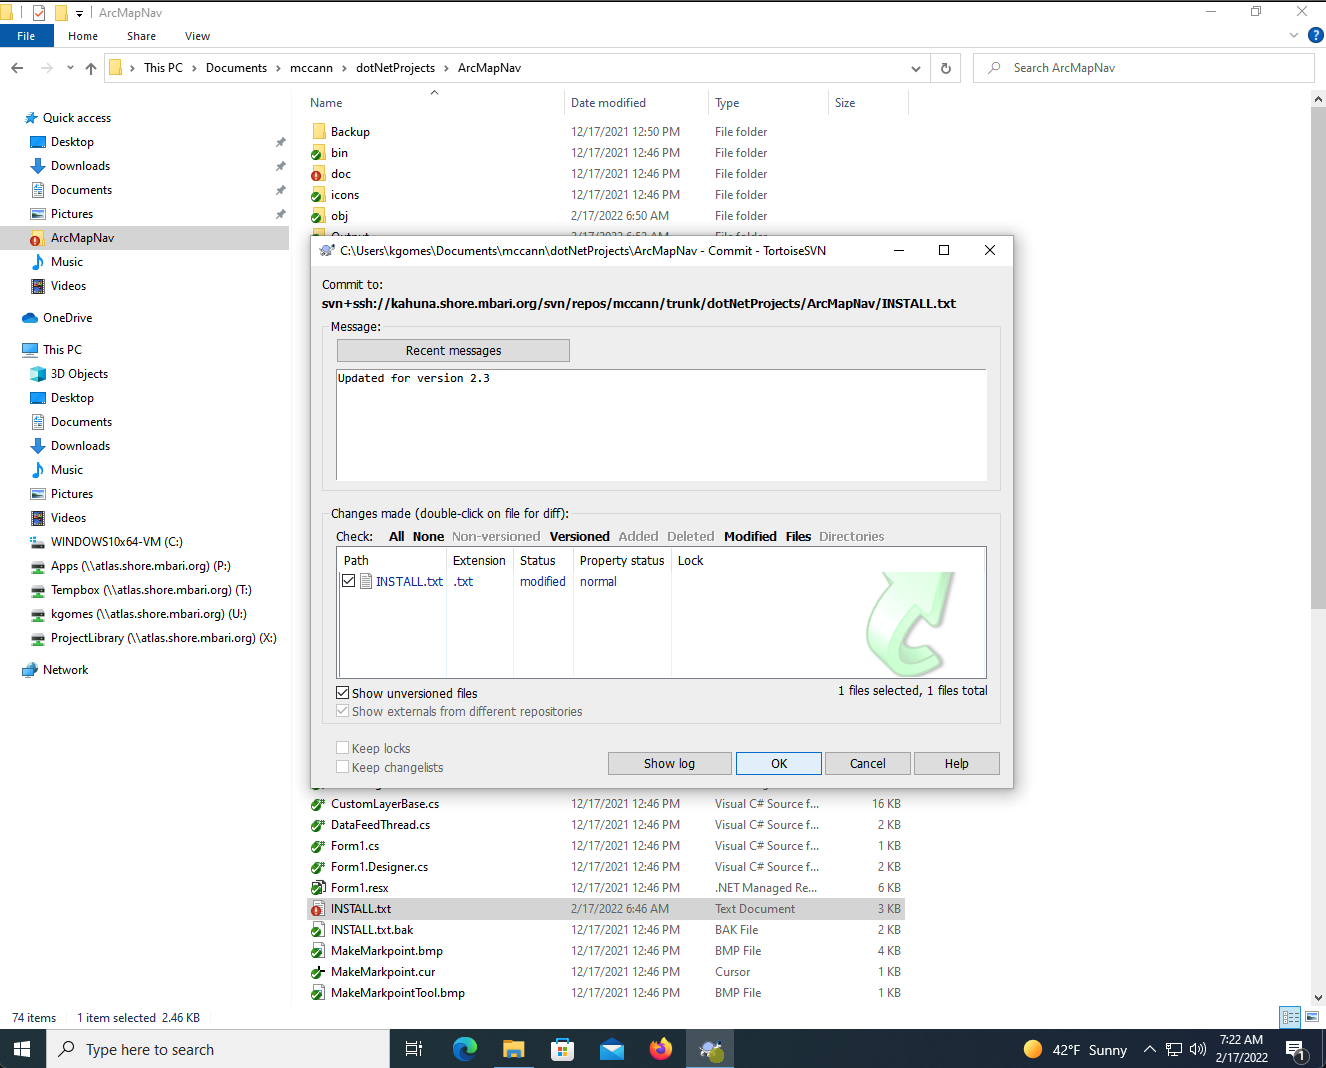
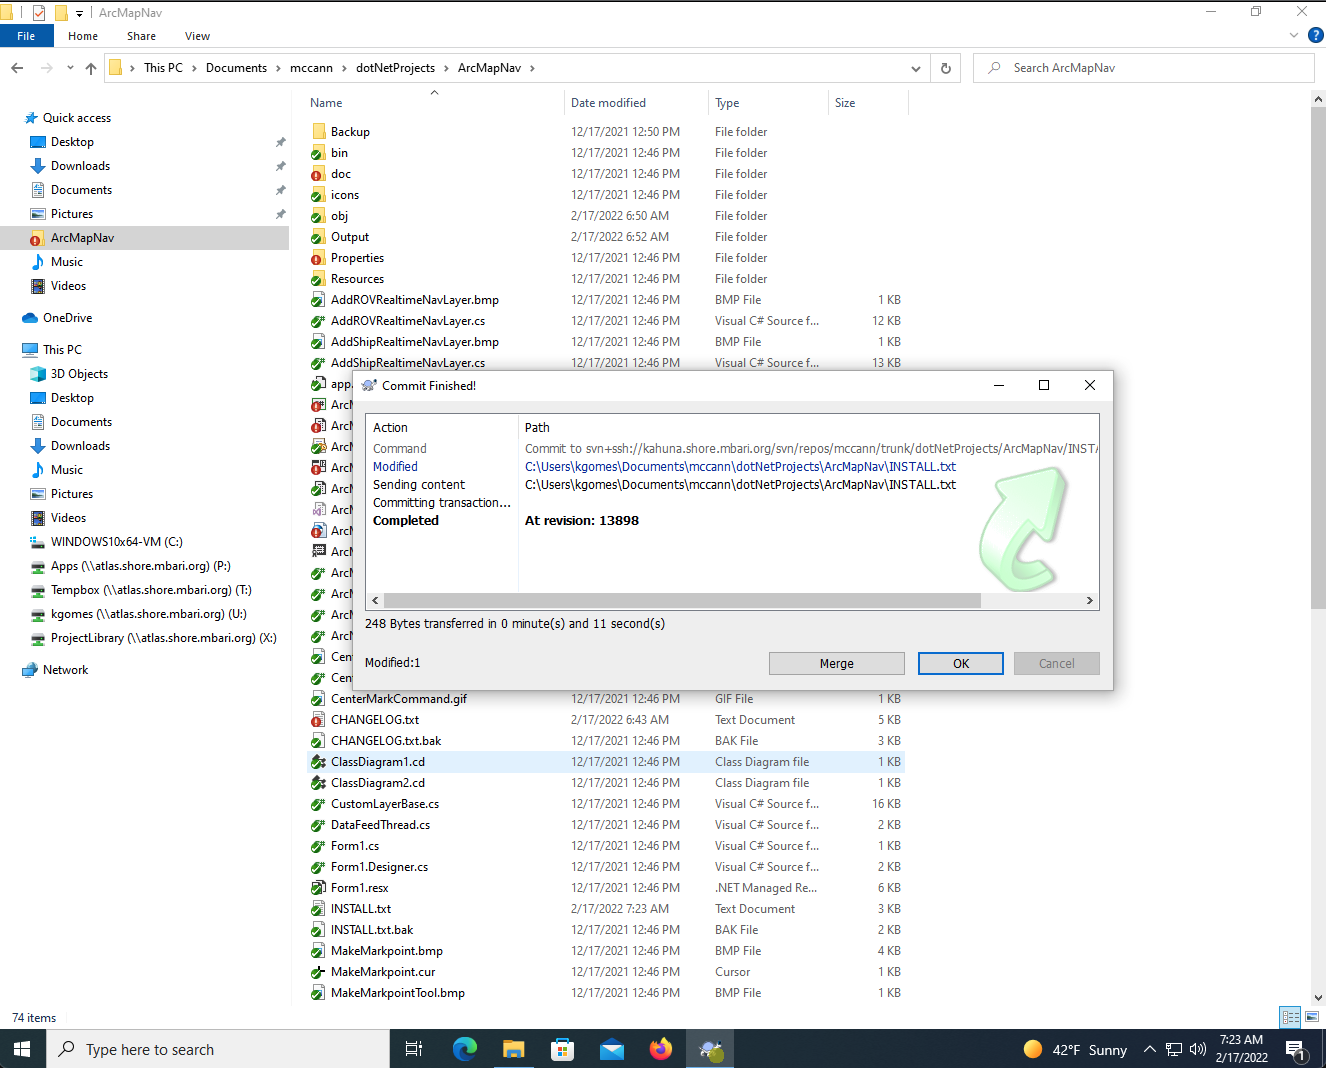
- Lastly, to make sure the changes are kept in the central repository, use TortiseSVN (or other application) to look at the changes made to all your files and update them all in the SVN repository.