Management
Side menu → Management**
Where you run the sampler and change its settings. Each settings section has its own Save Changes button, which appears next to the heading once you change something in that section.
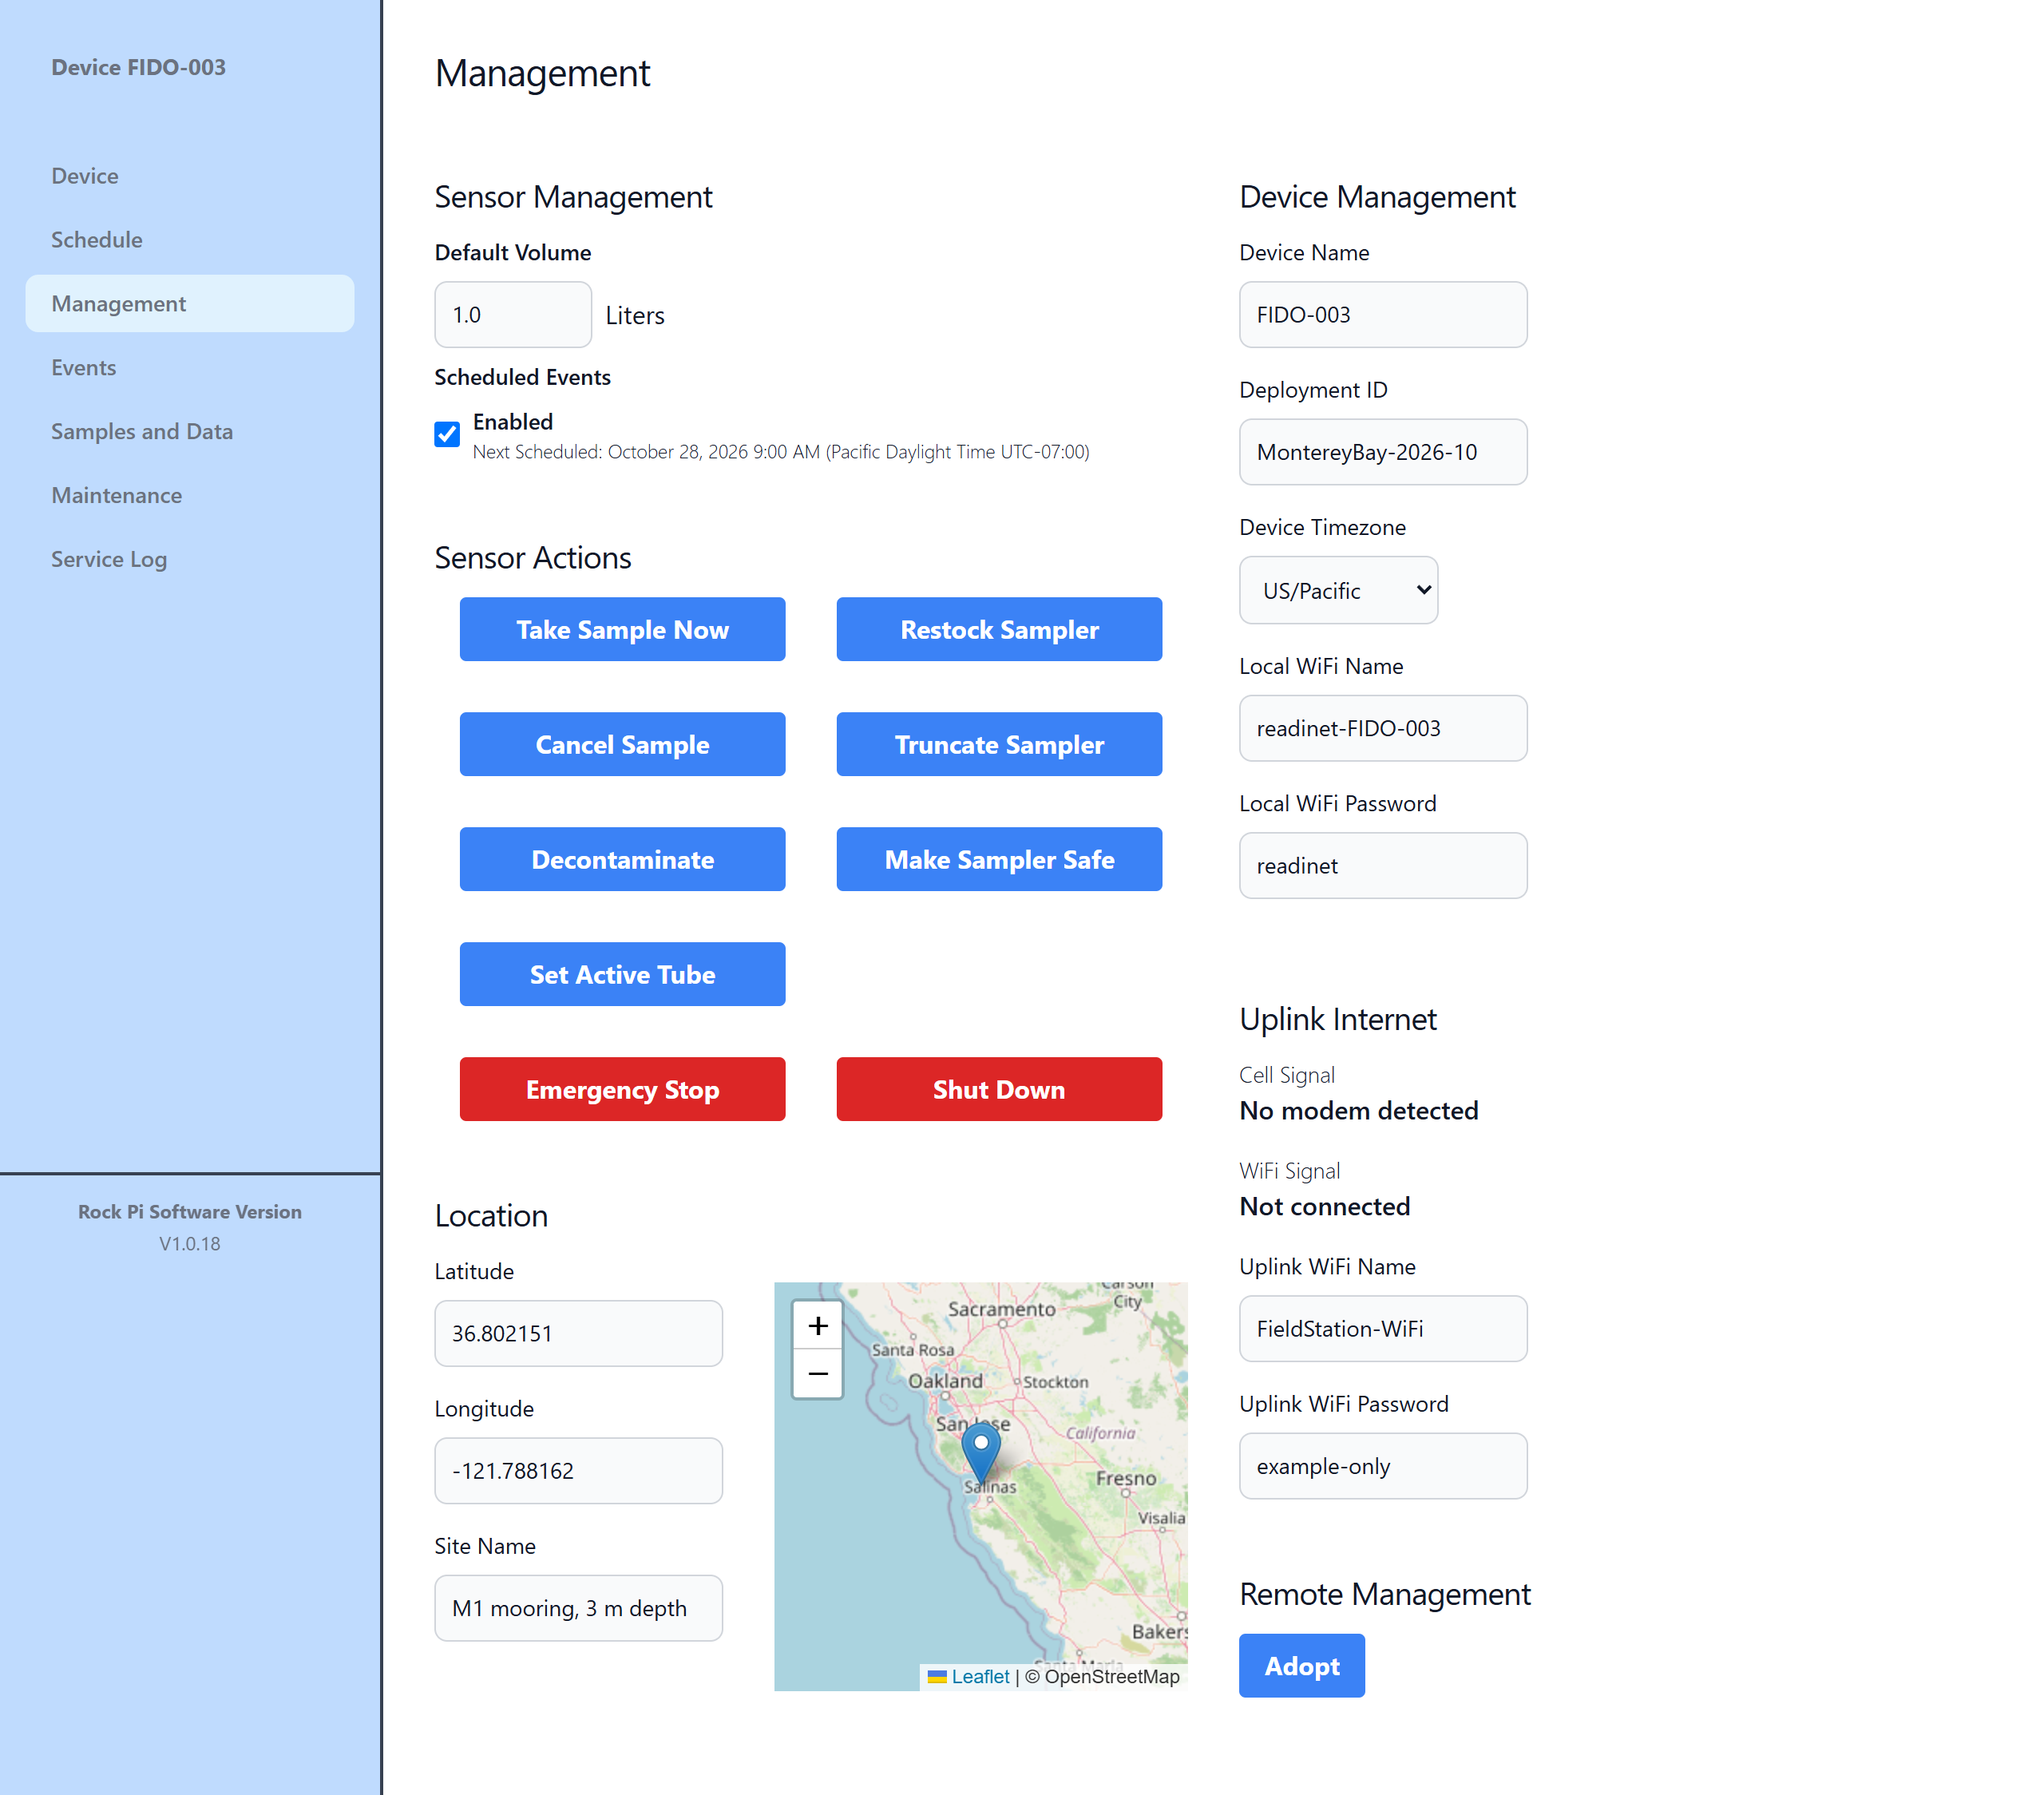
Sample Management
- Default Volume
- Liters to filter for scheduled samples and the starting value for Take Sample Now (0.1 – 100 L).
- Scheduled Events → Enabled
- The master switch for the Schedule. While it's unticked, no scheduled event runs. Next Scheduled shows when the next one will run.
Sensor Actions
Each button opens a dialog that asks you to confirm.
| Button | What it does | Dialog |
|---|---|---|
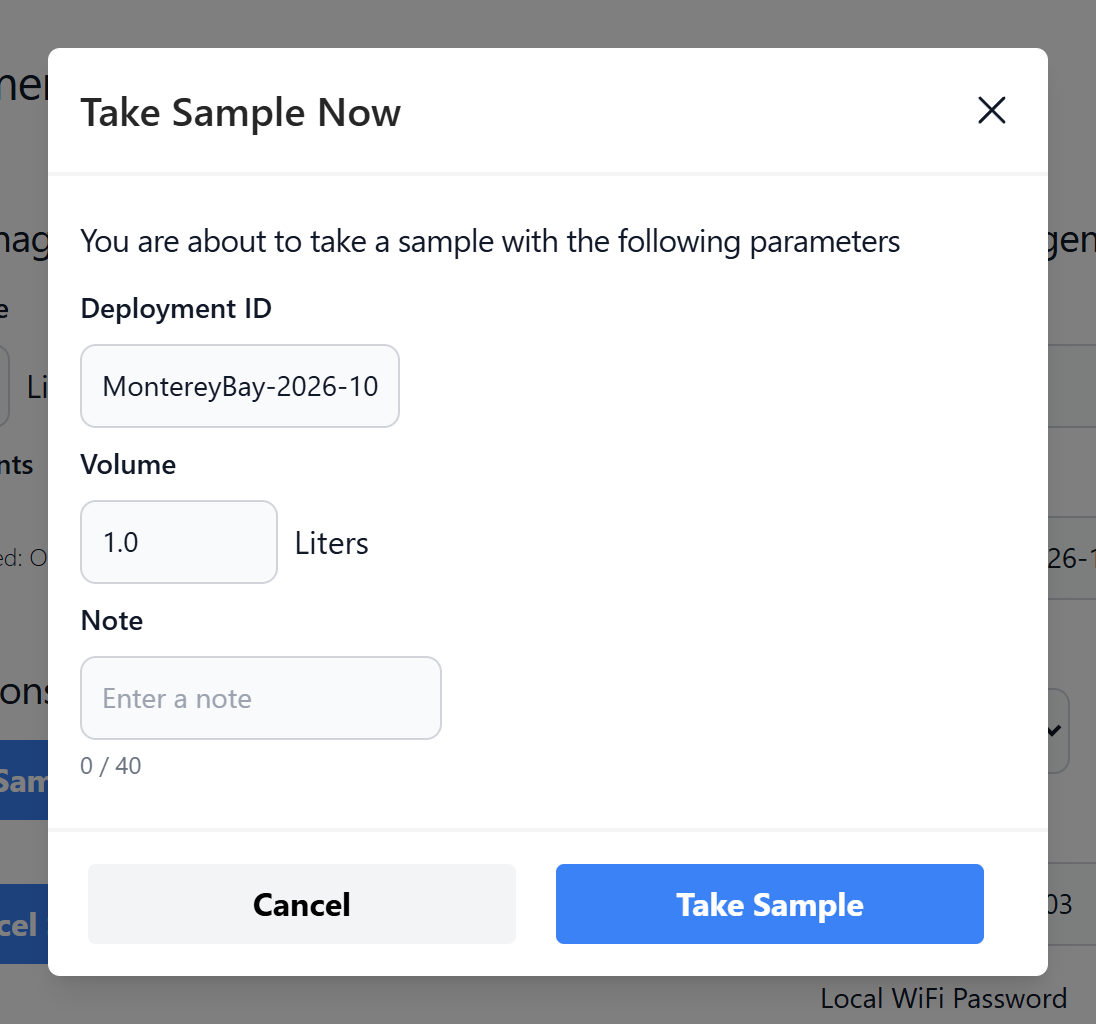
| Take Sample Now | Starts one sample now | Shows Deployment ID. Set Volume (L) and a required Note (up to 40 characters, 20 fit on the label). Click Take Sample. |
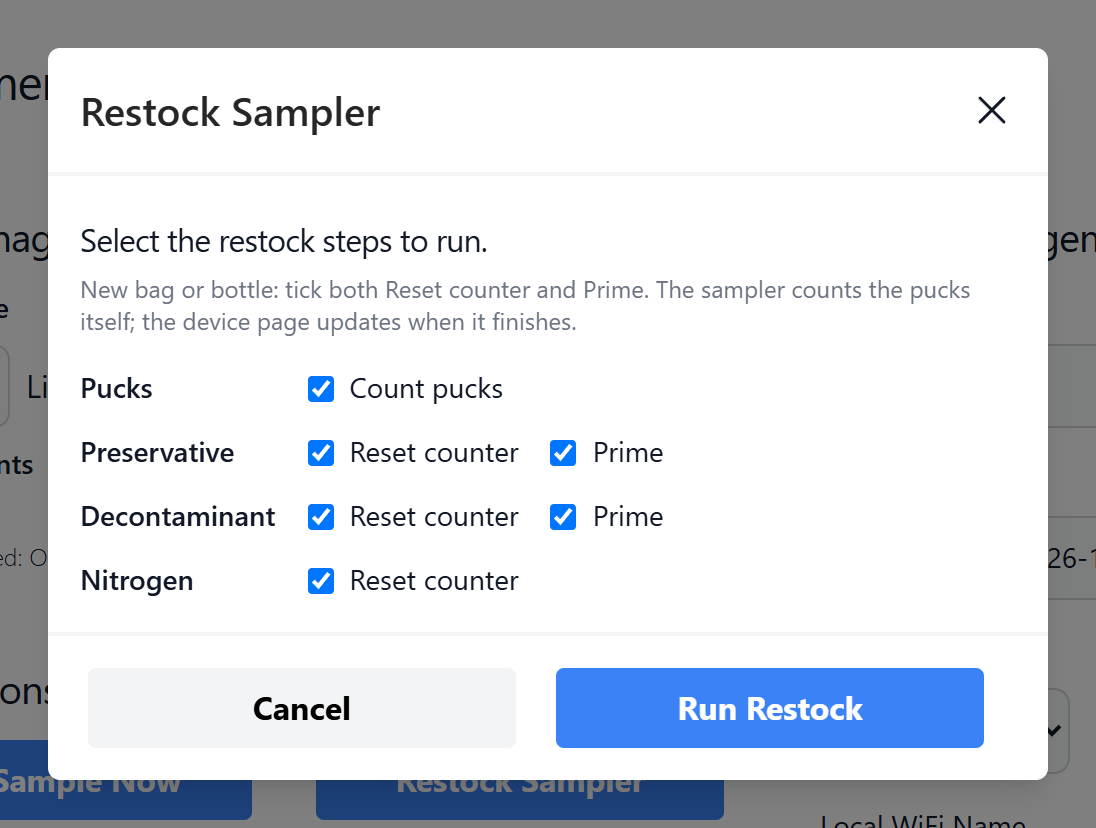
| Restock Sampler | Counts pucks and resets supply counters after you load supplies | Tick the steps to run. Click Run Restock. See Restock. |
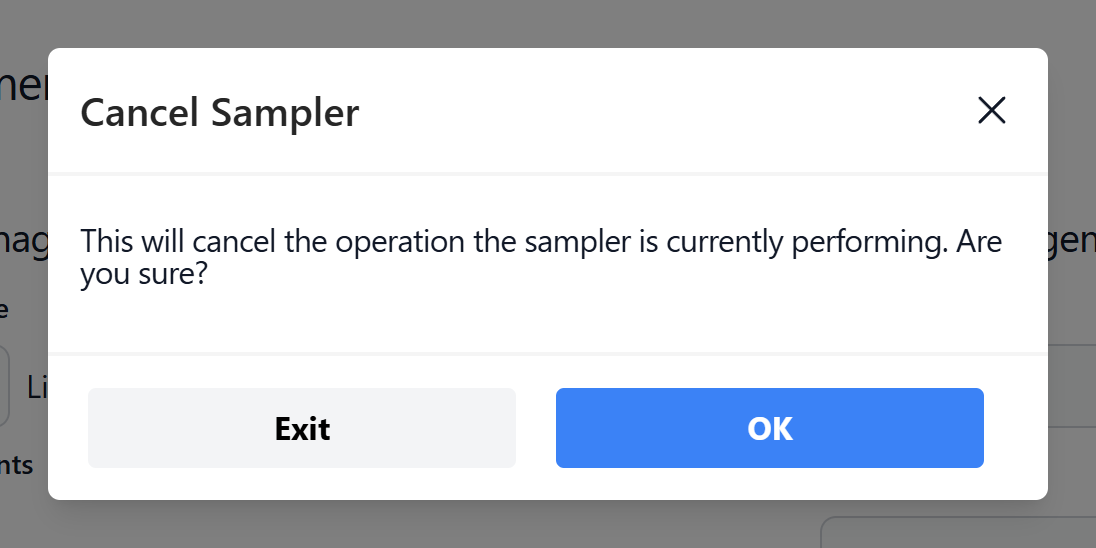
| Cancel Sample | Cancels the operation the sampler is doing now | OK to cancel, Exit to leave it running |
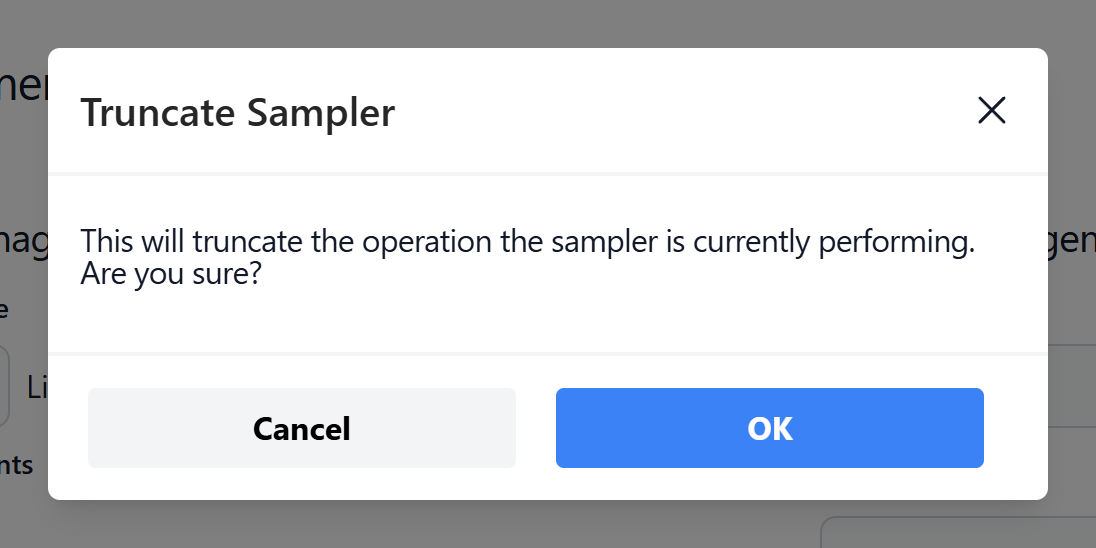
| Truncate Sample | Ends the current operation early | OK / Cancel |
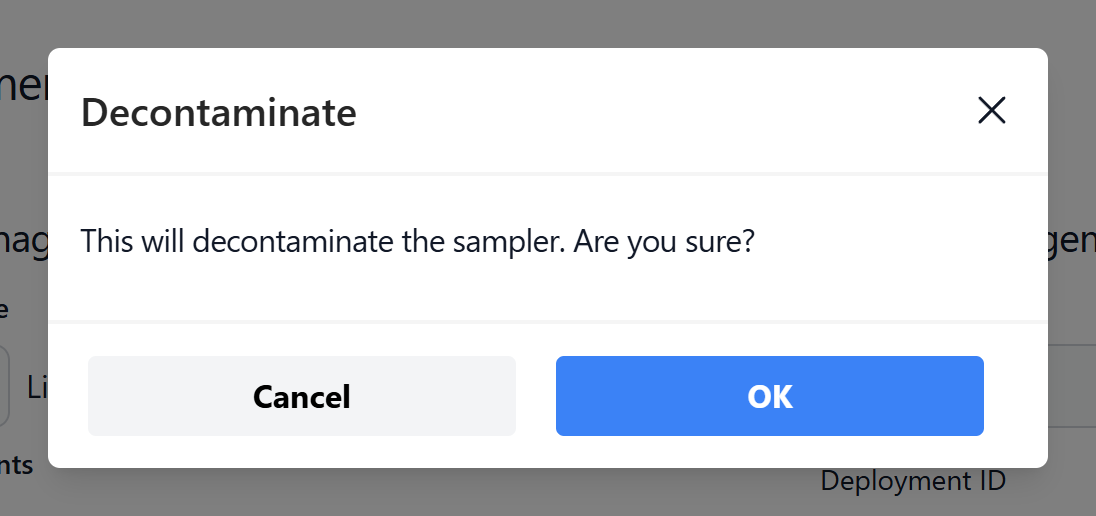
| Decontaminate | Runs a decontamination now | OK / Cancel |
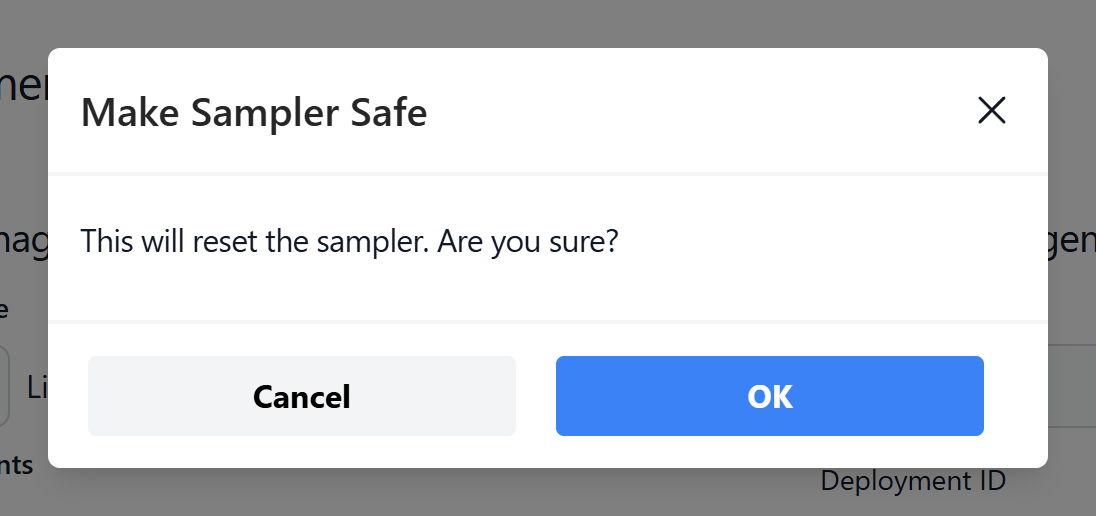
| Make Sampler Safe | Resets the sampler to a safe state, after an error or Emergency Stop | OK / Cancel |
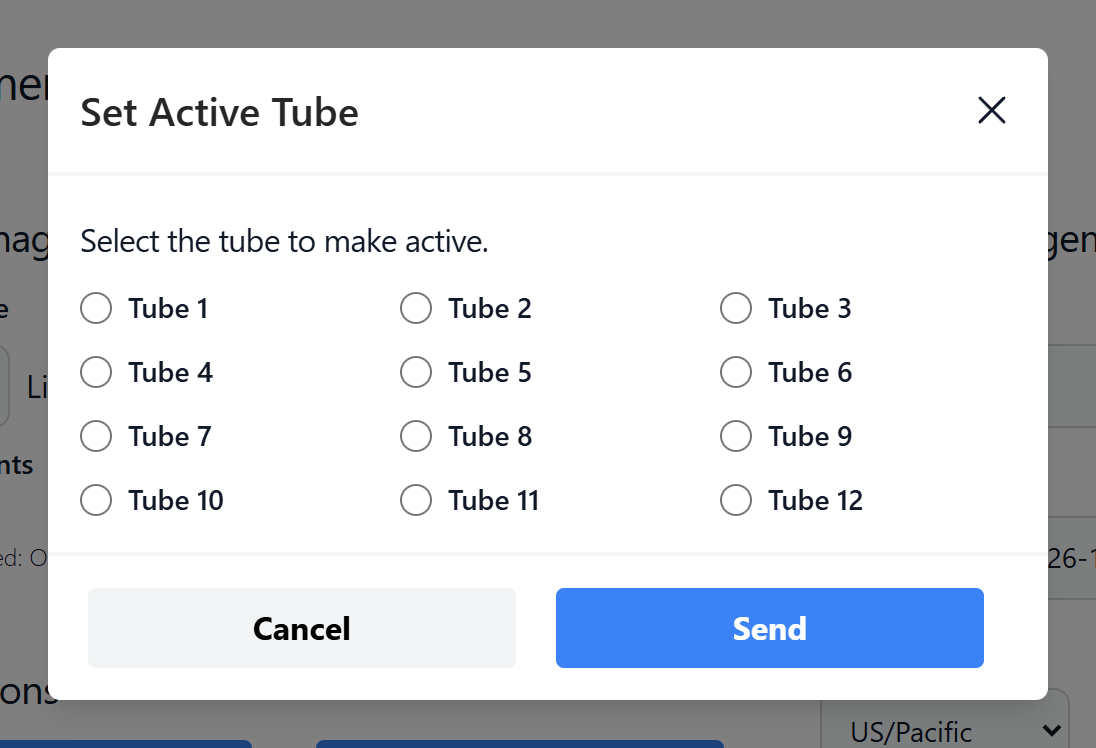
| Set Active Tube | Chooses which of the 12 tubes the sampler uses next | Pick Tube 1 – Tube 12. Click Send. |
| Emergency Stop | Stops everything immediately. The sample in progress is lost. | Emergency Stop / Exit |
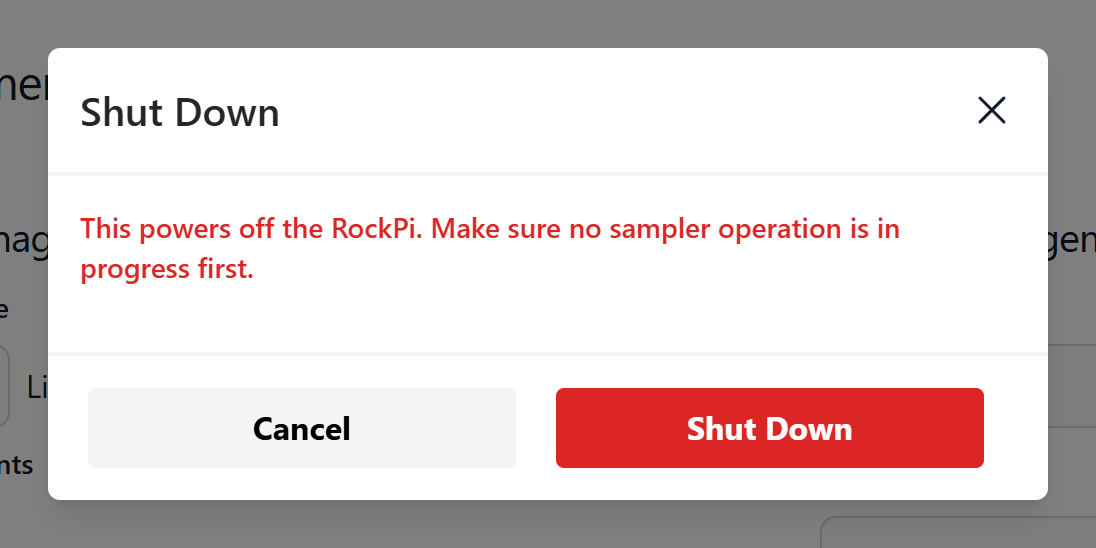
| Shut Down (local only) | Powers off the controller | Shut Down / Cancel |
See When Something Goes Wrong for when to use Cancel, Truncate, Make Sampler Safe and Emergency Stop.
Location
Latitude, Longitude (decimal degrees) and Site Name. The map preview shows the point. This is the location shown on the Device and Devices pages.
Device Management
- Device Name
- Up to 20 characters. Shown throughout the interface.
- Deployment ID
- Optional, up to 20 characters. Recorded with every sample and printed on puck labels.
- Device Timezone
- The time zone used for the schedule and every time shown for this device. Set it to the site's local time zone.
- Local WiFi Name / Local WiFi Password
- The name and password of the hotspot the FIDO broadcasts.
Warning
If you change the Local WiFi Name or Password while connected through the hotspot, you'll be disconnected. Rejoin with the new details.
Uplink Internet
How the controller reaches the cloud.
- Cell Signal
- "Connected -- N% signal", or "No modem detected".
- WiFi Signal
- "Connected -- N% signal", or "Not connected".
The cloud can't read the live signal, so in the READI-Net Cloud both show "See device page". Check them on the controller's own Management page.
- Uplink WiFi Name / Uplink WiFi Password
- A nearby WiFi network the controller should join for internet access.
Remote Management
- Adopt
- Links this FIDO to an organization in the READI-Net Cloud. Enter the Organization Secret from that organization's Devices page and click Adopt. The controller needs an internet uplink.
- Adopted to Cloud Management / Adopt to New Organization
- Shown once the FIDO is adopted. Use Adopt to New Organization to move it to a different organization.